
How to Extend the Standard PK-Sim PBPK Model using the FcRn Extension Module
Learn step-by-step how to extend a standard PPK model in PK-Sim with the FCRN extension module, including setup, module import, molecule renaming, and simulation tips for monoclonal antibodies.
In this guide, we'll learn how to extend how to extend the standard PK-Sim PBPK Model using the FcRn Extension Module. This process involves importing the module, renaming molecules to match your model, and setting up a new simulation to observe the effects of the extension. The goal is to adapt the FCRN module, originally developed for mice, for use in a human monoclonal antibody model and verify its impact on pharmacokinetics.
Let's get started
Okay. Let's see how to extend the standard PPK model from PK-Sim using the FCRN extension module. I've set up a standard model in humans, using a monoclonal antibody that binds to one target with typical affinities. Most settings are at their default values. The FCRN extension module was developed in mice, as published, so it is designed for a different species. We will demonstrate how that workflow works across species here. We have the model set up. Now we can send it to MOBI.
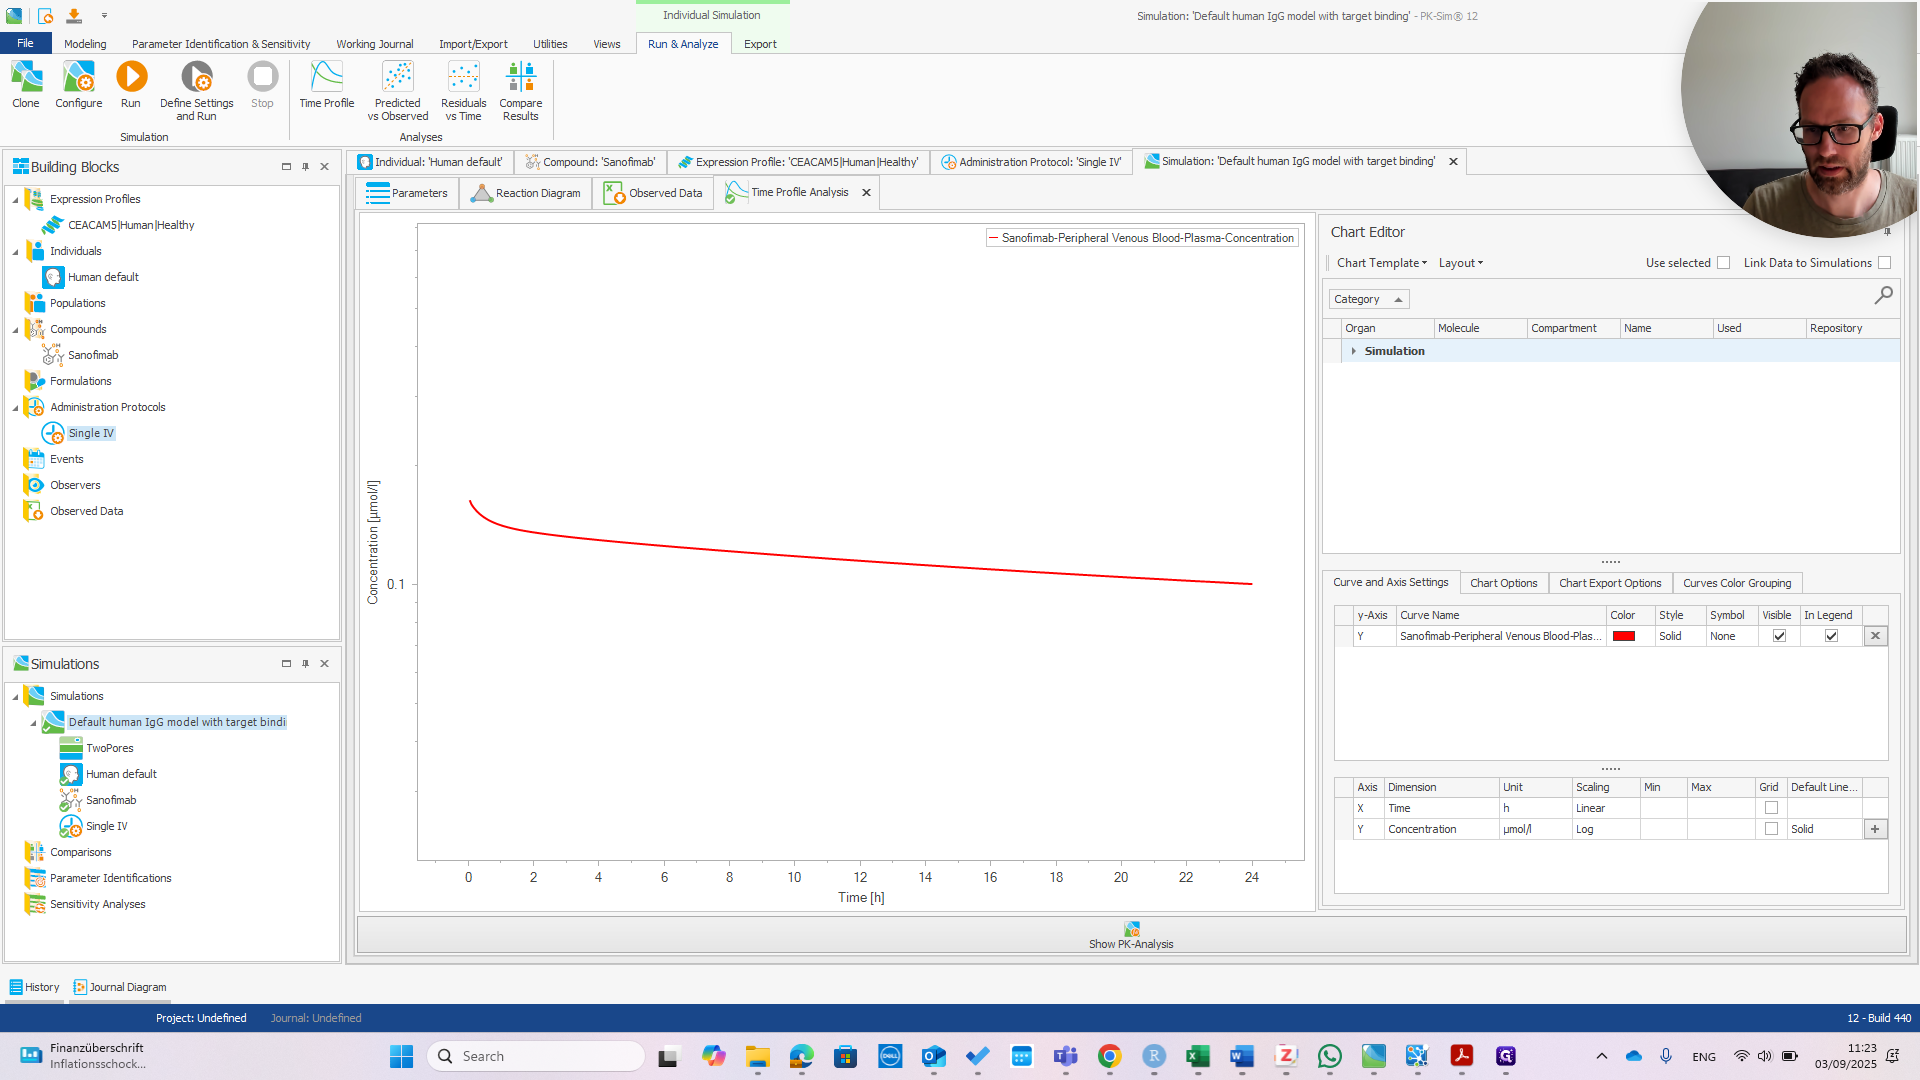
We wait until MOBI starts and opens the model file. In the meantime, I can explain this model to you. It's not much different from the default.
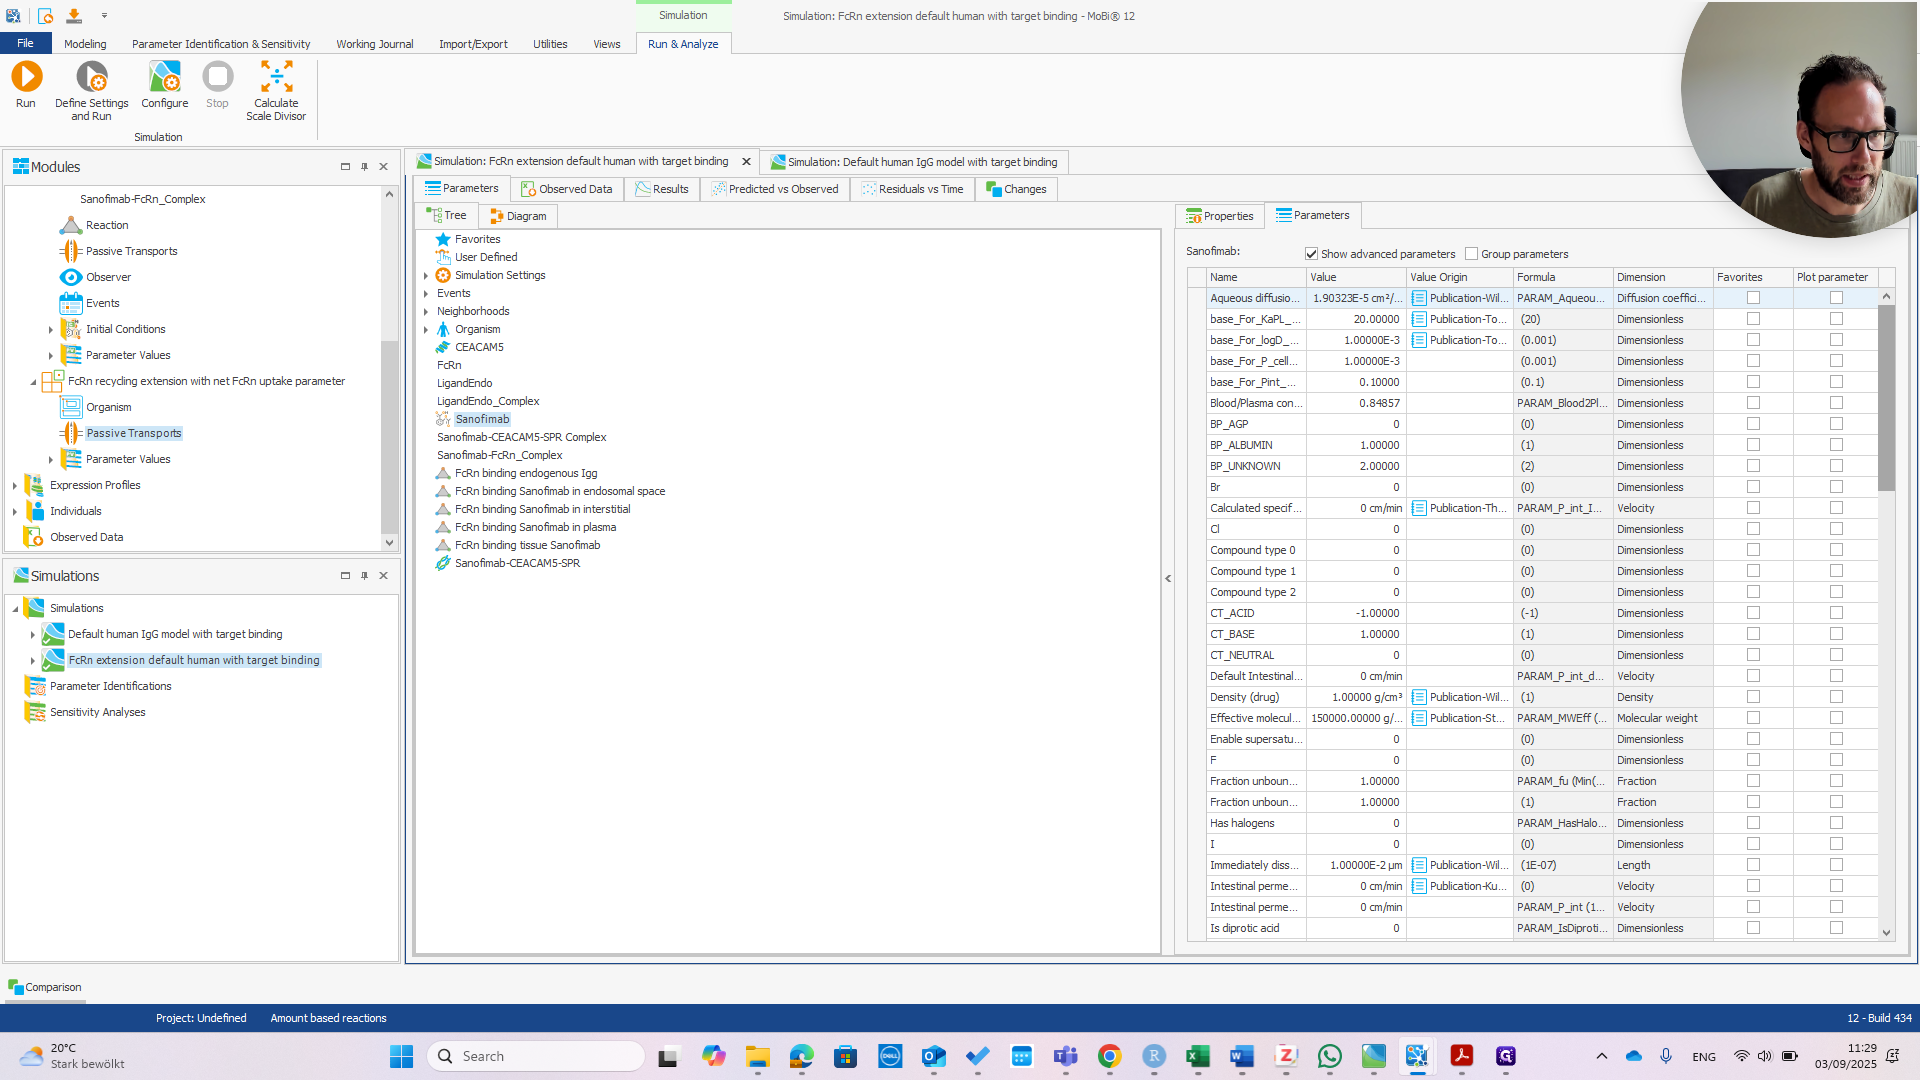
The affinity to the target is one nanomolar. I already checked; it slightly affects the PK. The target expression, or reference concentration, is 10 nanomolar, which is not very high.
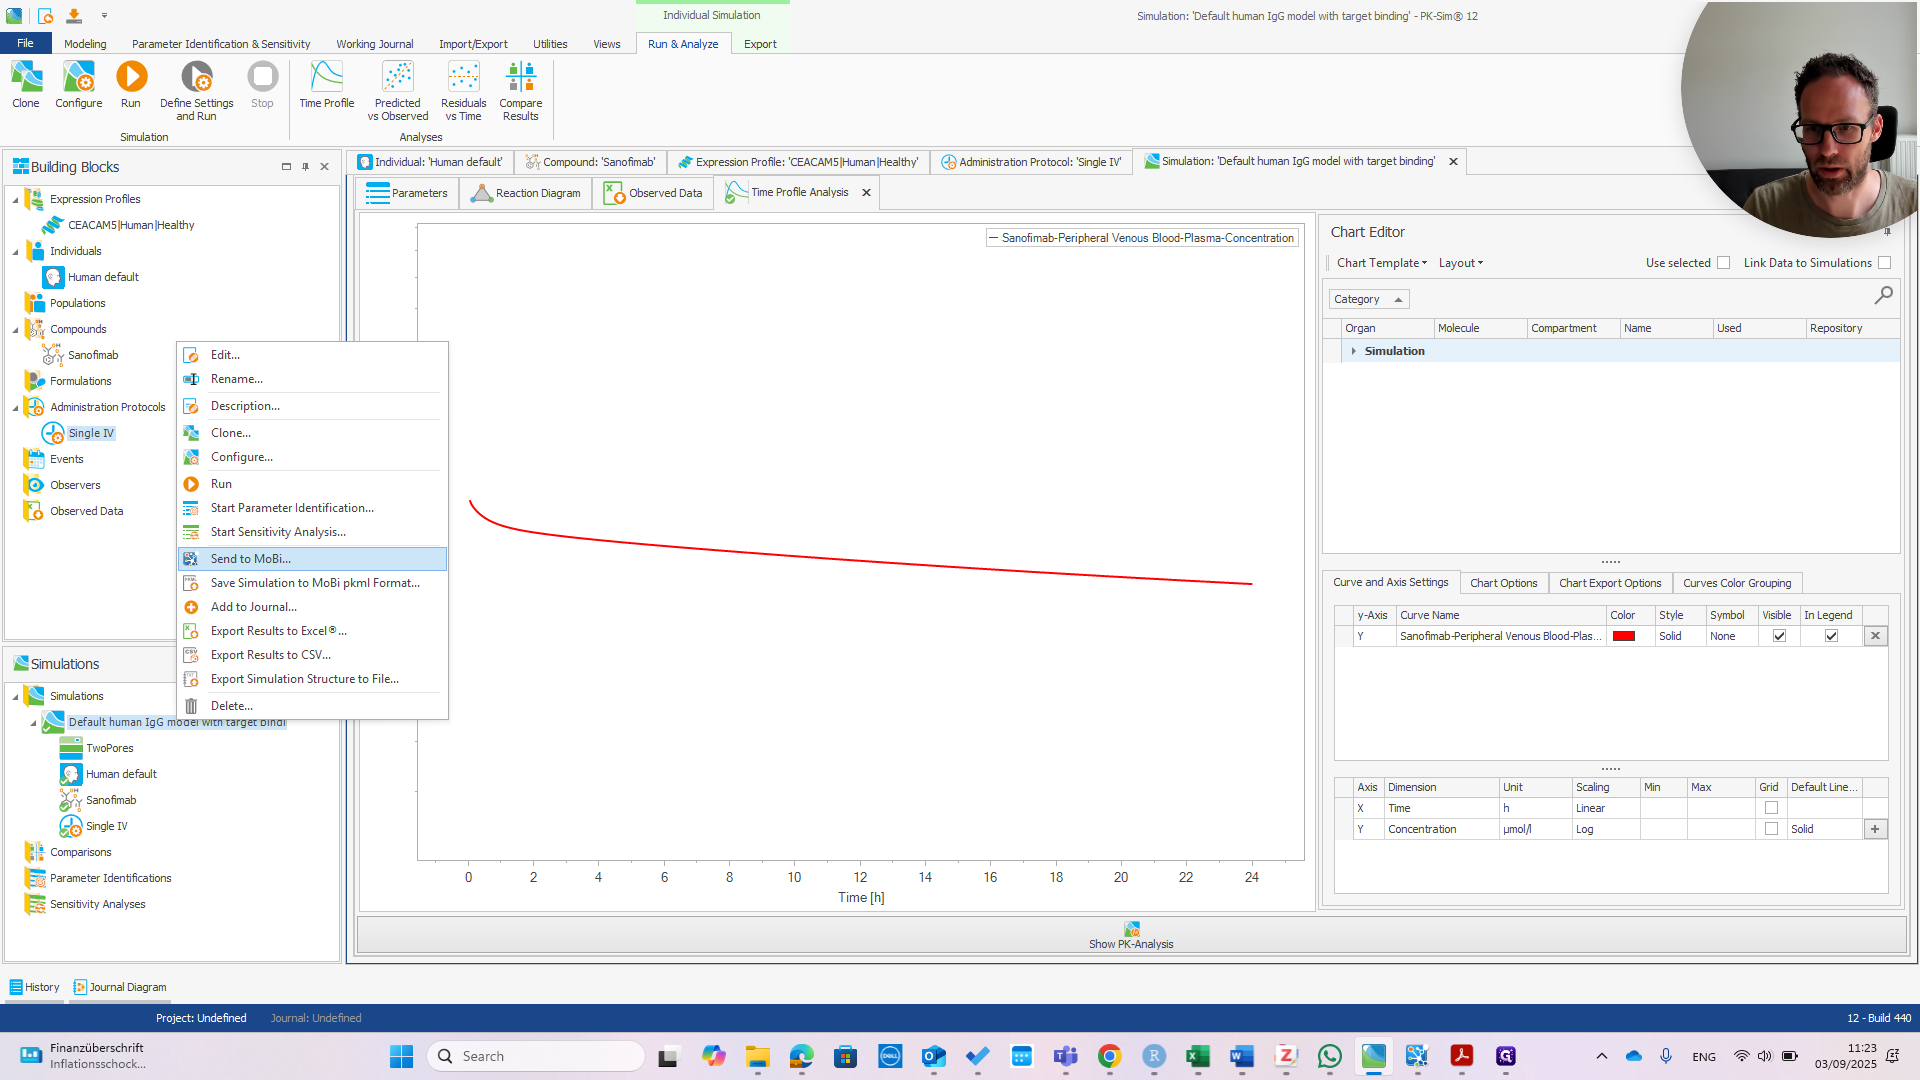
It is a monoclonal antibody that binds to FCRN only in the endosomal space, with a one micromolar affinity, as is typical for monoclonals. Alright. MOBI starts. First, import the FCRN module.

Right-click and select "Load Module." Then, navigate to your PKML file, wherever it is located.


I will navigate to the project folder on my PC. This location may be different on your computer.
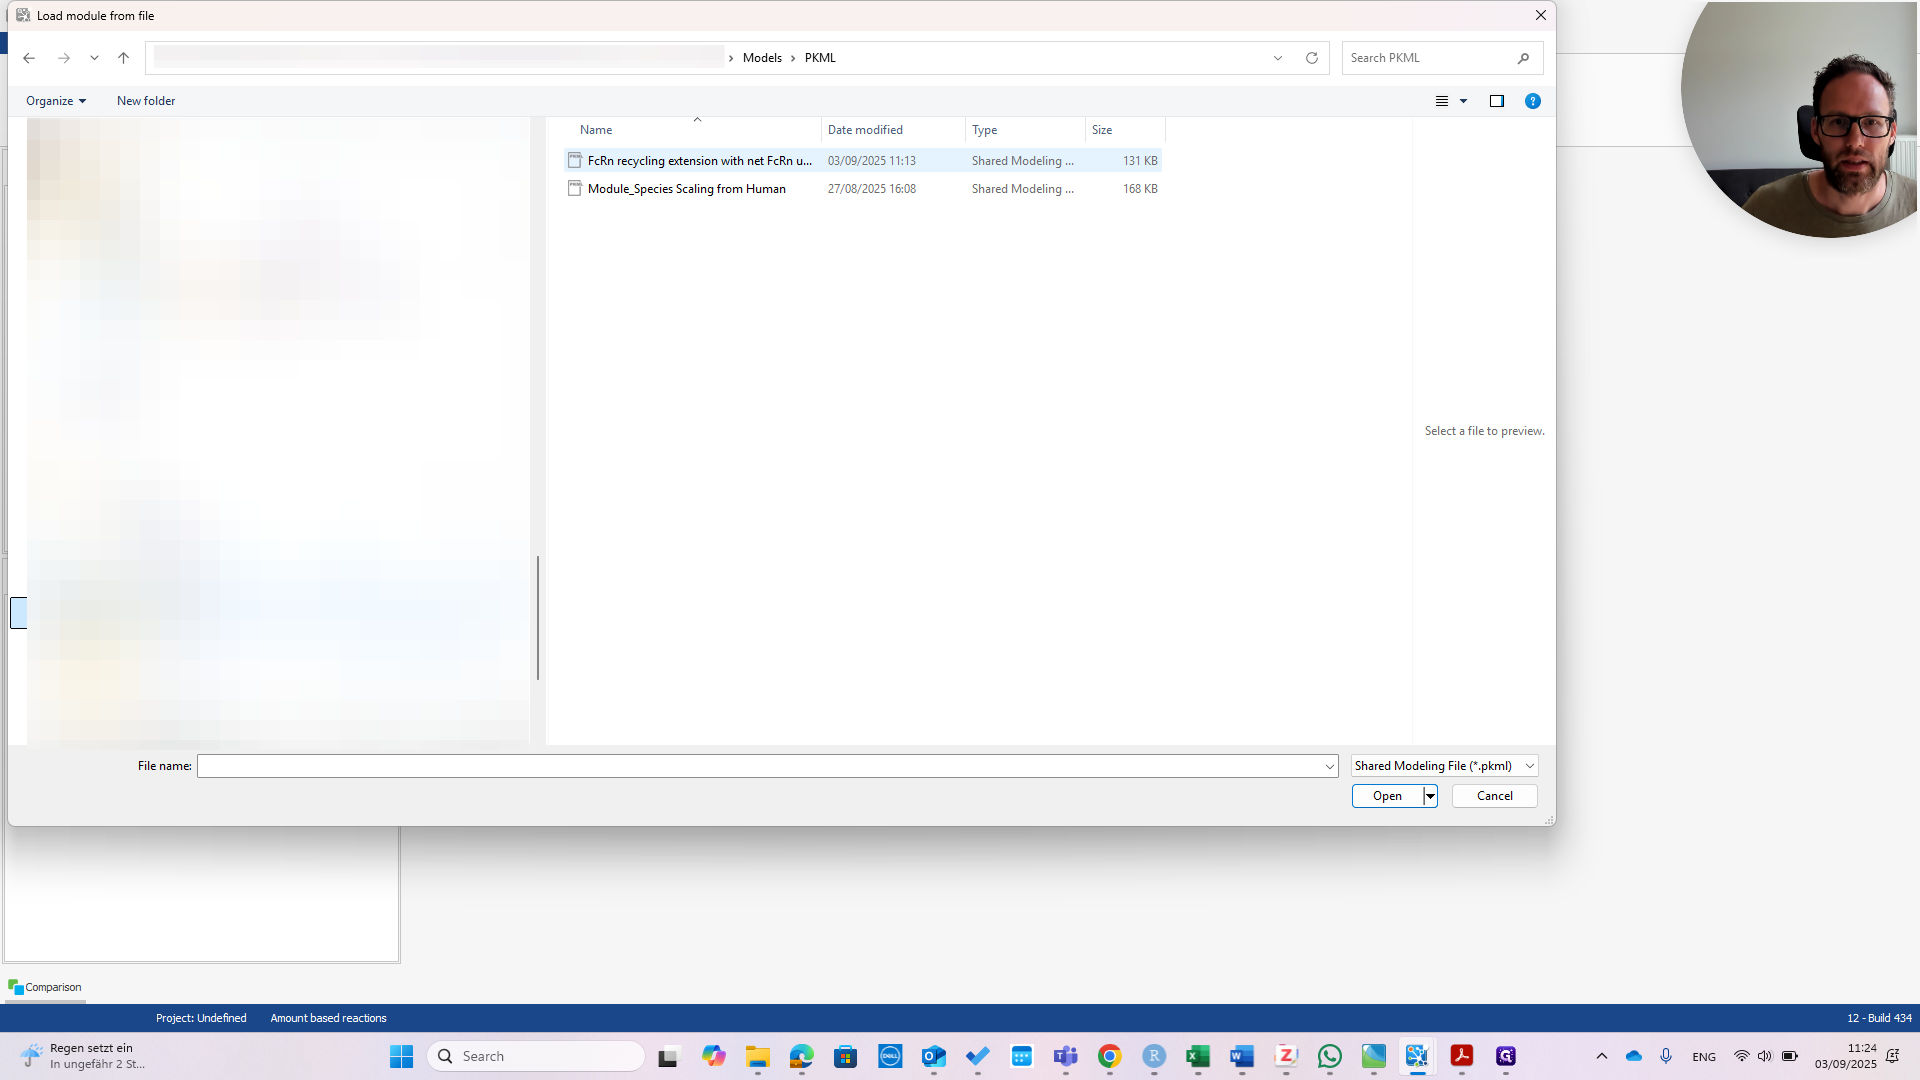
Okay.
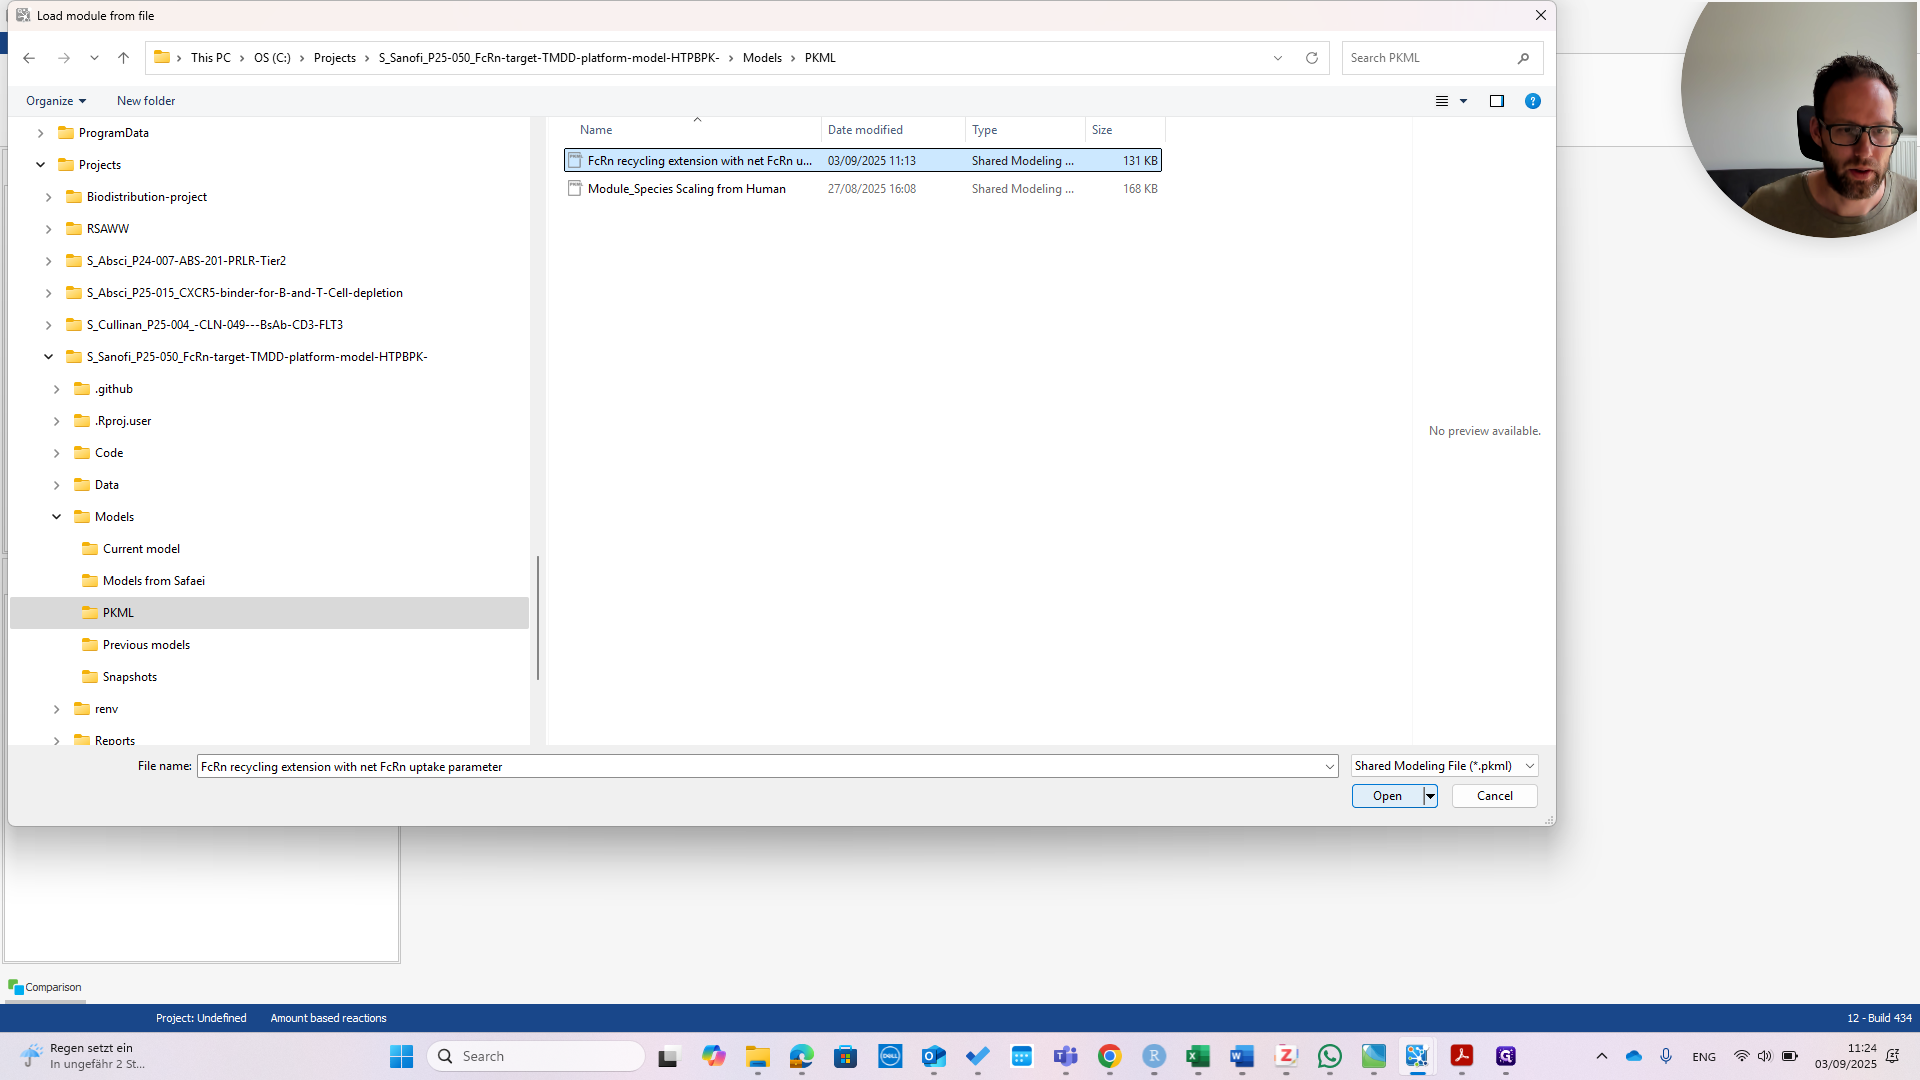
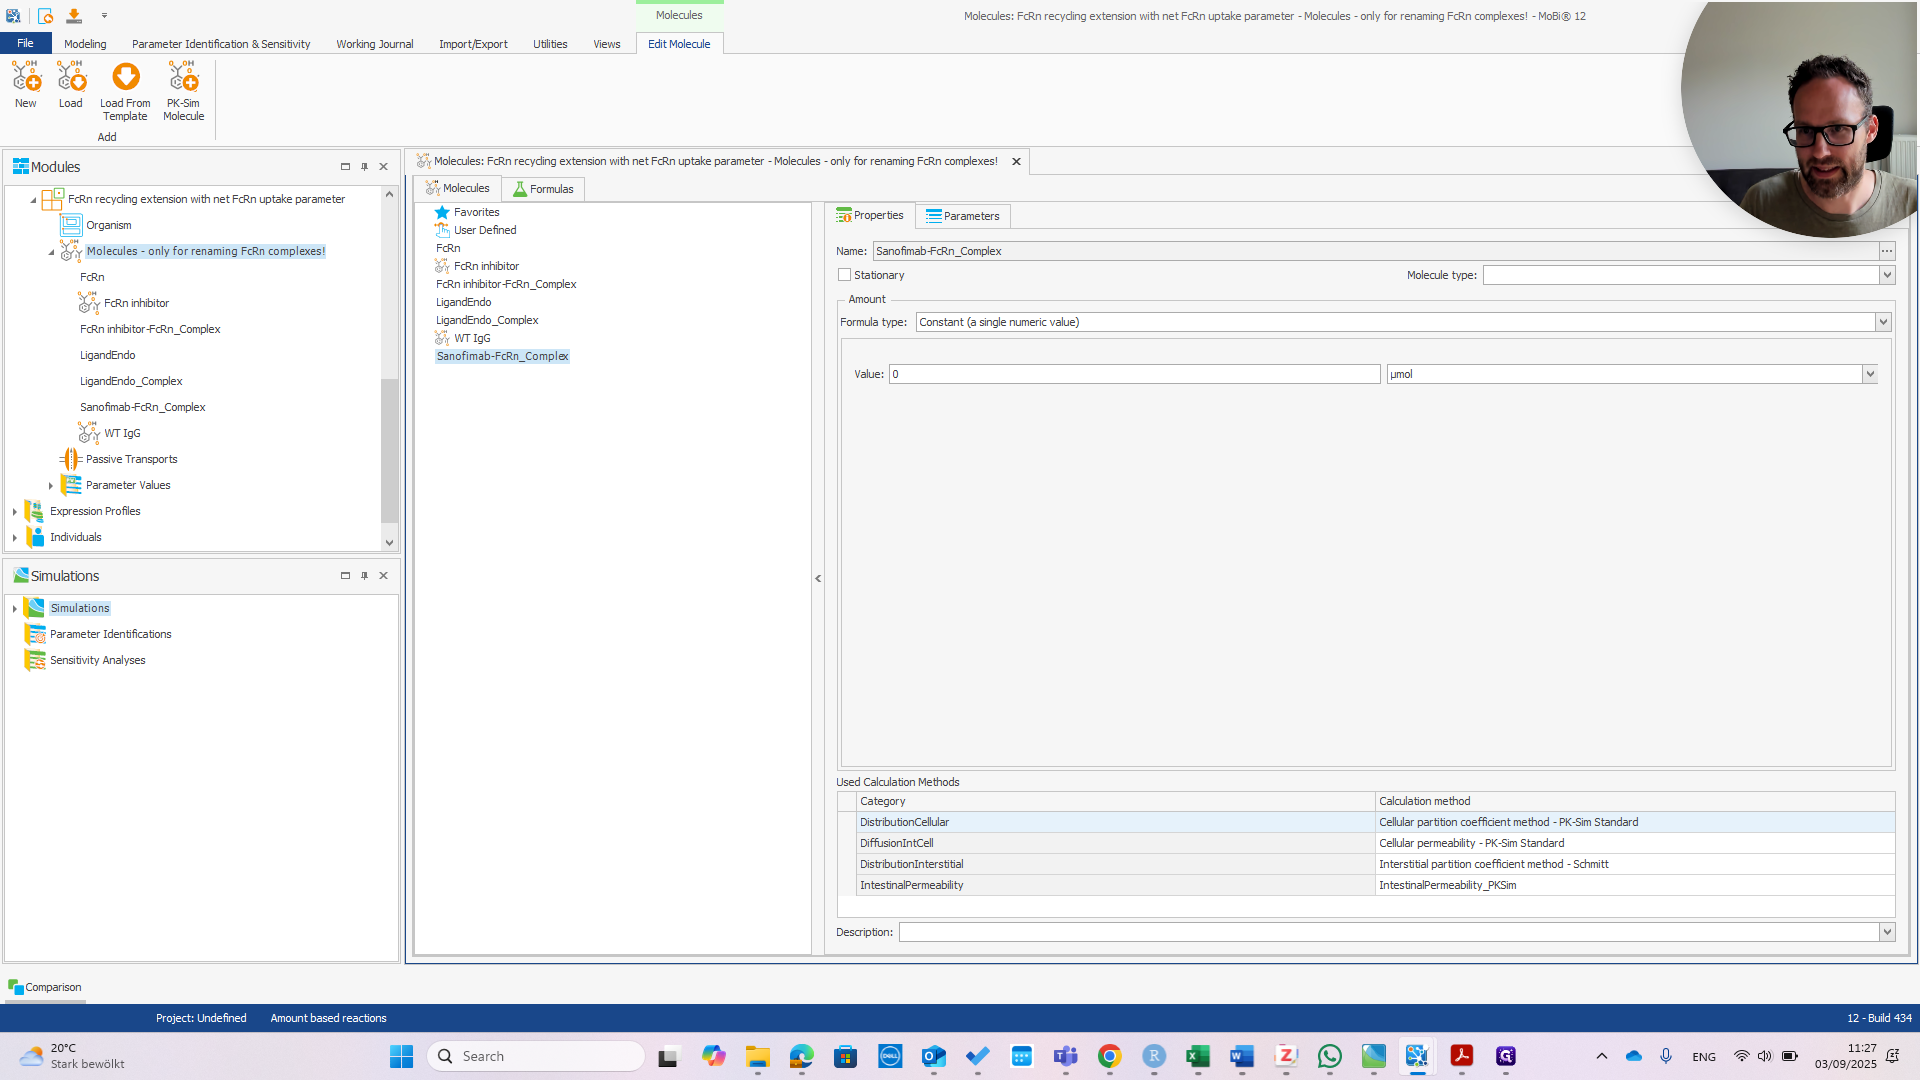
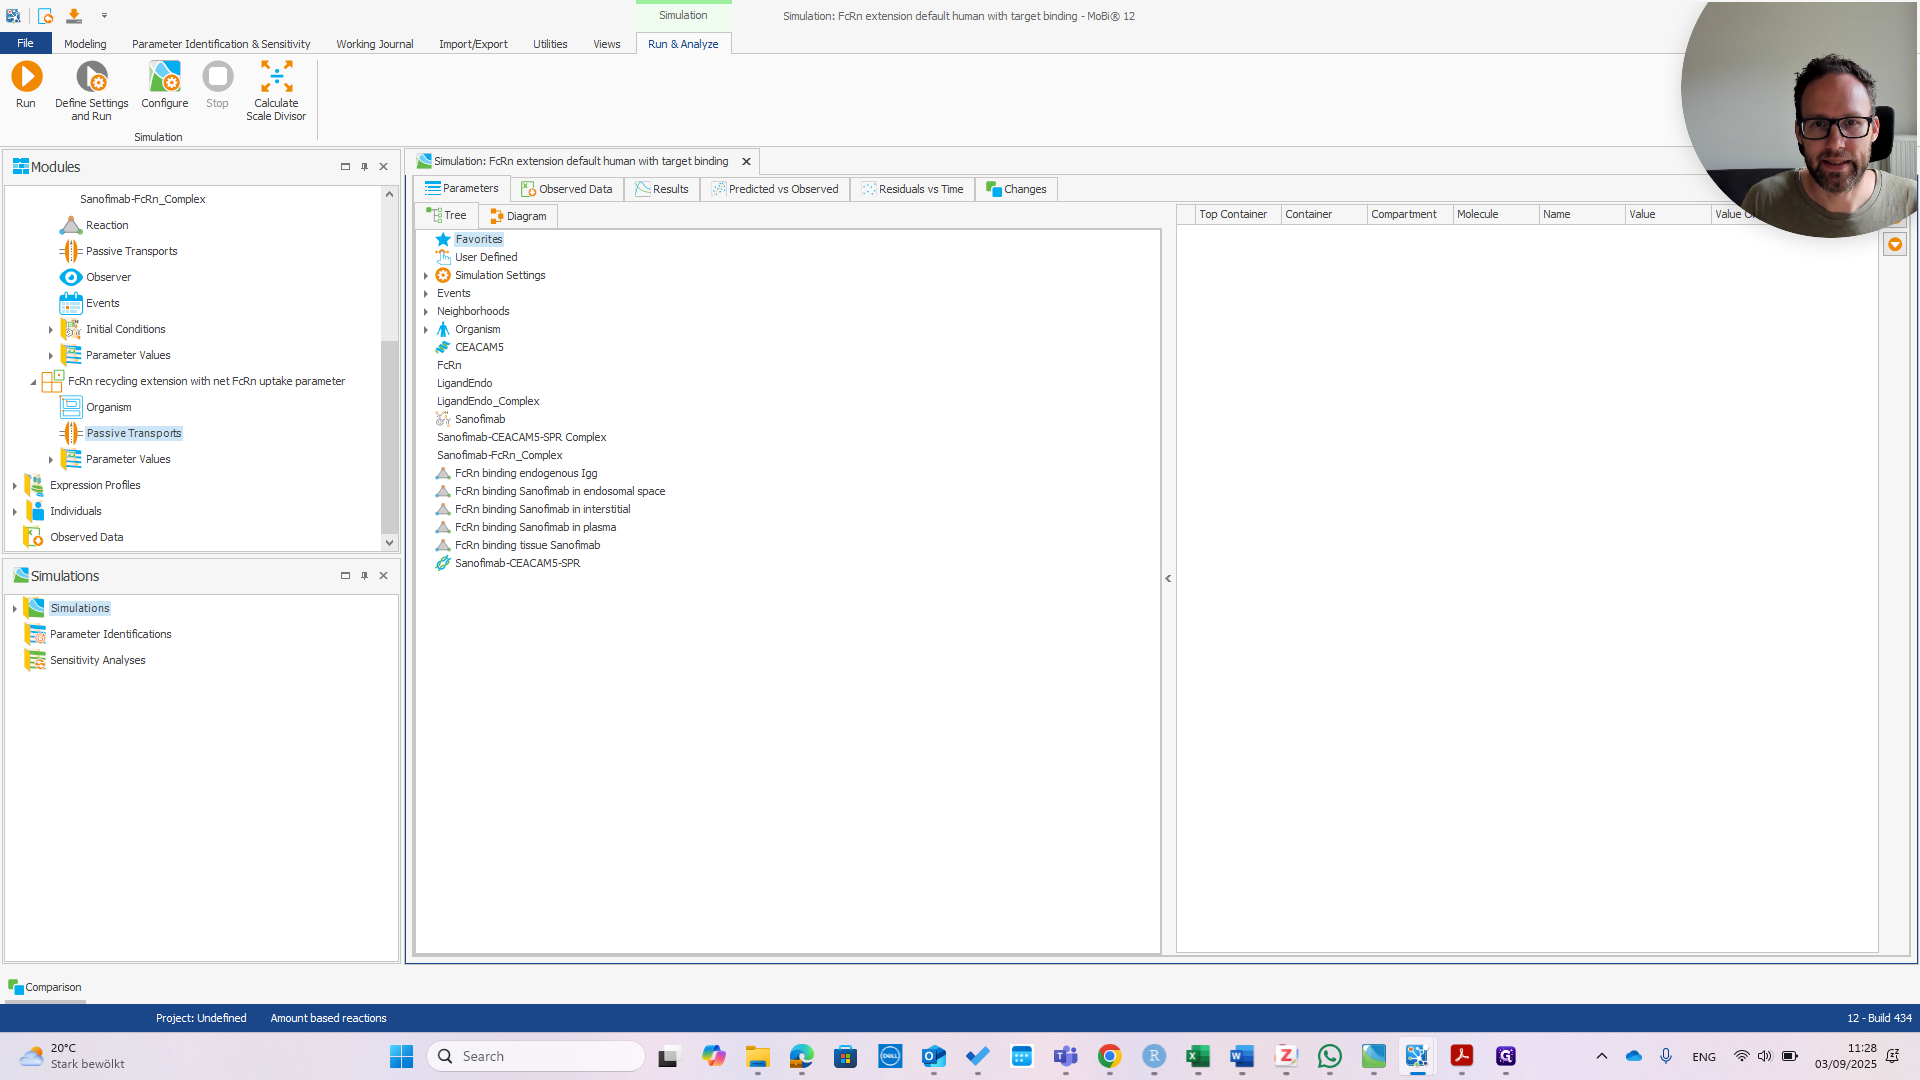
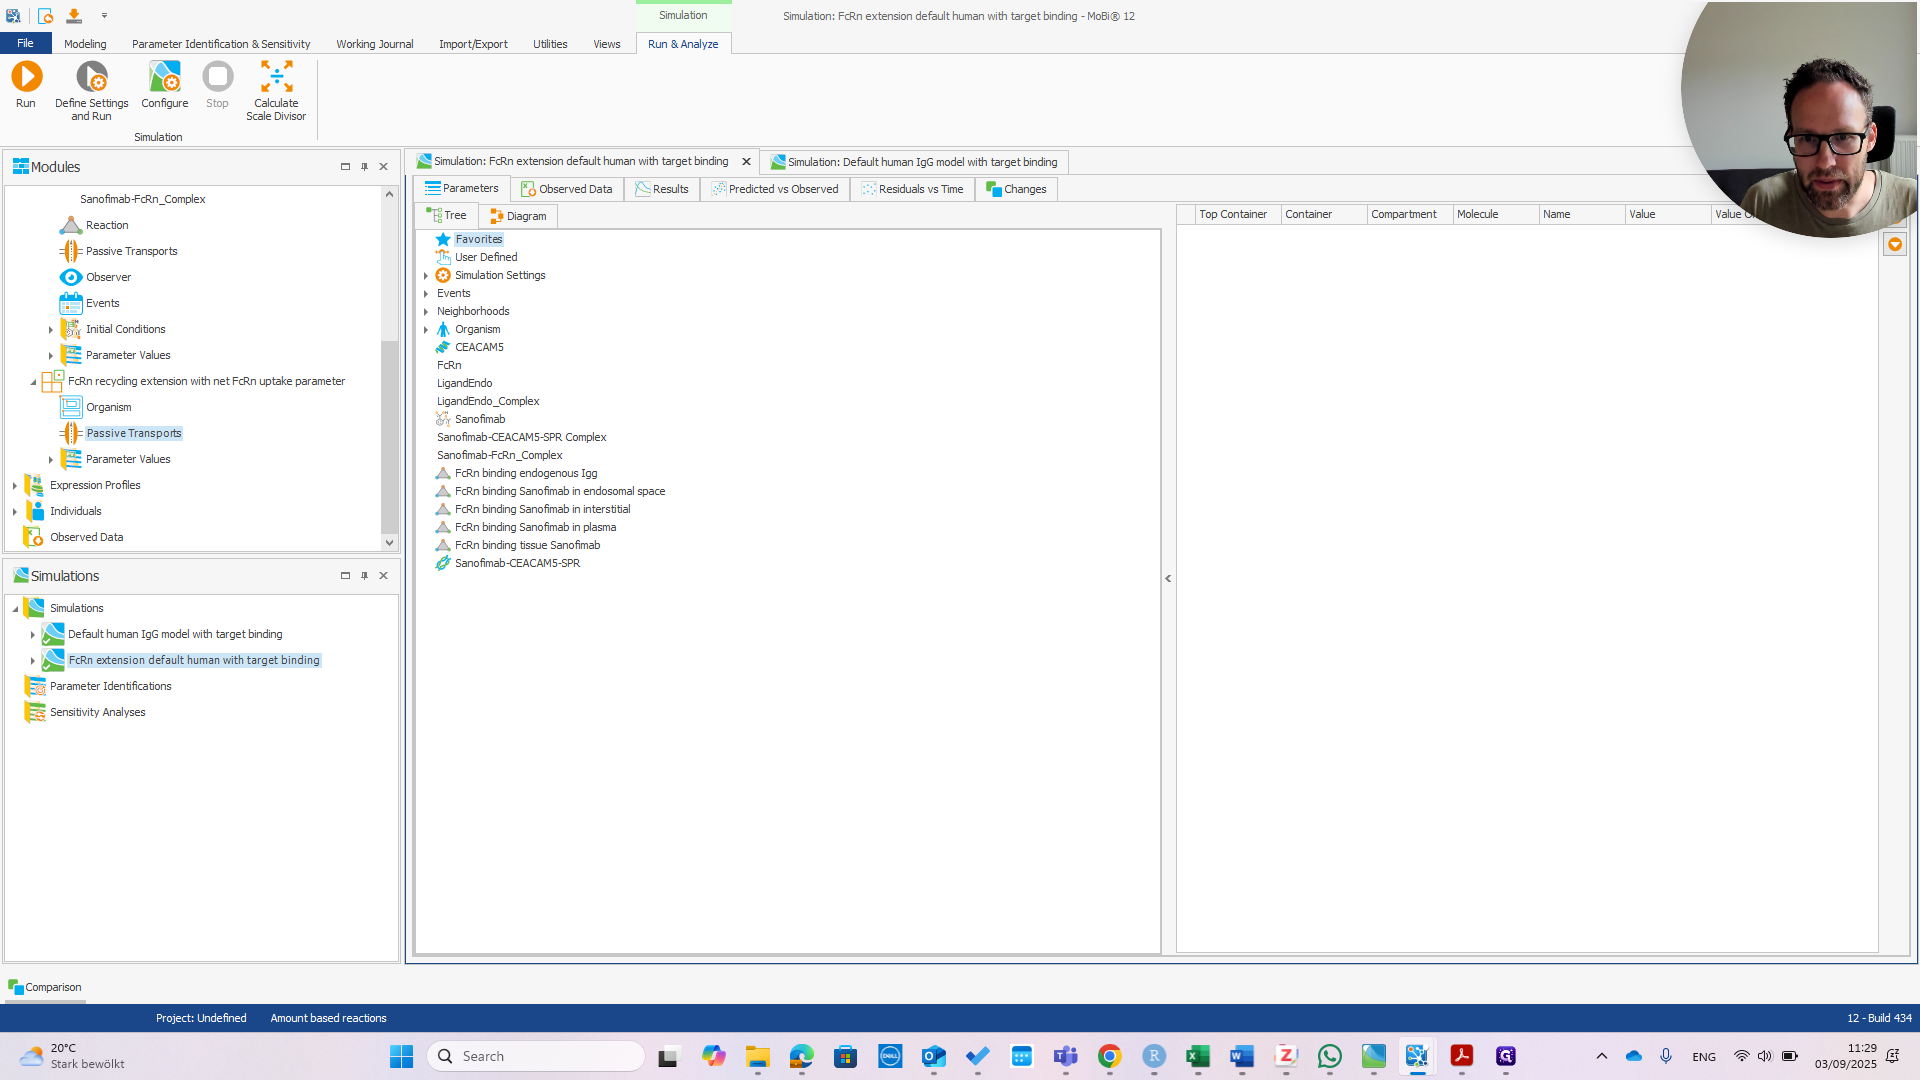
I import the module, as you can see here. You can see right away that it has four building blocks. One of these is called "molecules - only for renaming FCRN complexes". This is because the molecules in this module use names from the publication. In your model, you might want to use different names for your molecules.
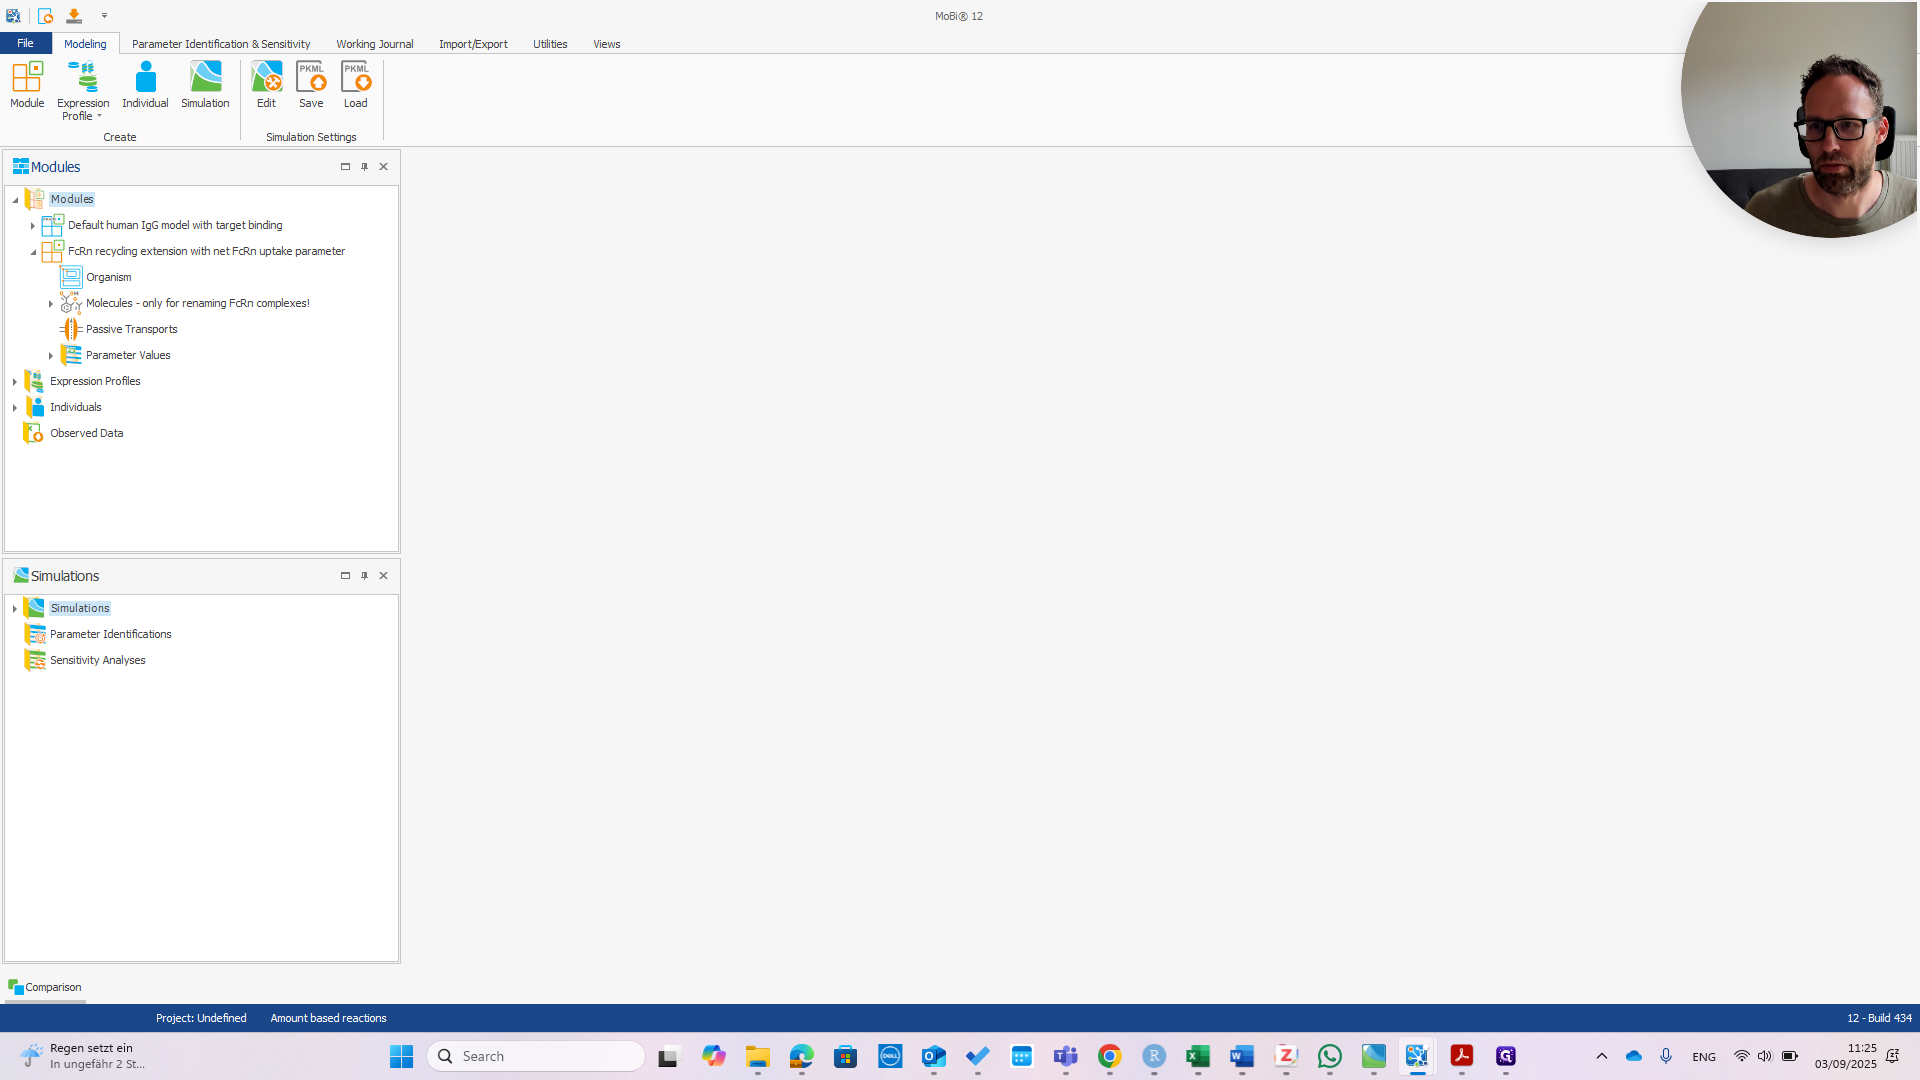

In this case, I have named it Sanofimab as an example.
However, these molecule names do not match.

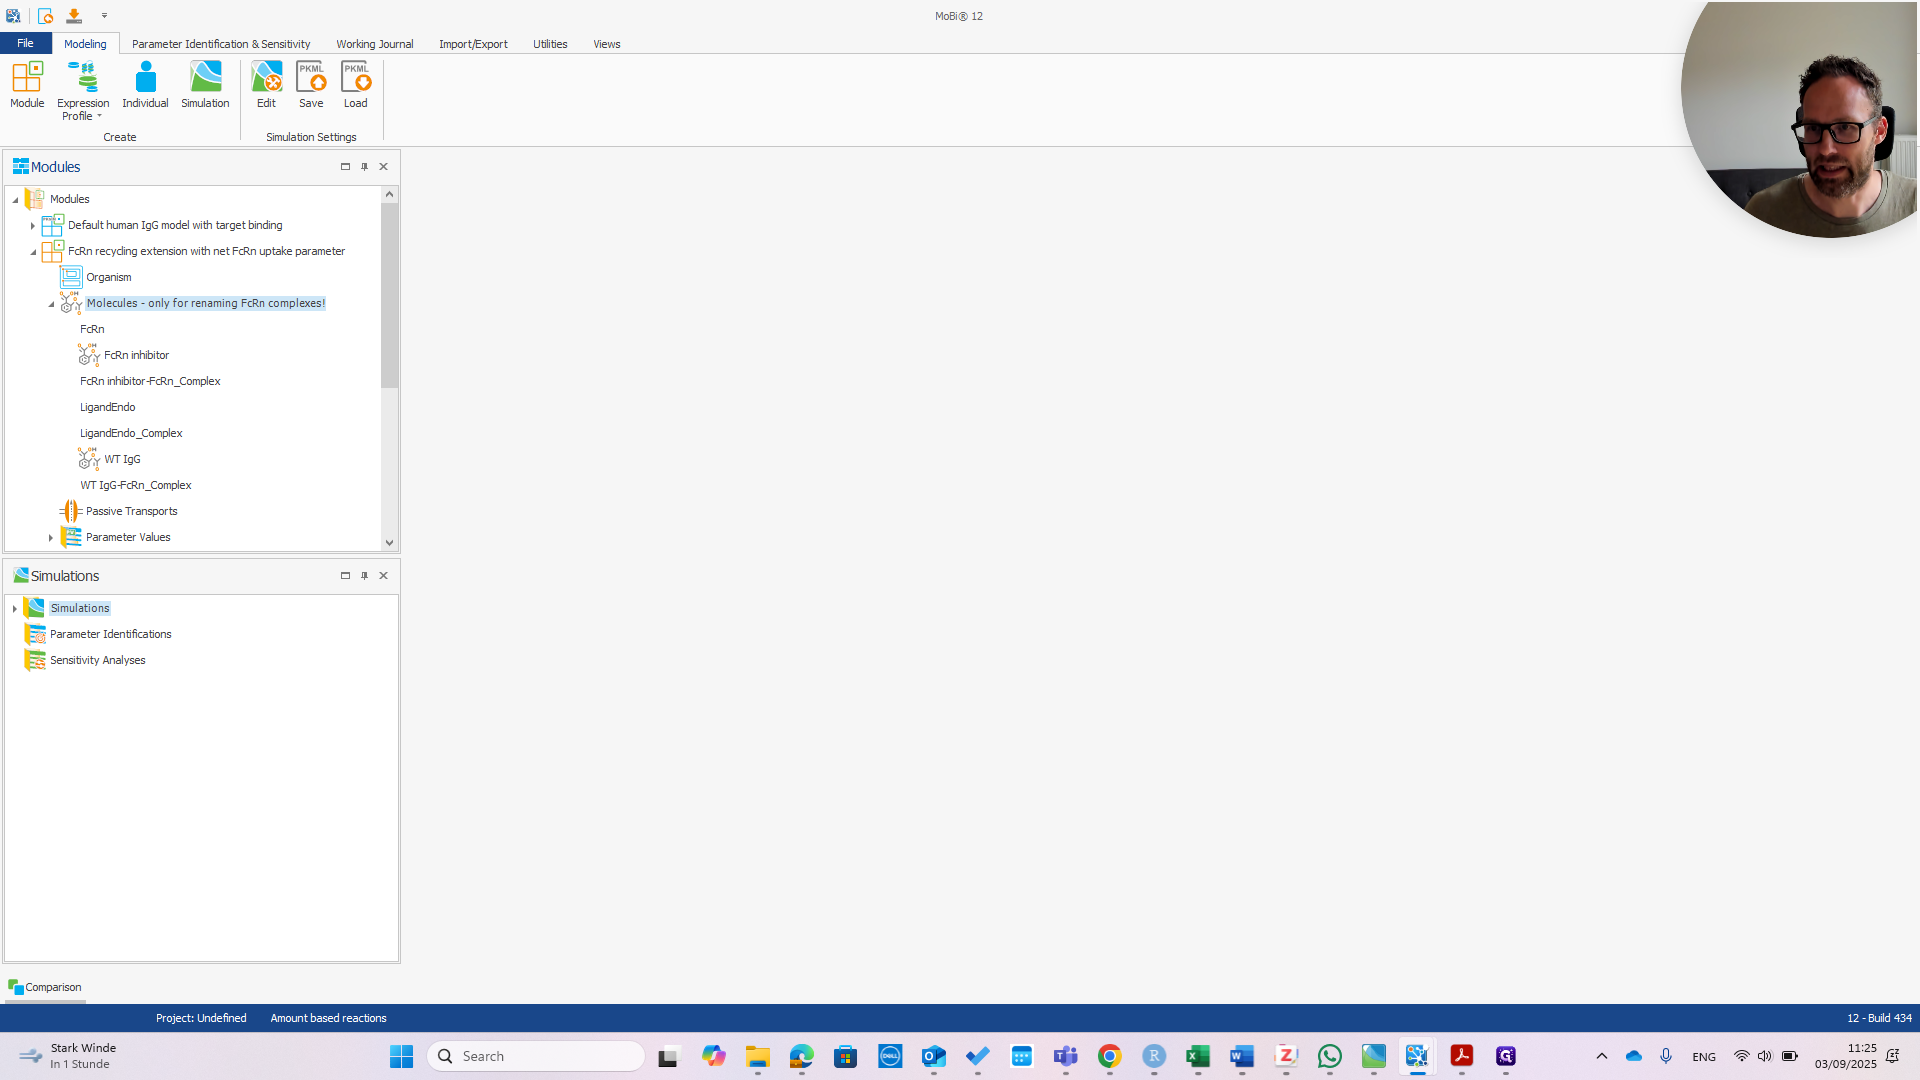
As stated in the building block name, we only need to focus on the FCRN complexes. Only these molecules have specific processes in this extension module. We have only one FCRN complex here. Select it and choose "Rename."
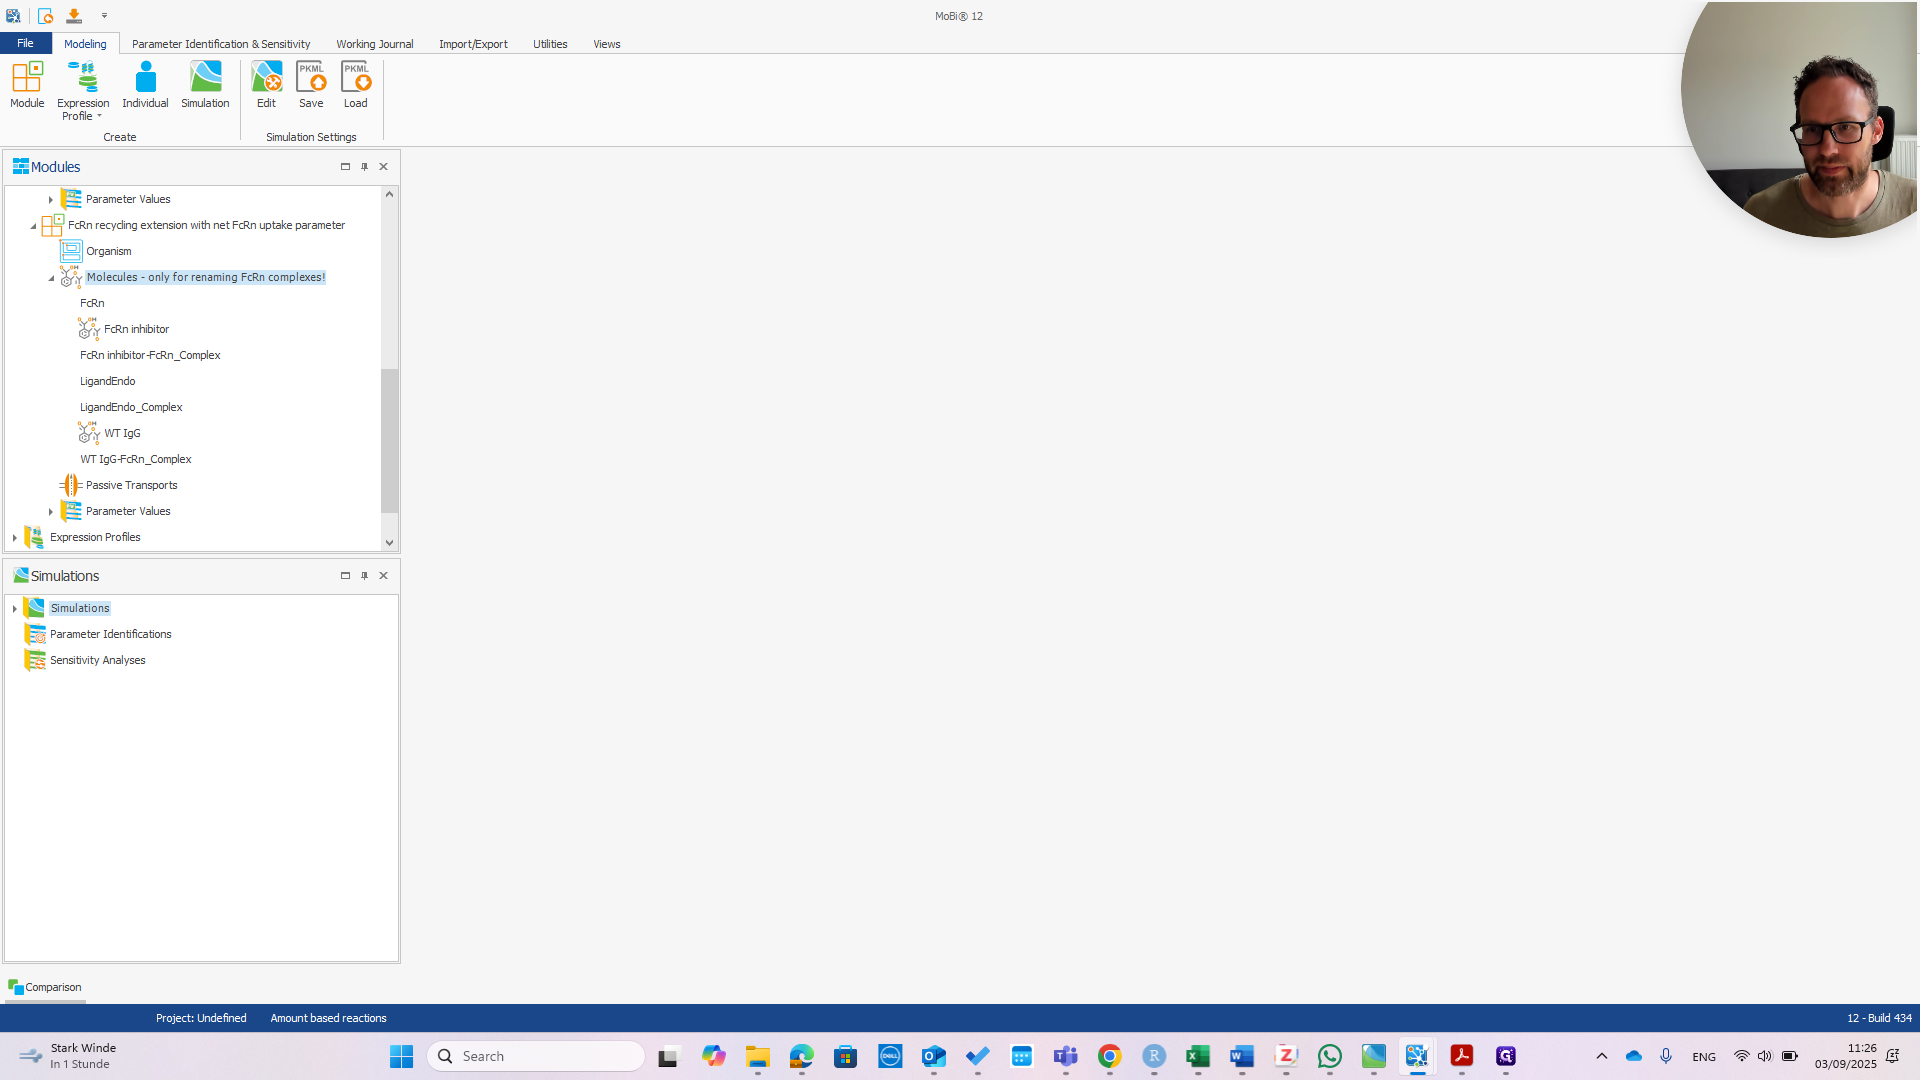
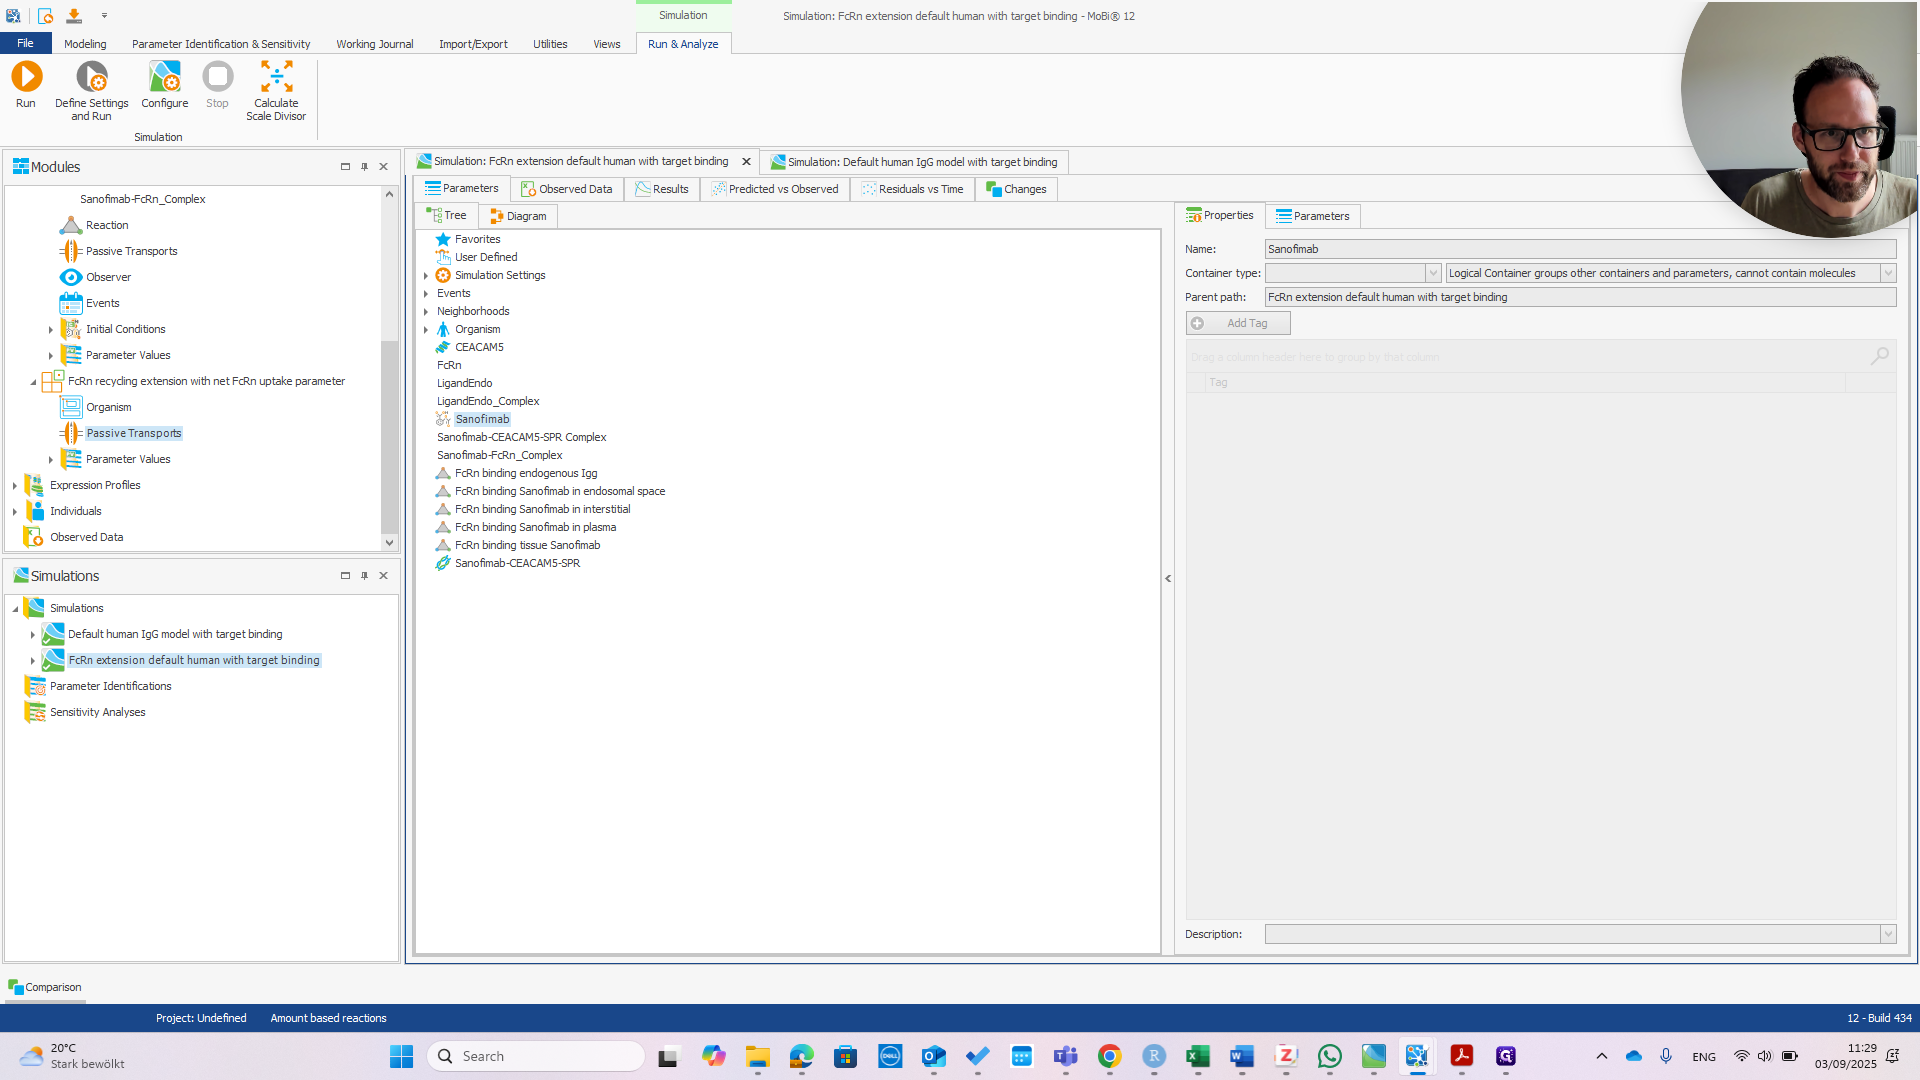
First, open the module by double-clicking it. Go to the molecule you want to rename.


Right-click and select "Rename." Enter the correct name before the dash.
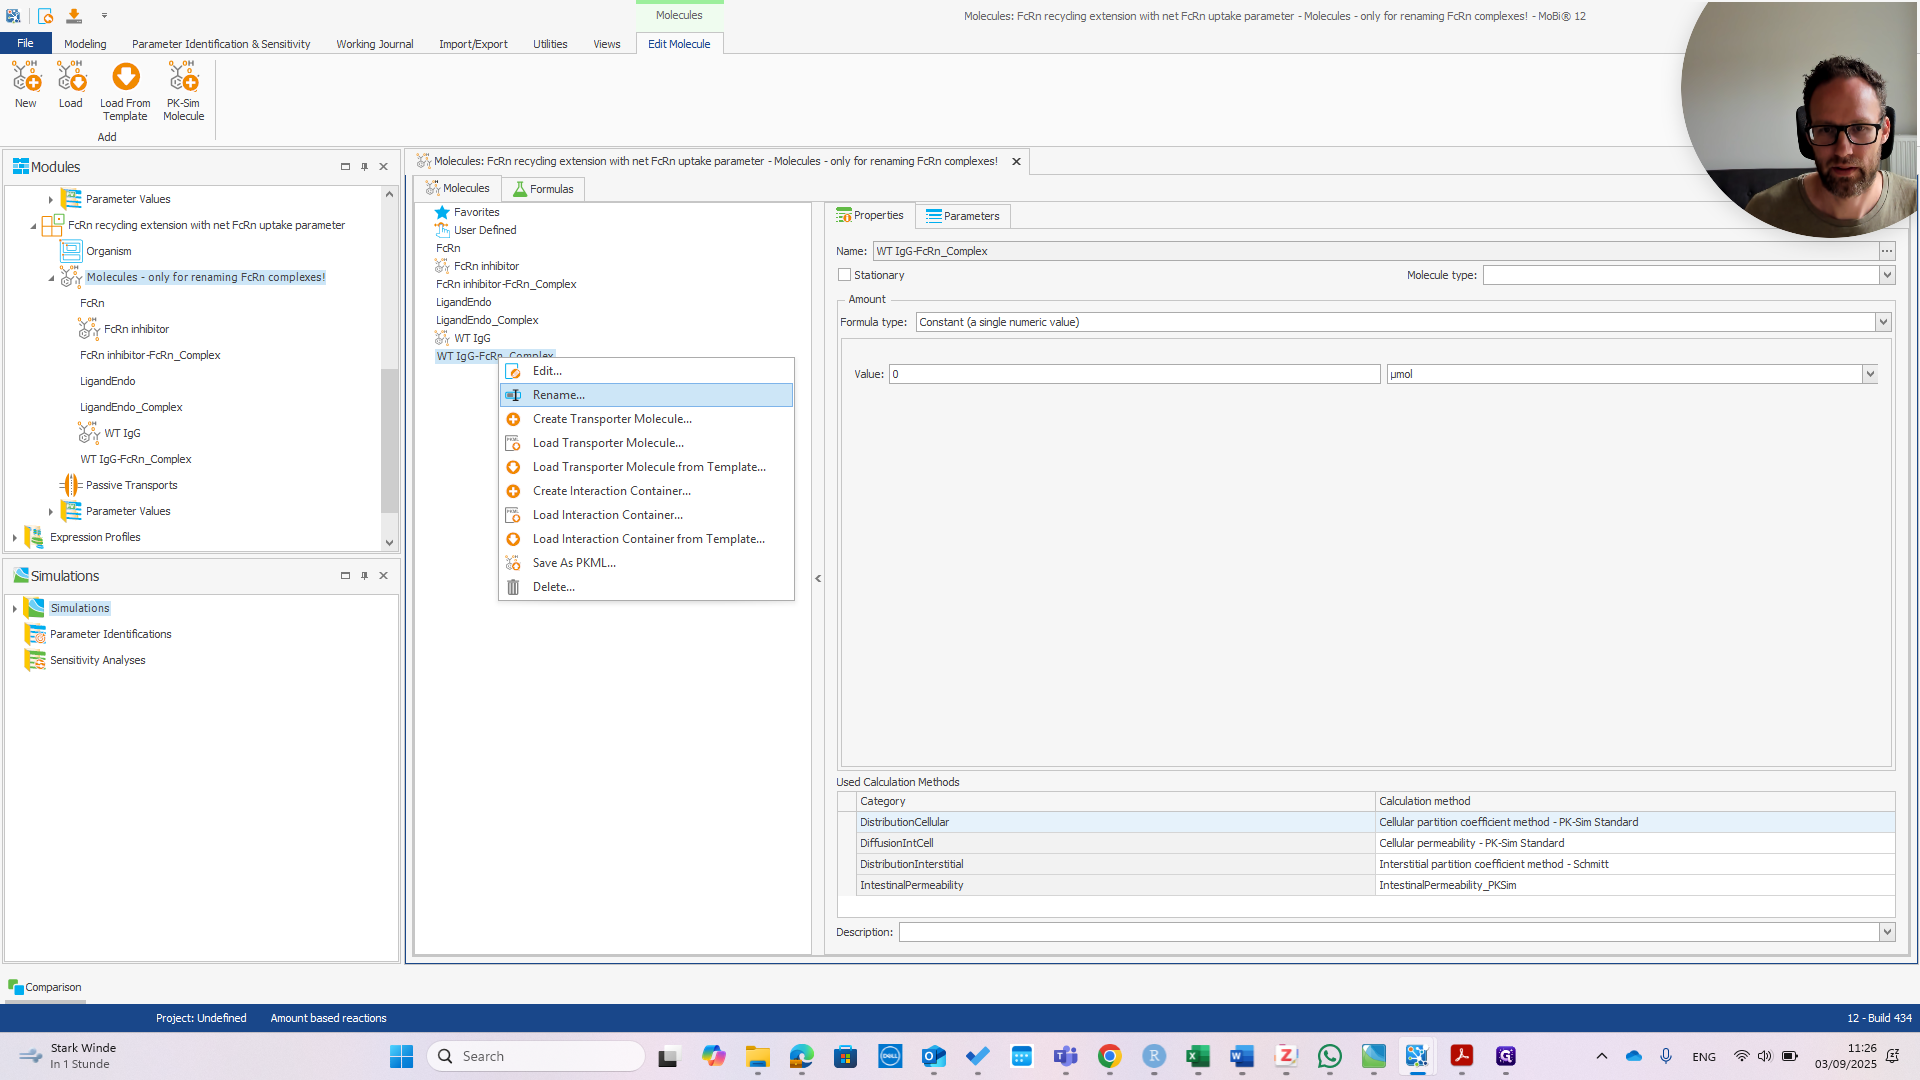
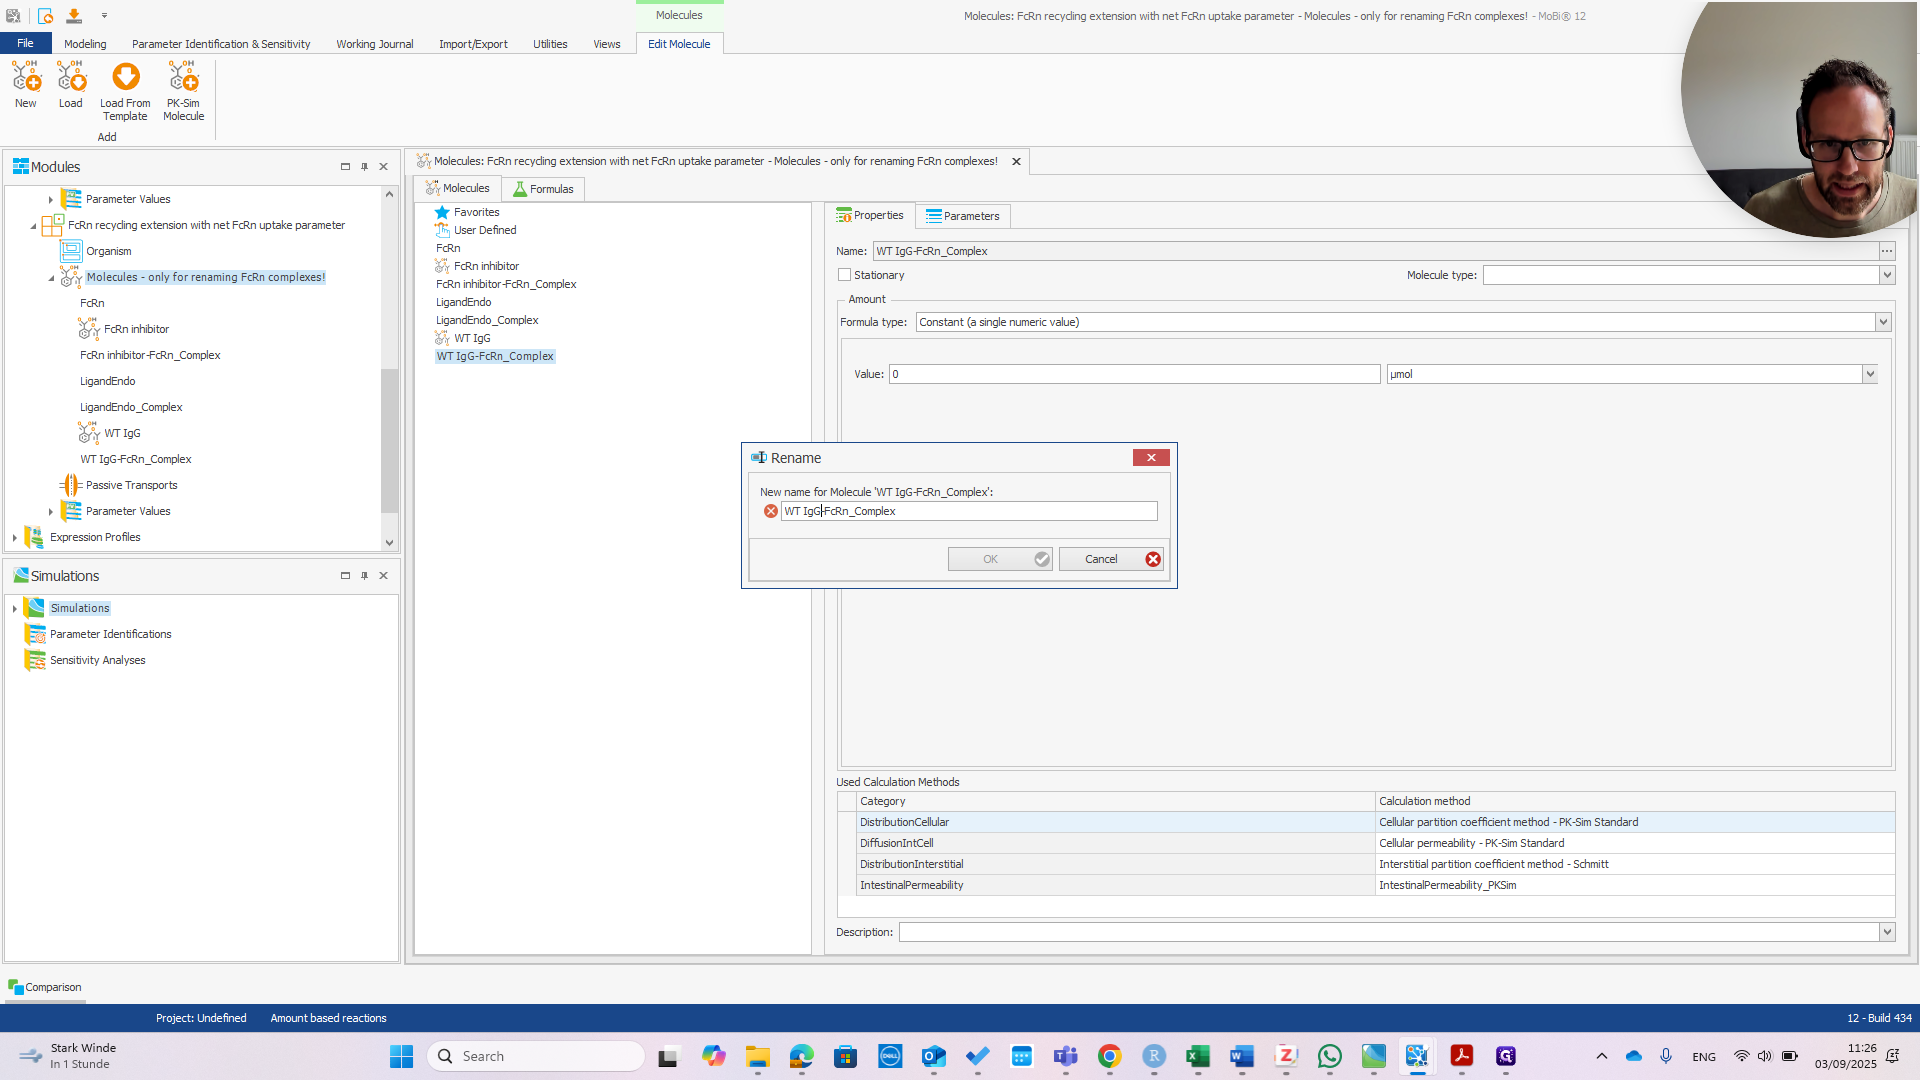

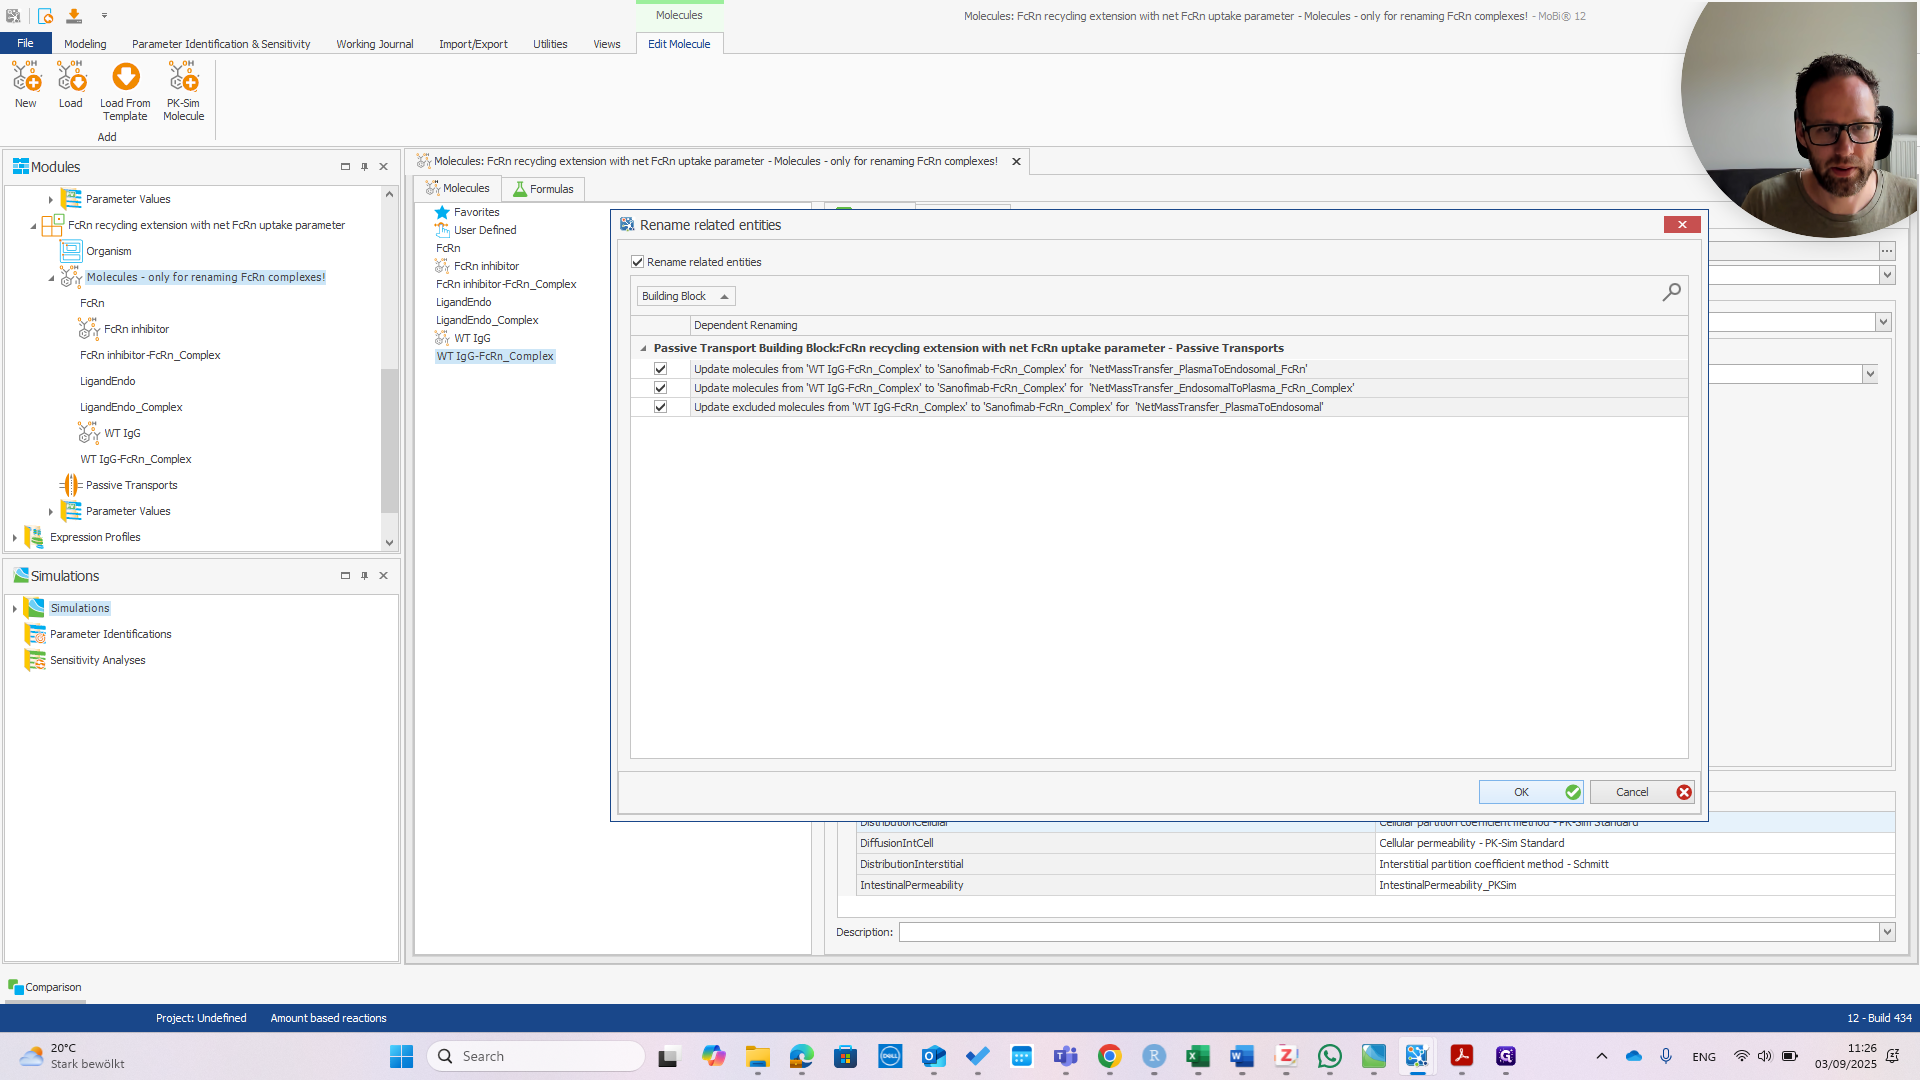
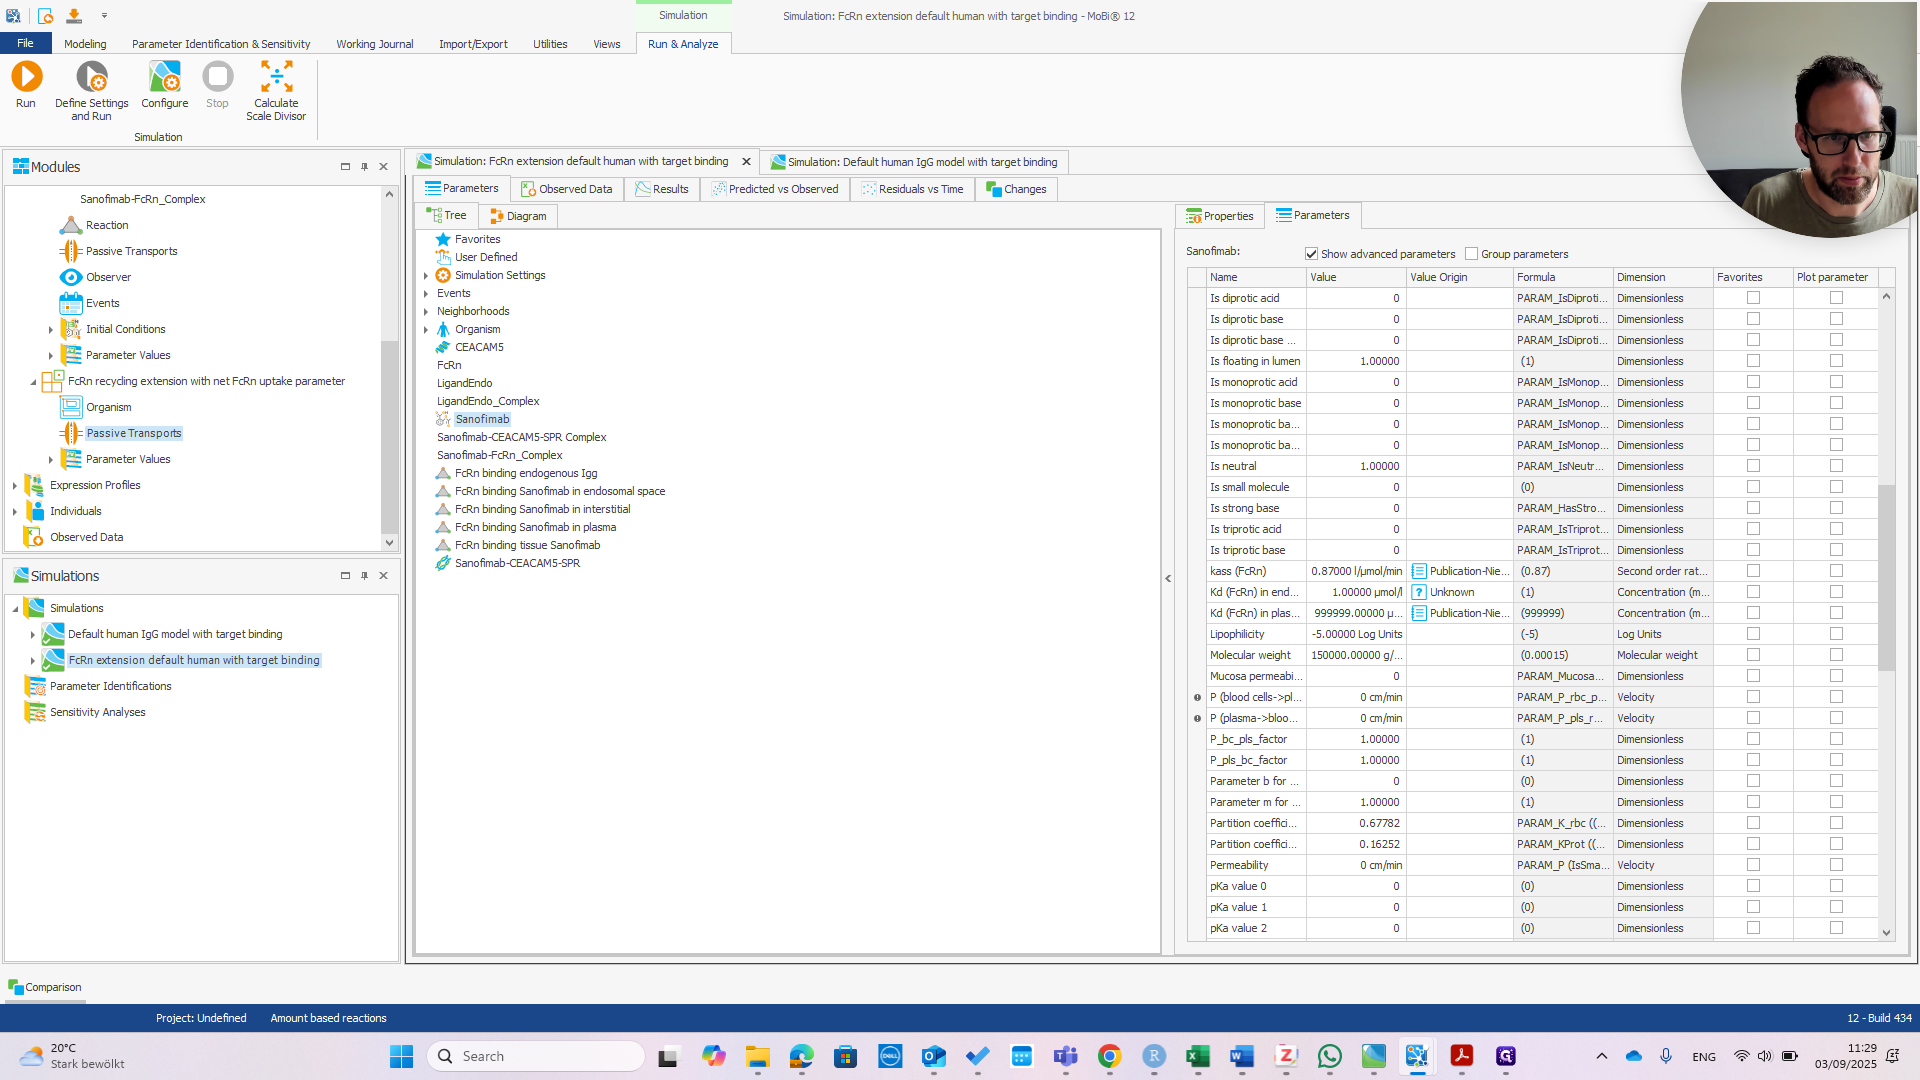
It is now called Sanofimab-FCRN complex. If you click OK, a pop-up will appear—if everything is correct—showing the three items that will be renamed.
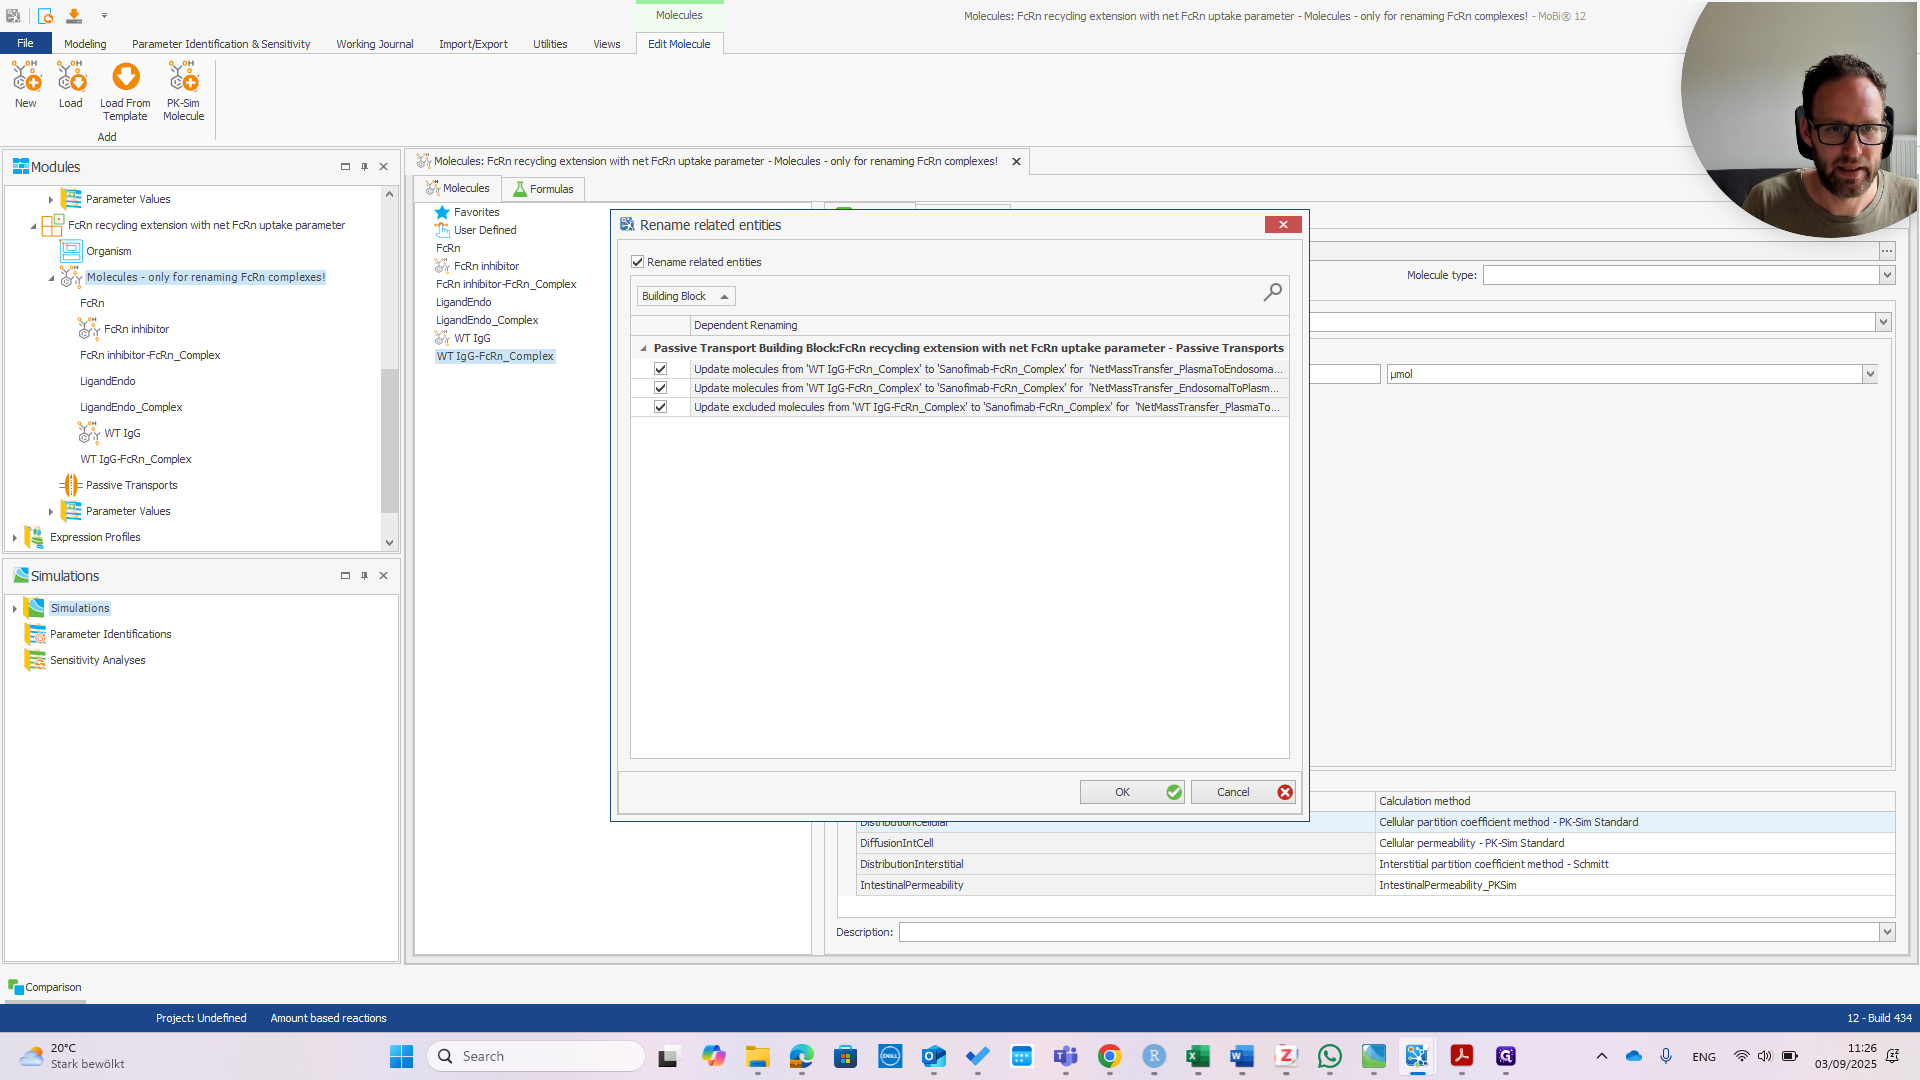
As you can see, these are all in the transports within the FCRN mass balance equations. This is what we want. Okay.
Now, we have the Sanofimab-FCRN complex. We can confirm that this matches the name shown here. It should be exactly the same; otherwise, it won't work.
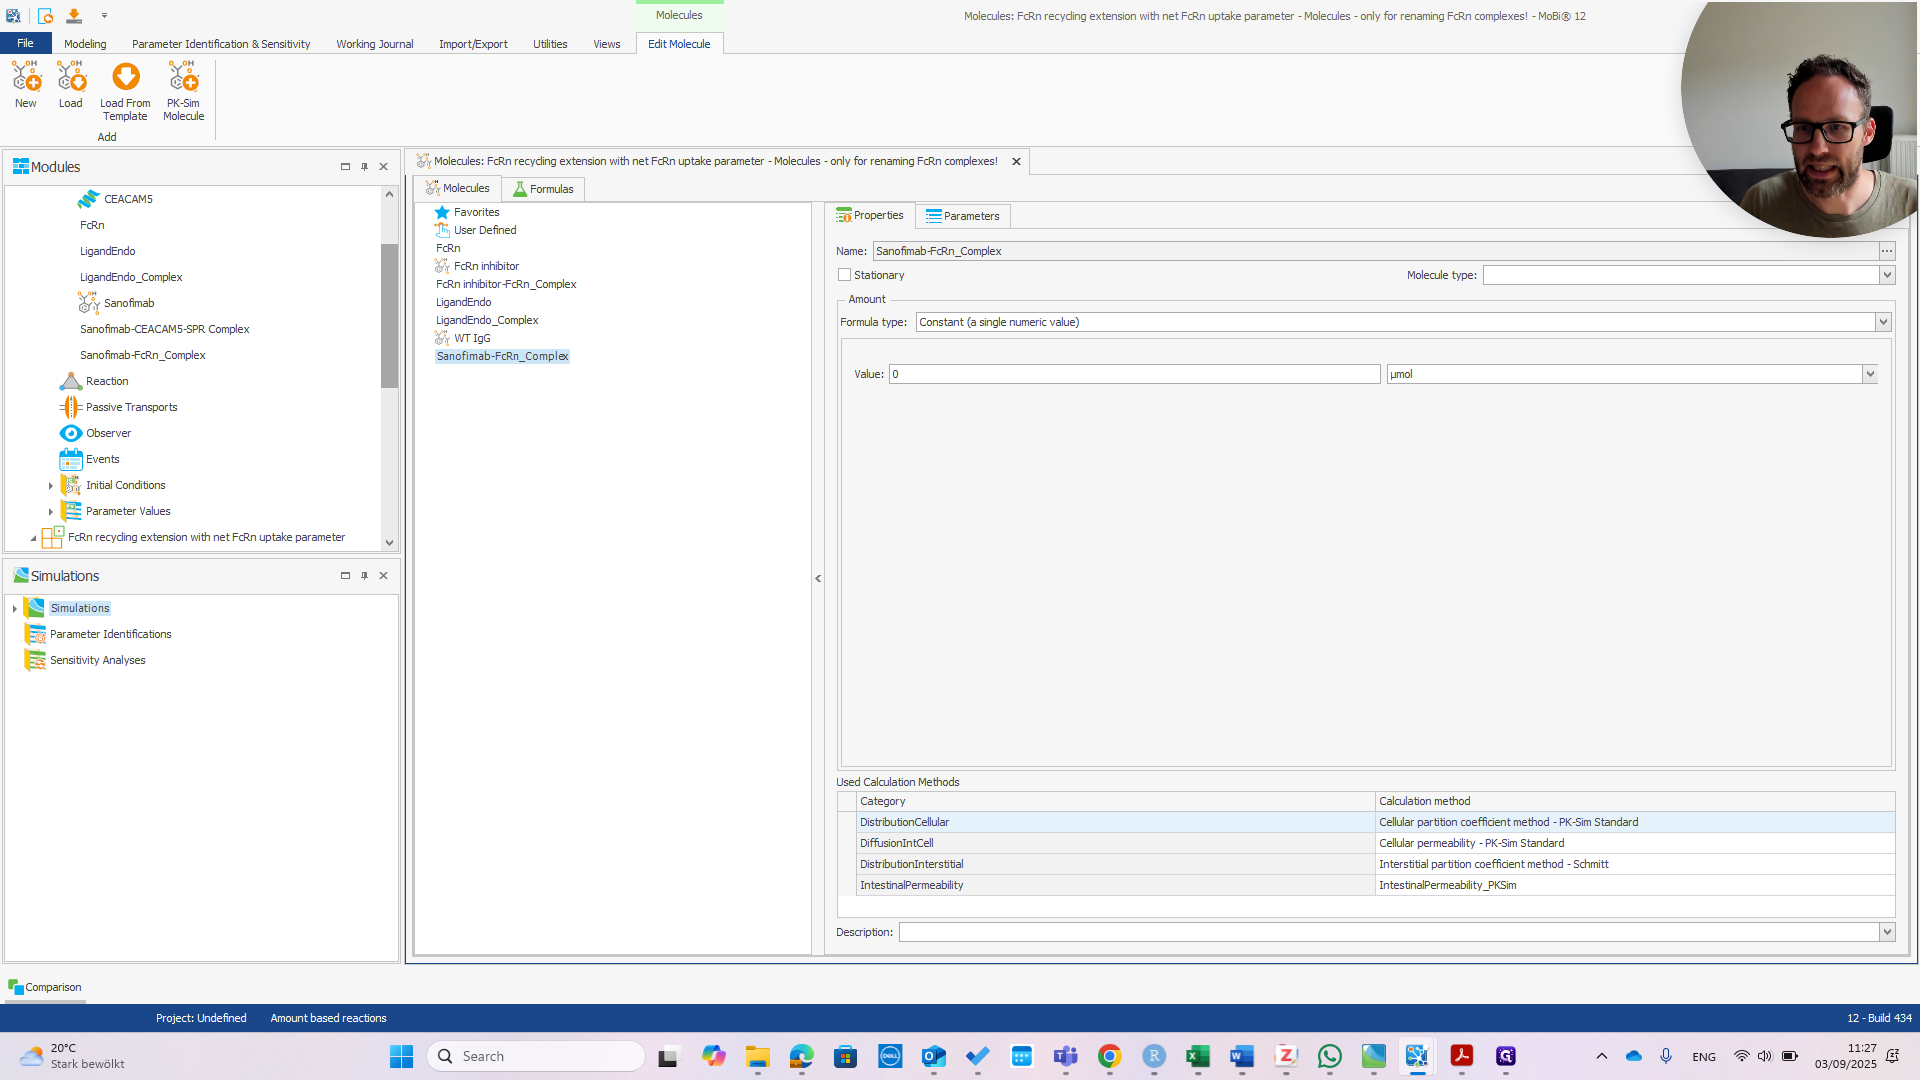
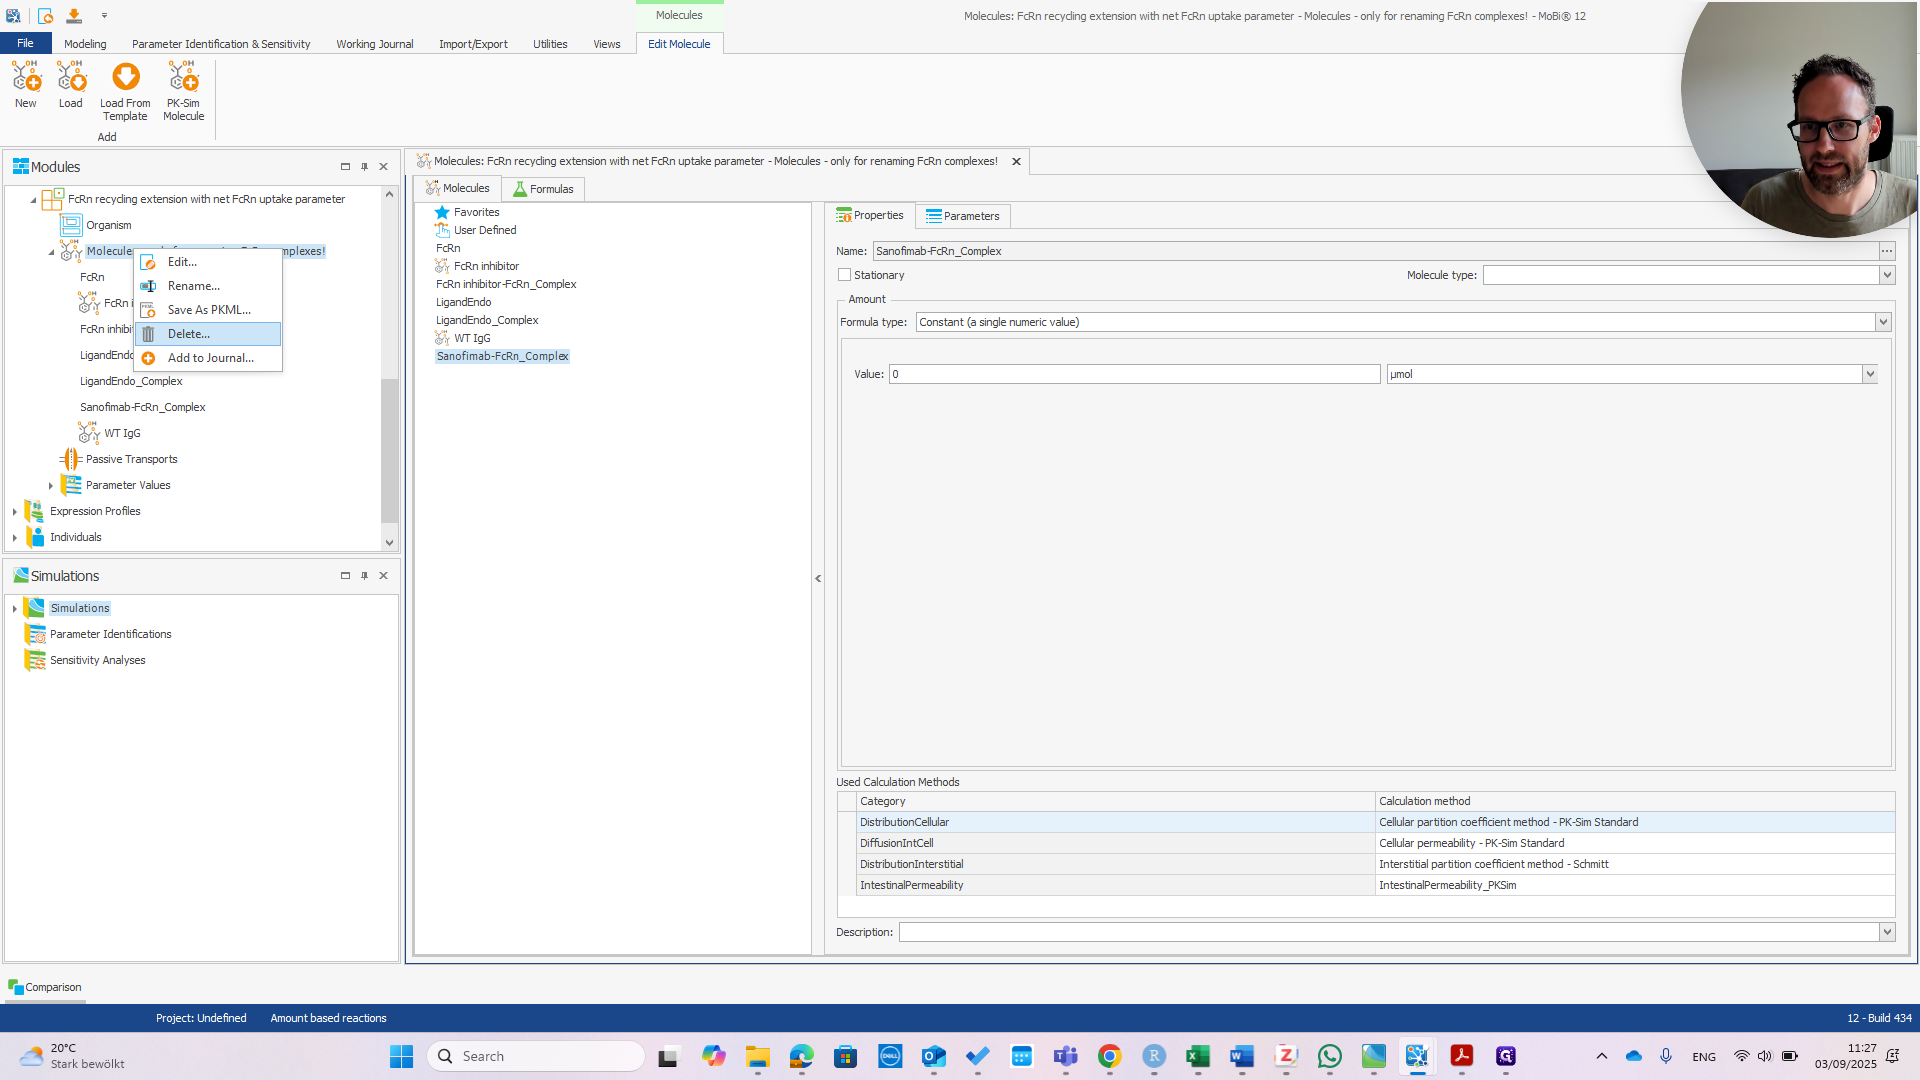
In principle, this only requires correctly typing the molecule's name. Since it was only needed for renaming, which is now complete, we should remove this building block. Confirm that you want to remove it.

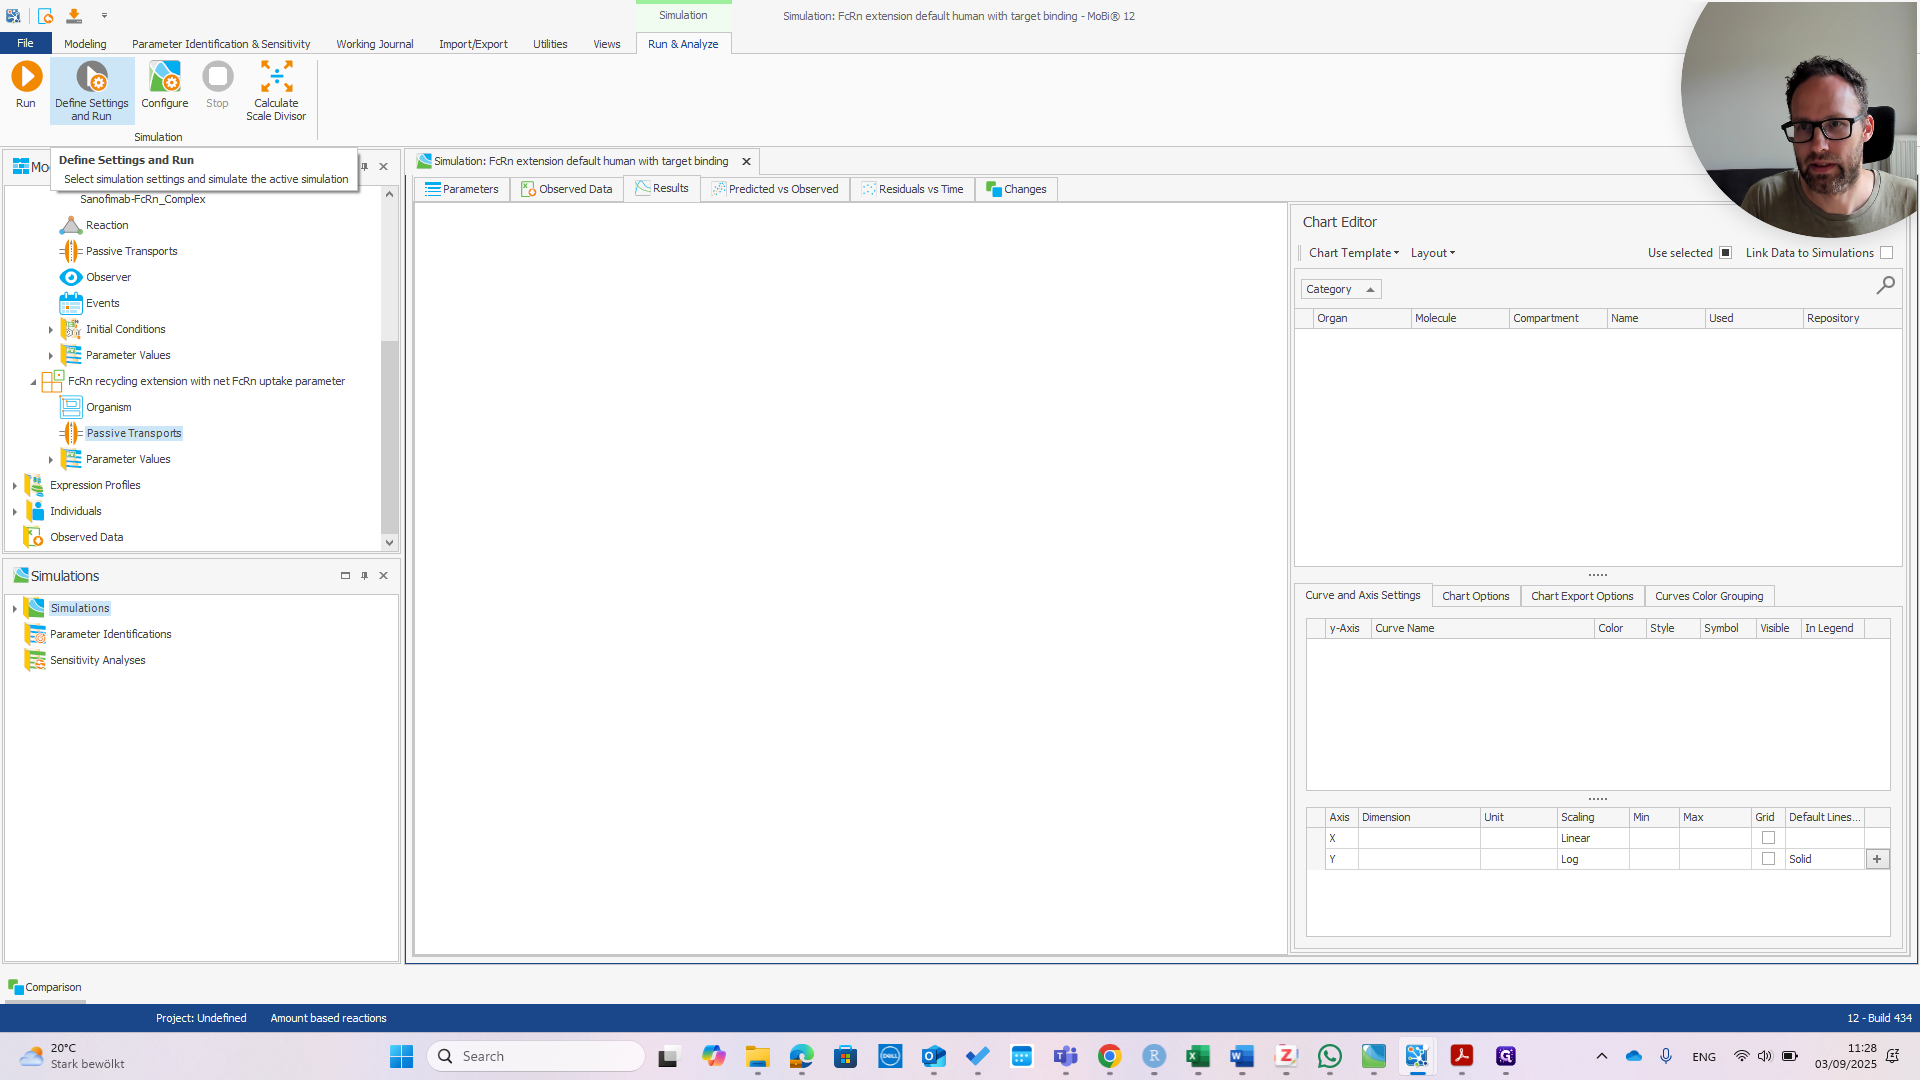
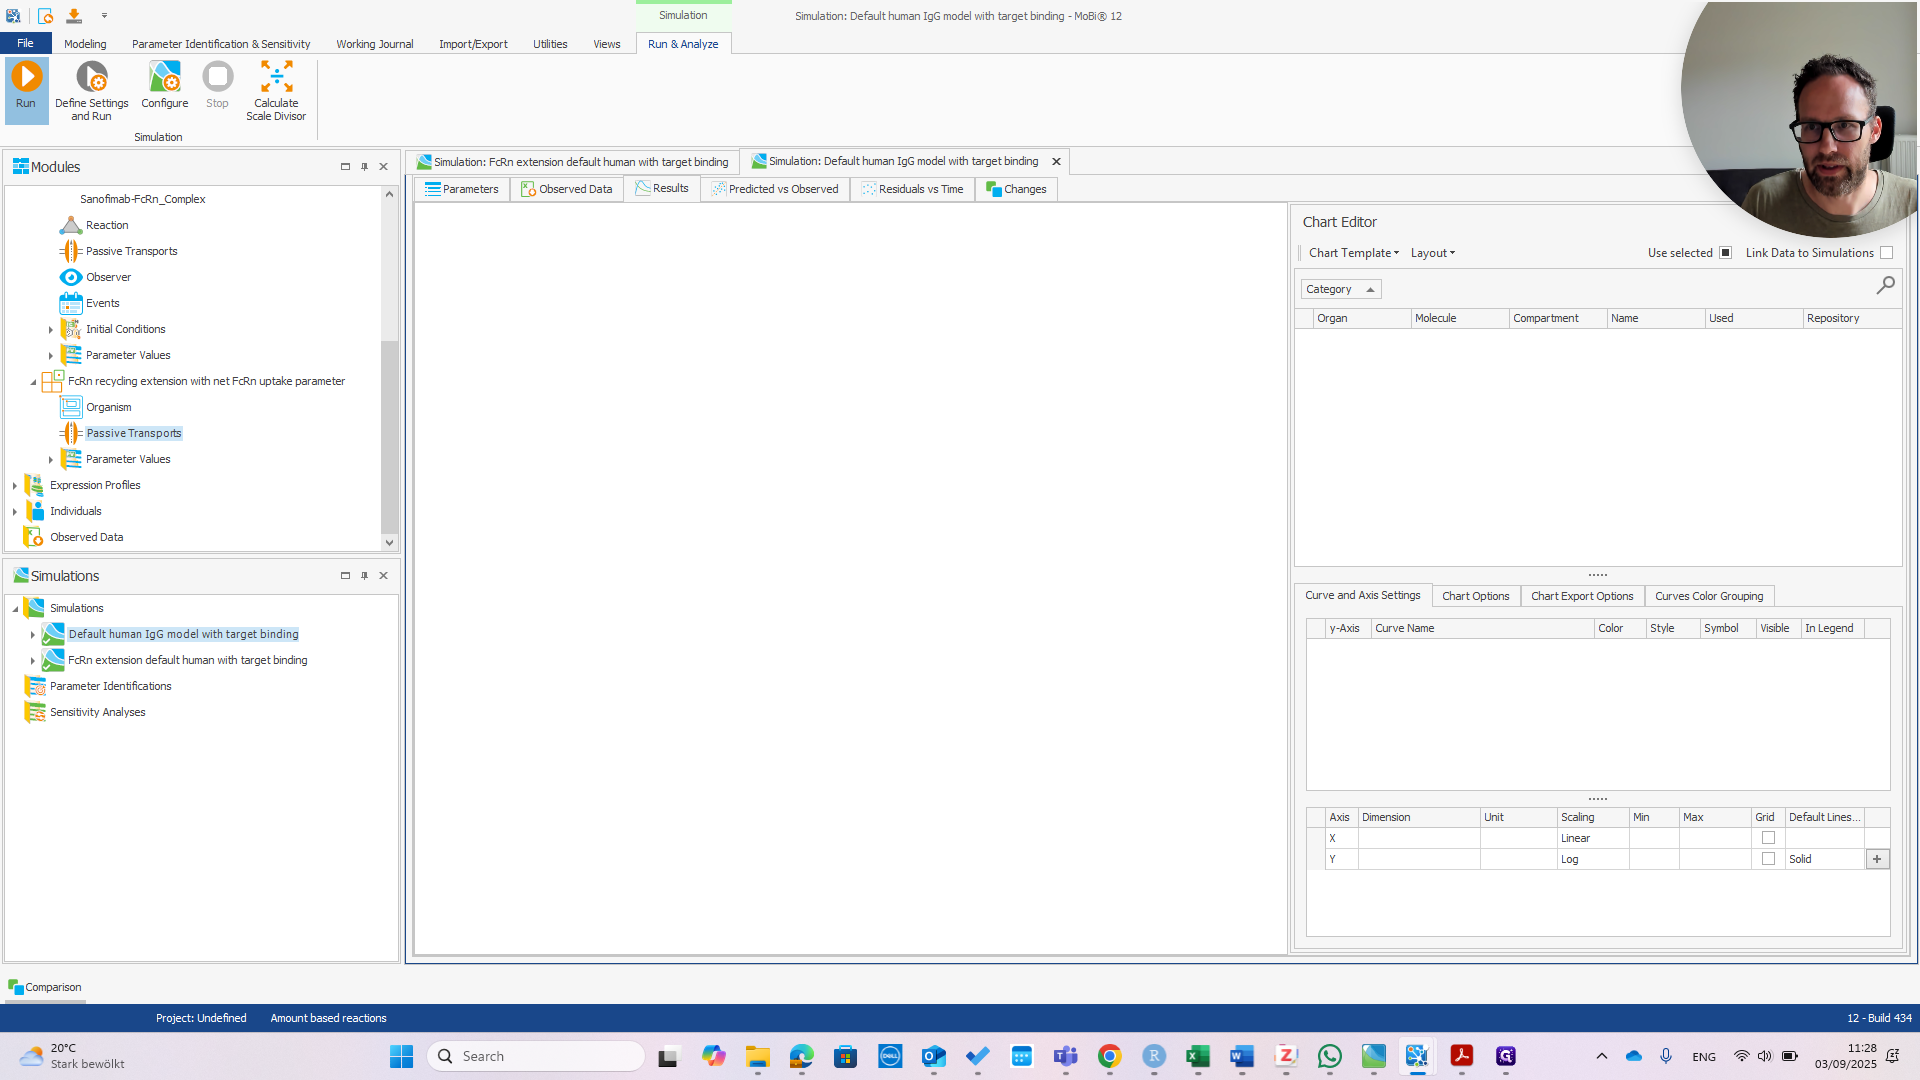
We can build a new simulation.
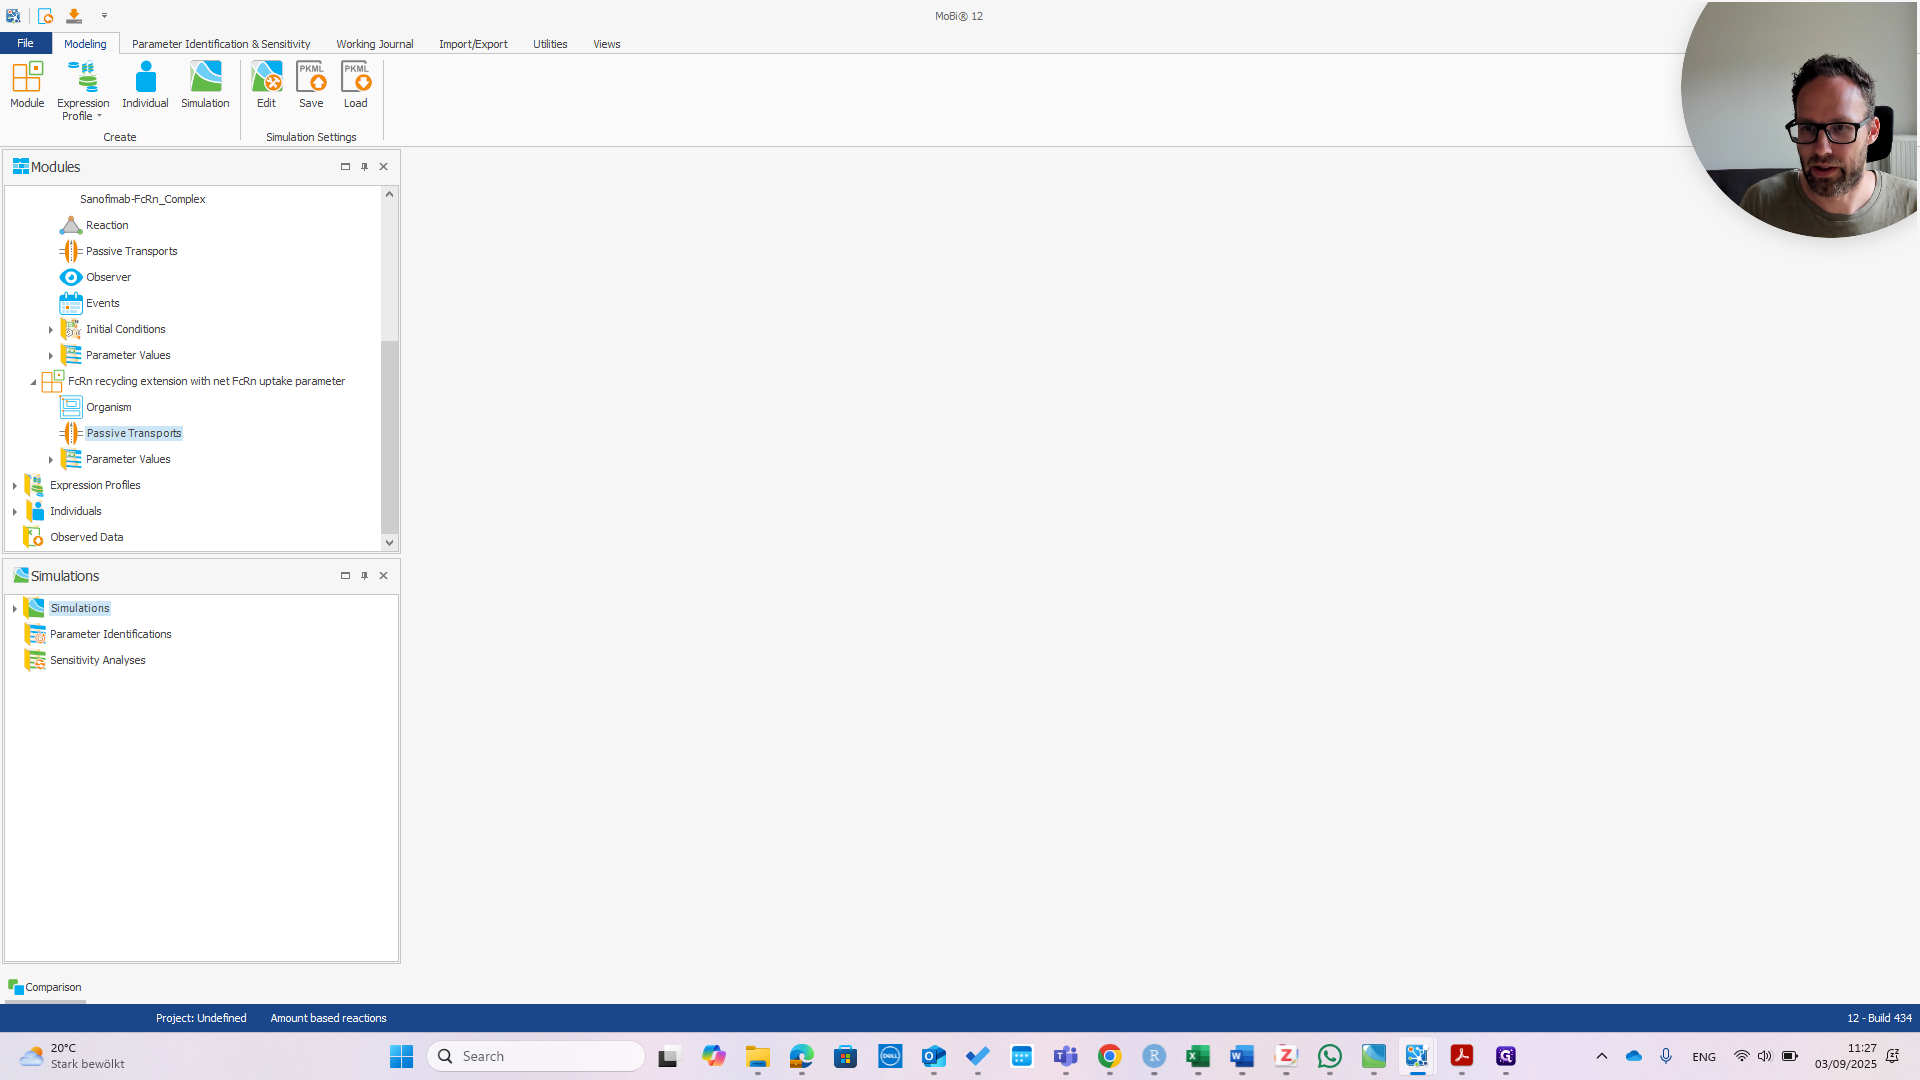
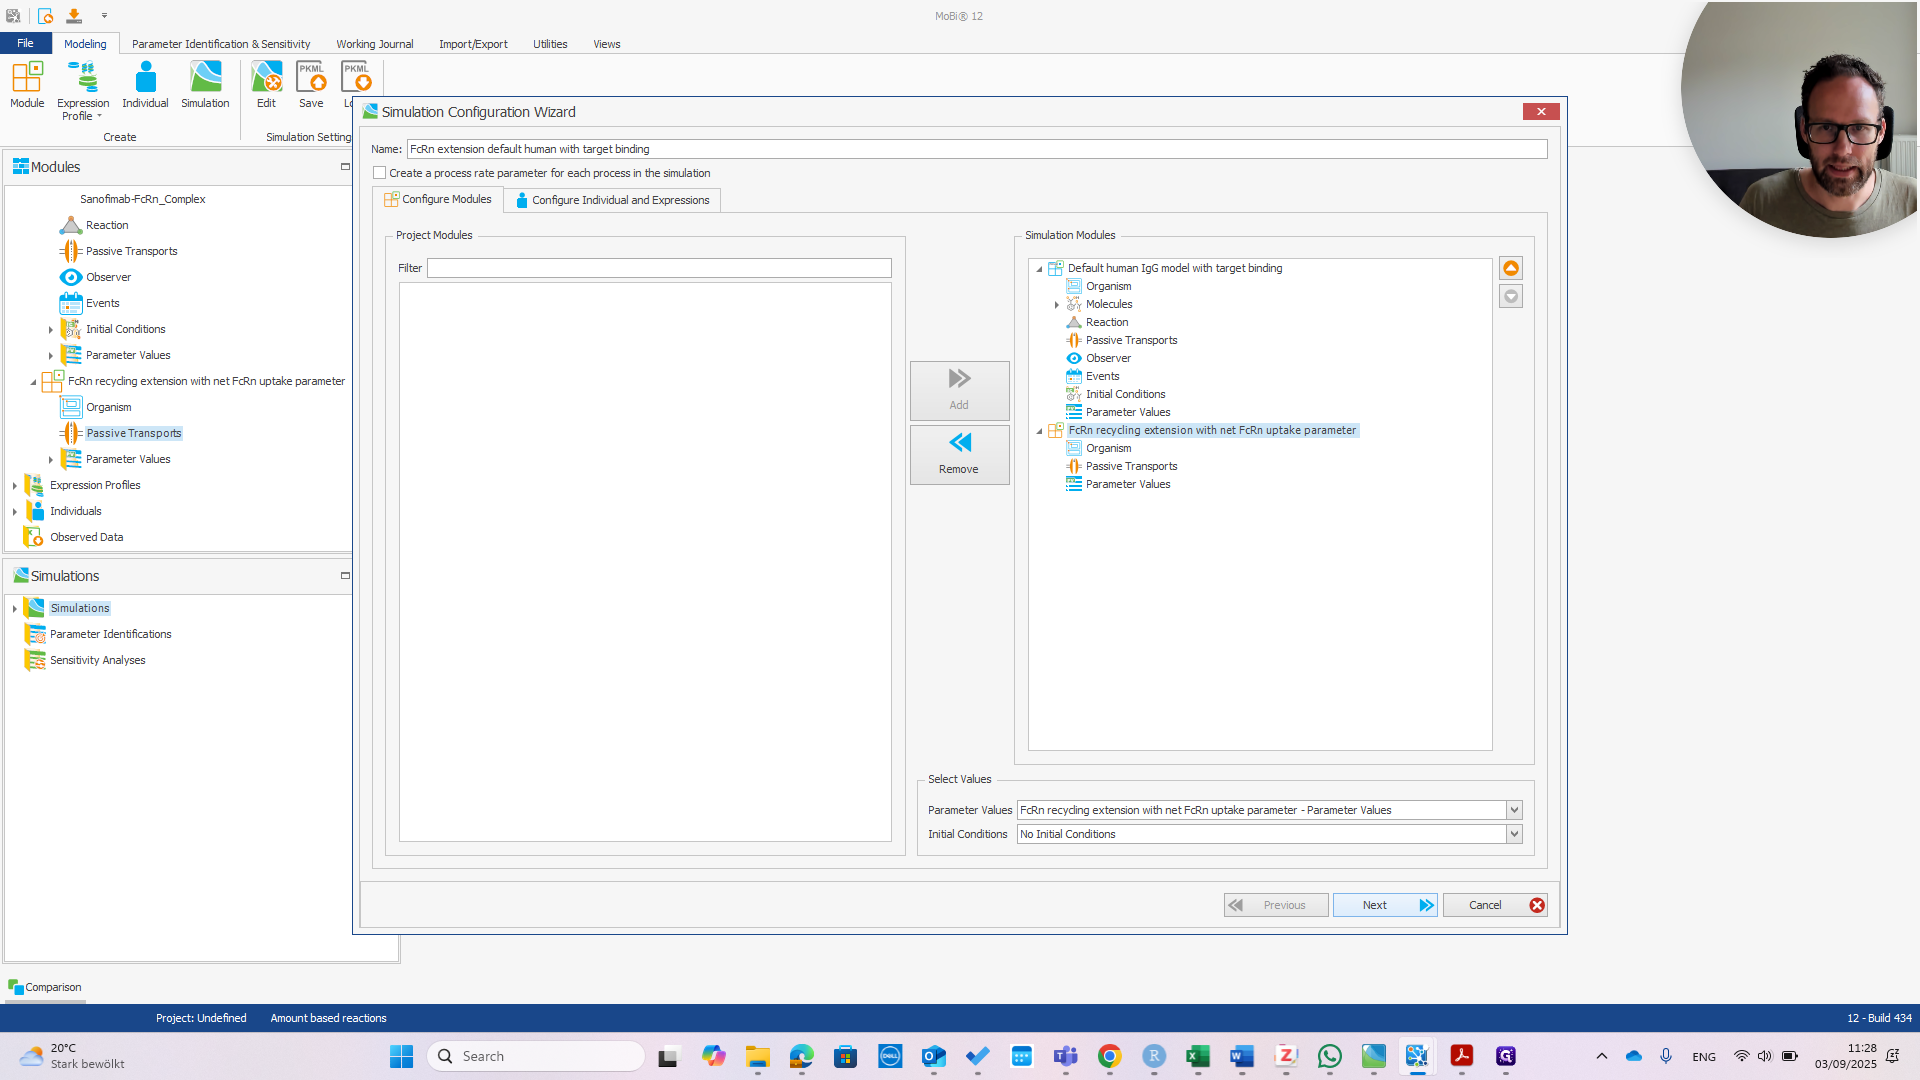
Right-click to create the simulation. Add the default settings. Add the extension module and name it.
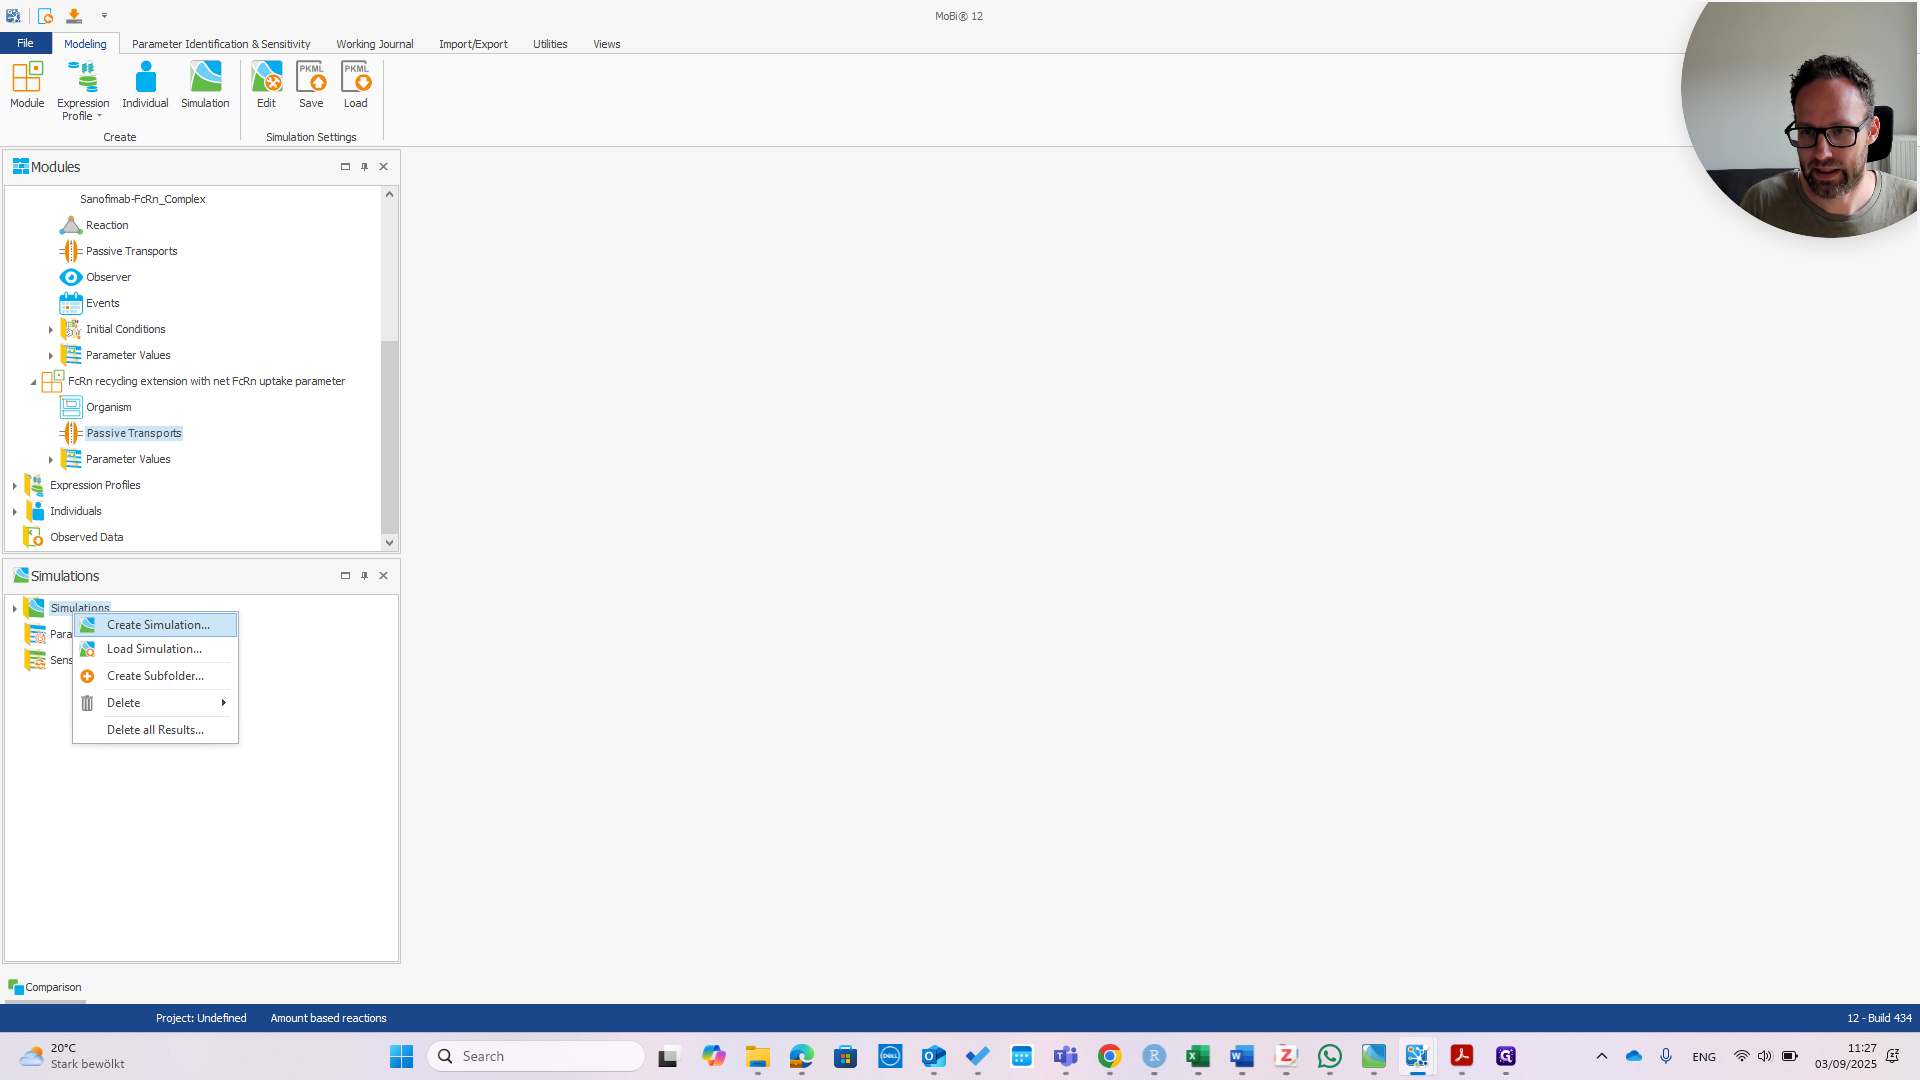


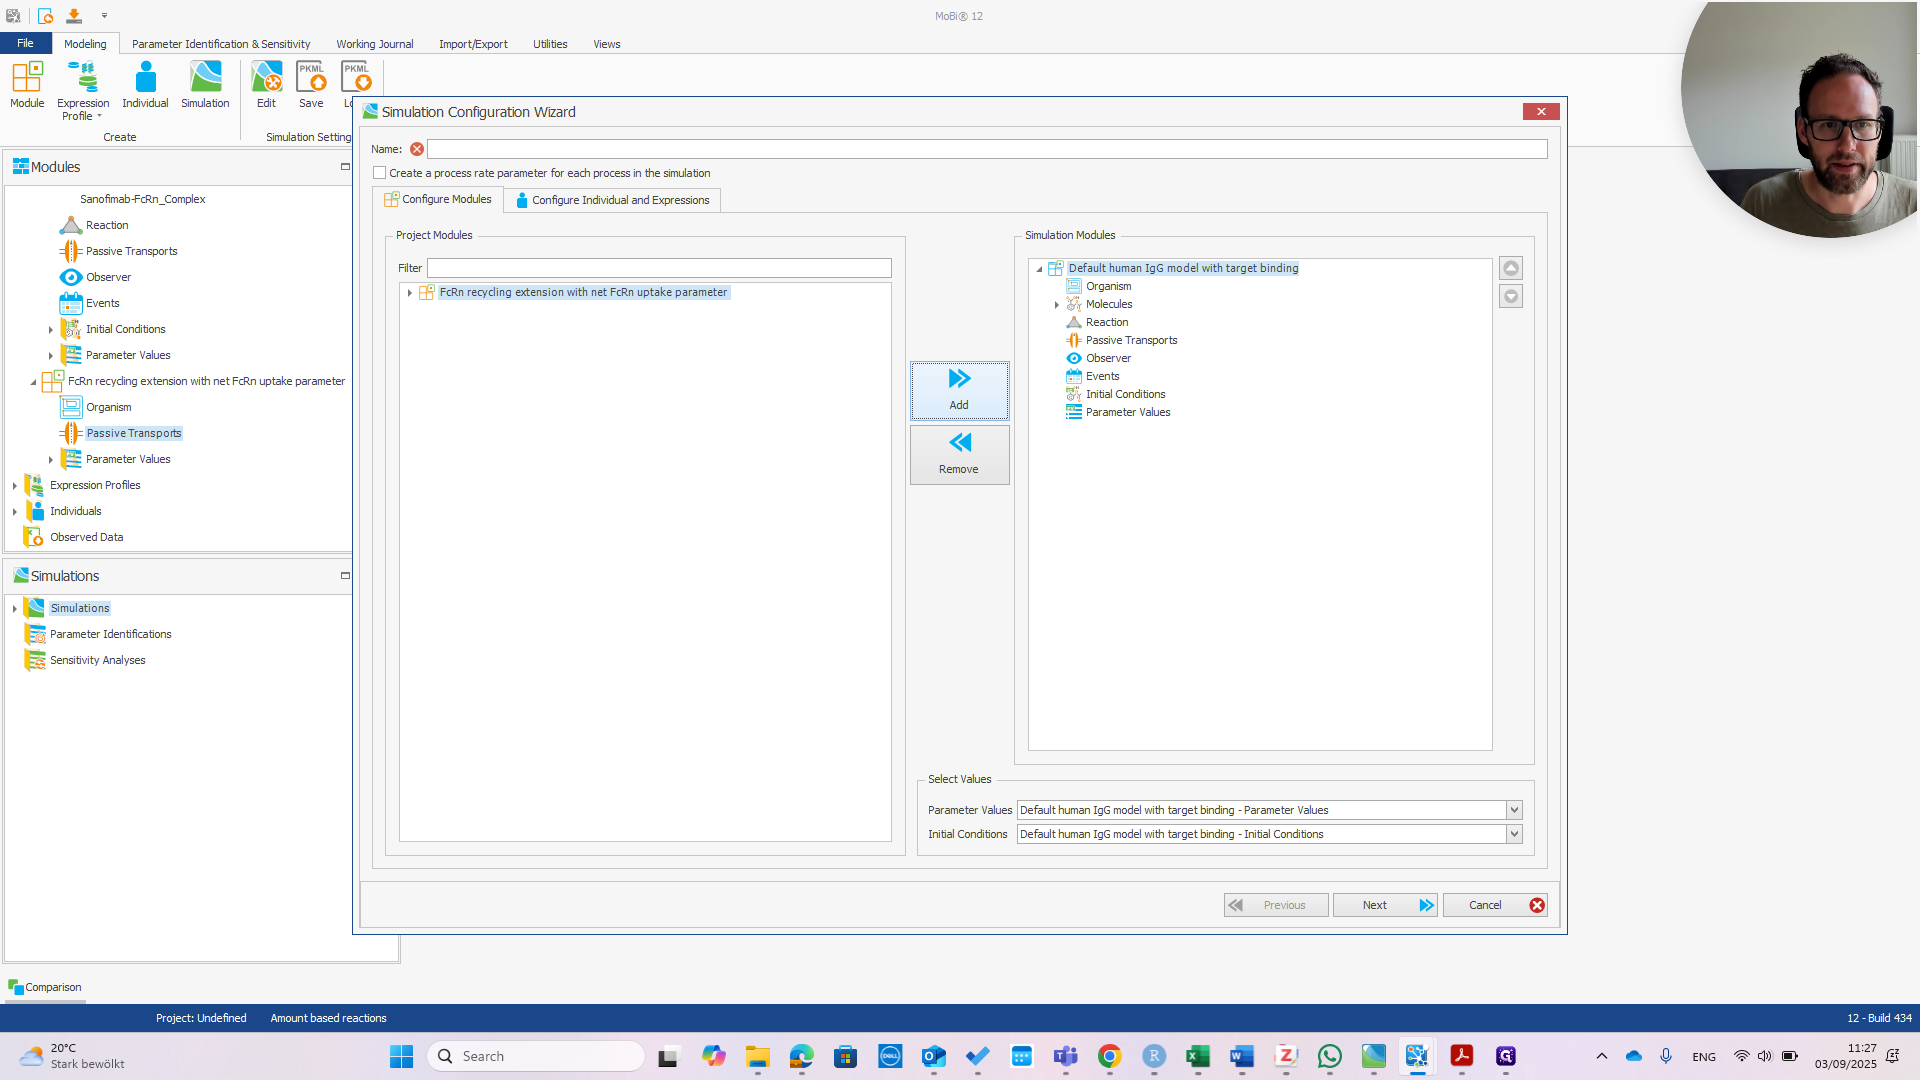

Click Next.
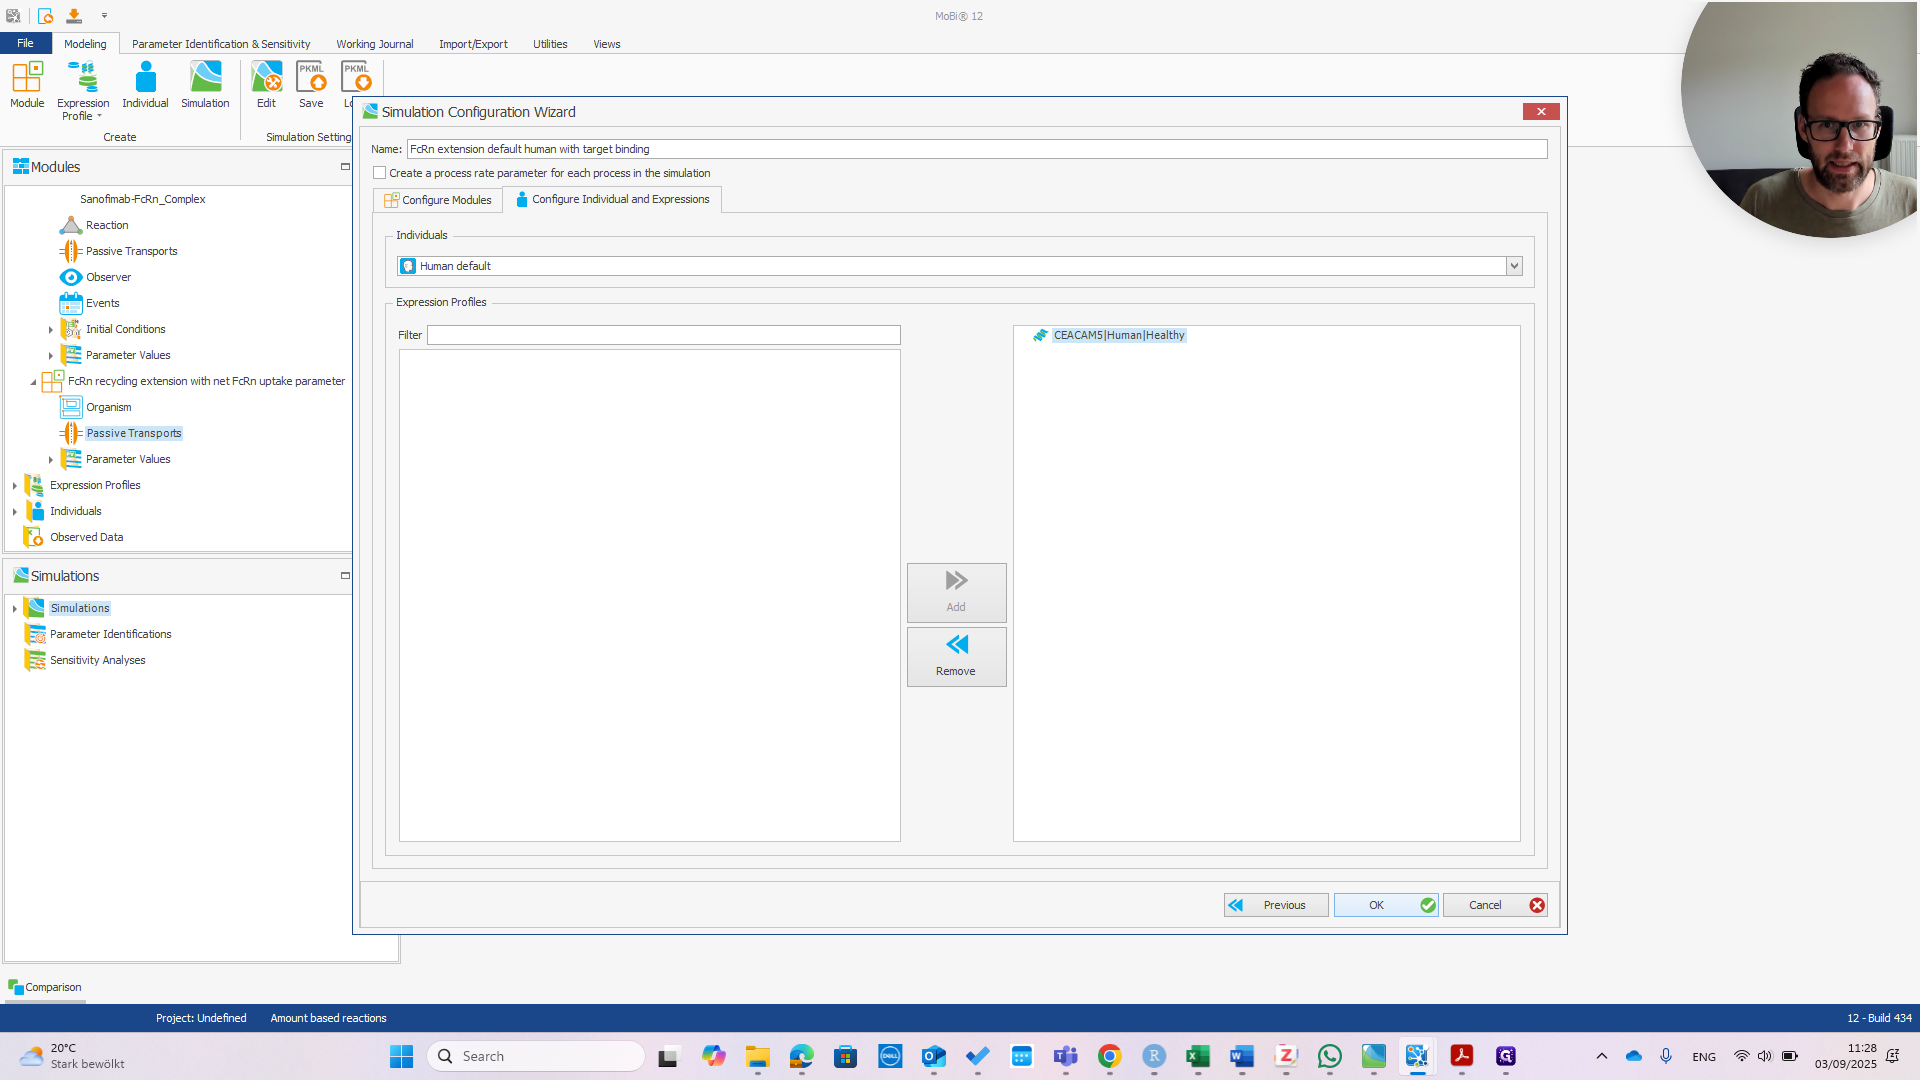
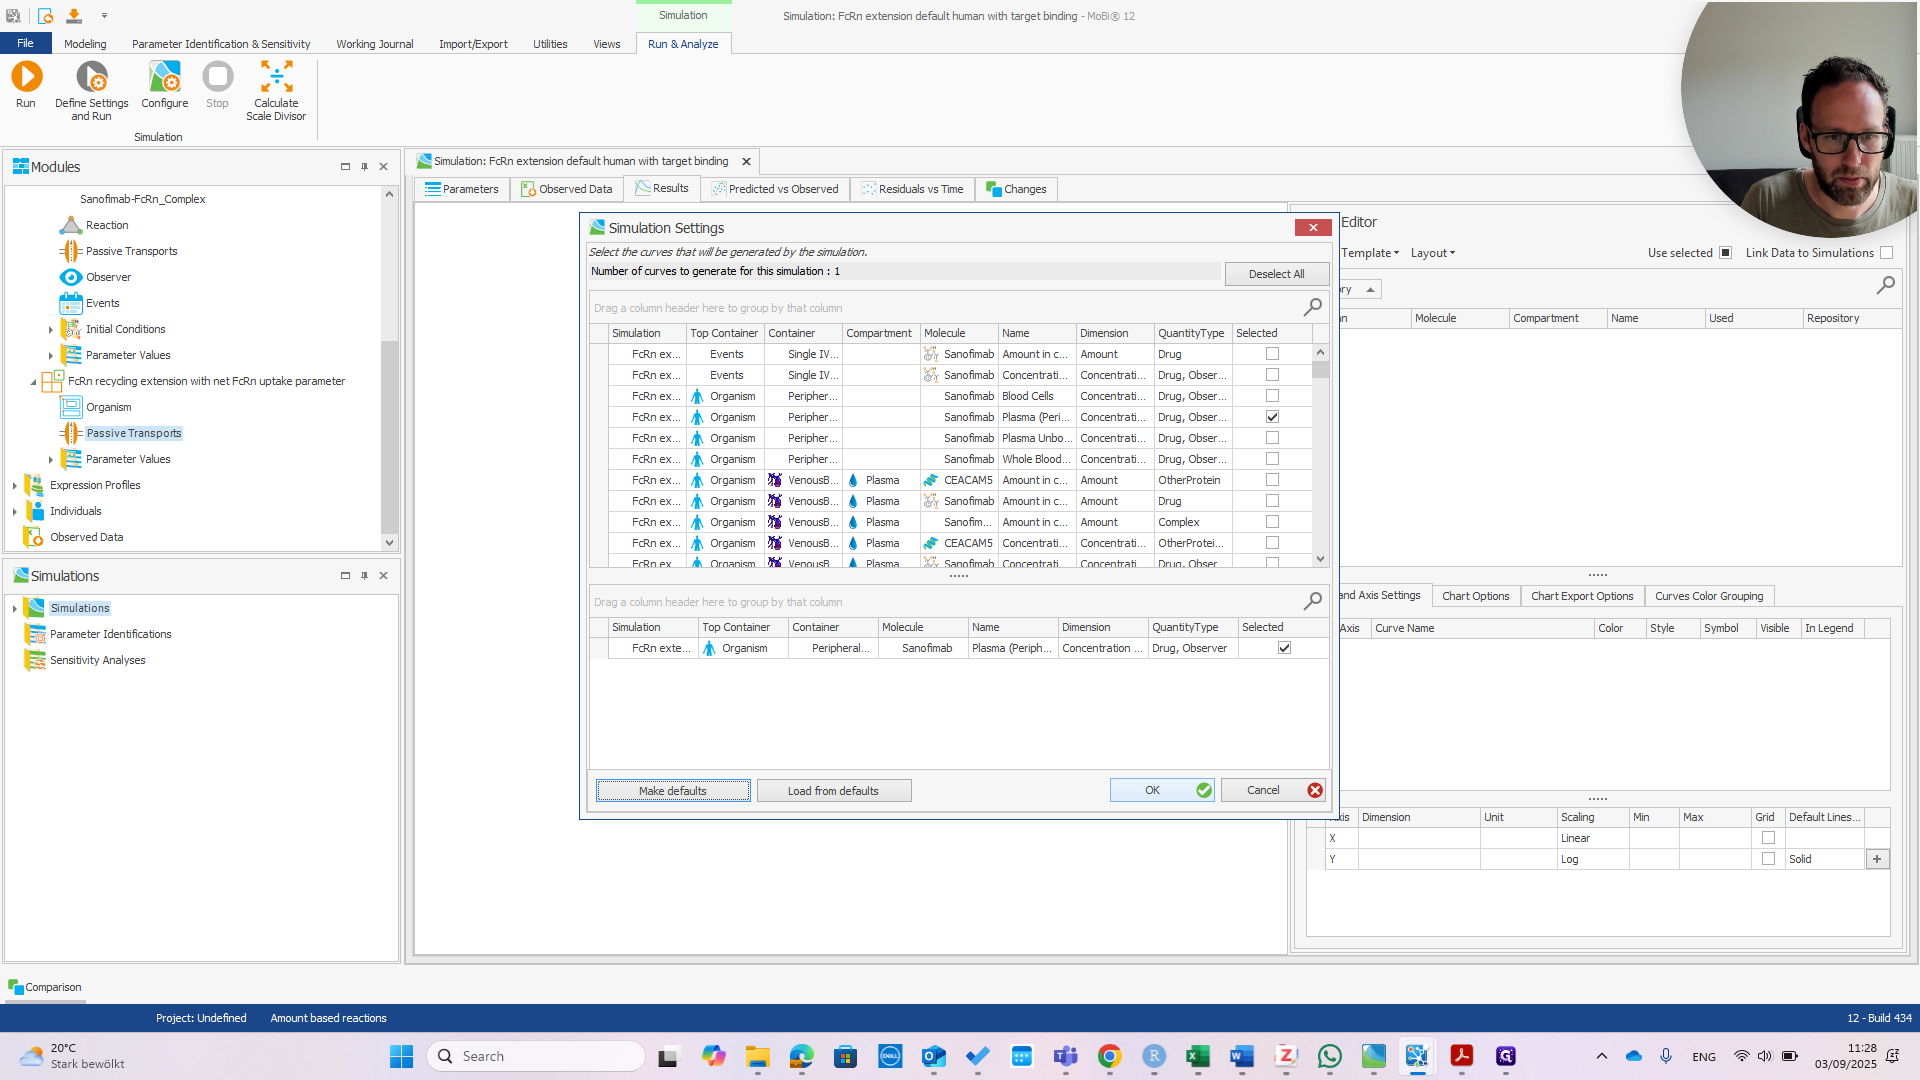
If we want the target expression, we need to add it here.
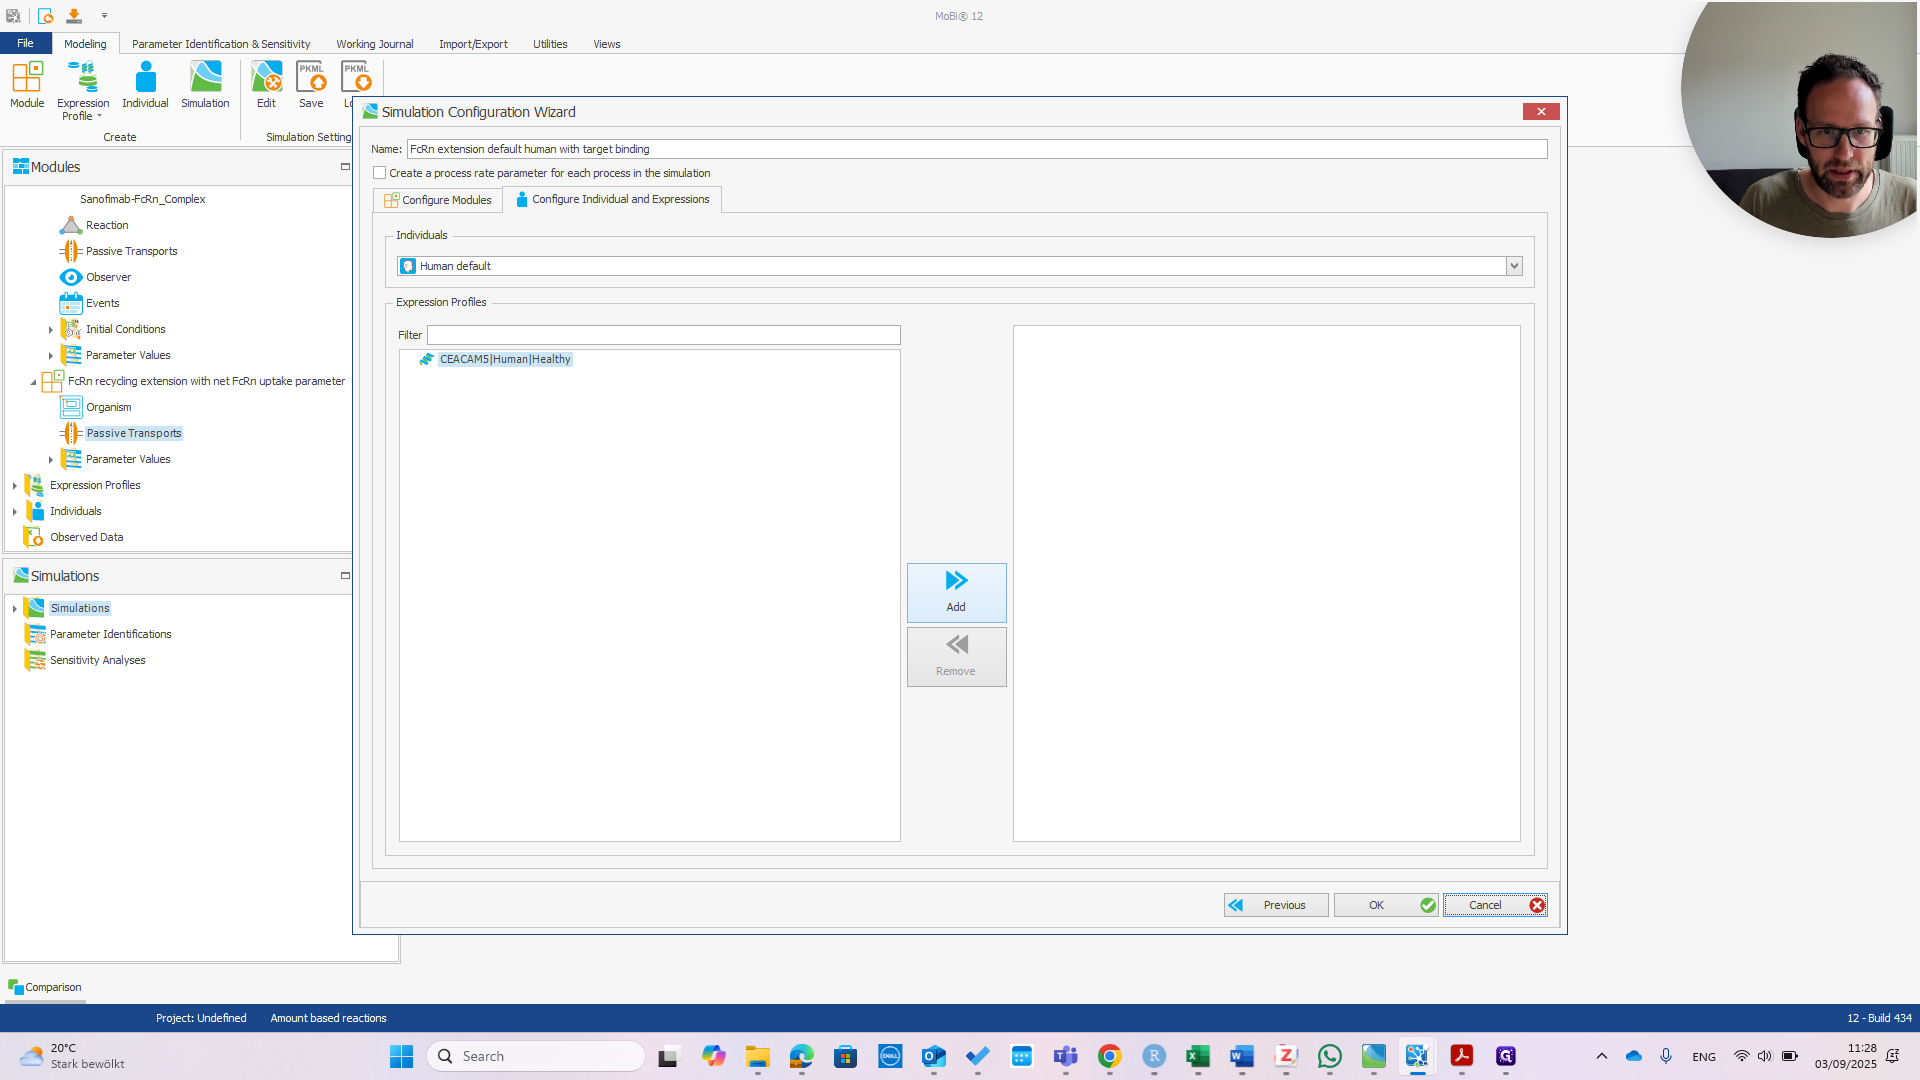
If you set up the simulation from scratch, make sure not to forget this step. Then, click OK.
Here is our new simulation. We can run it now.
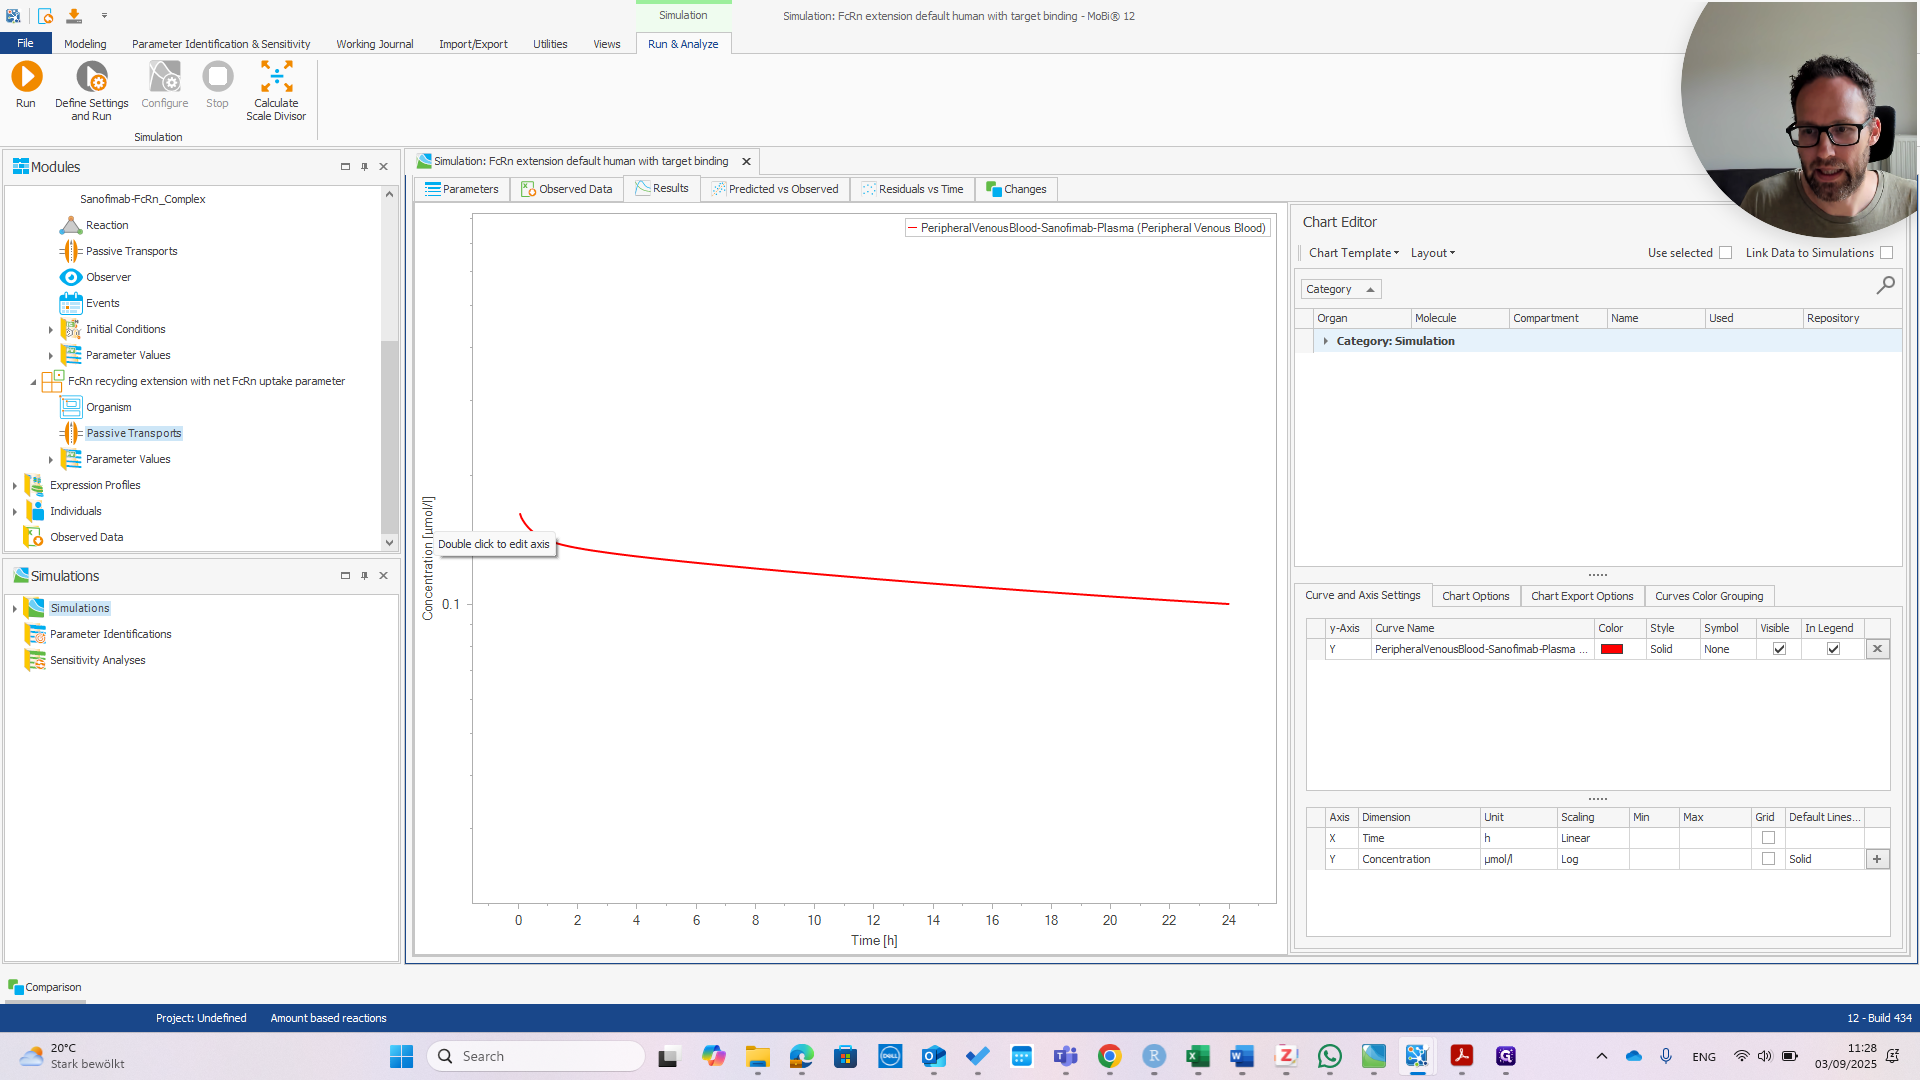
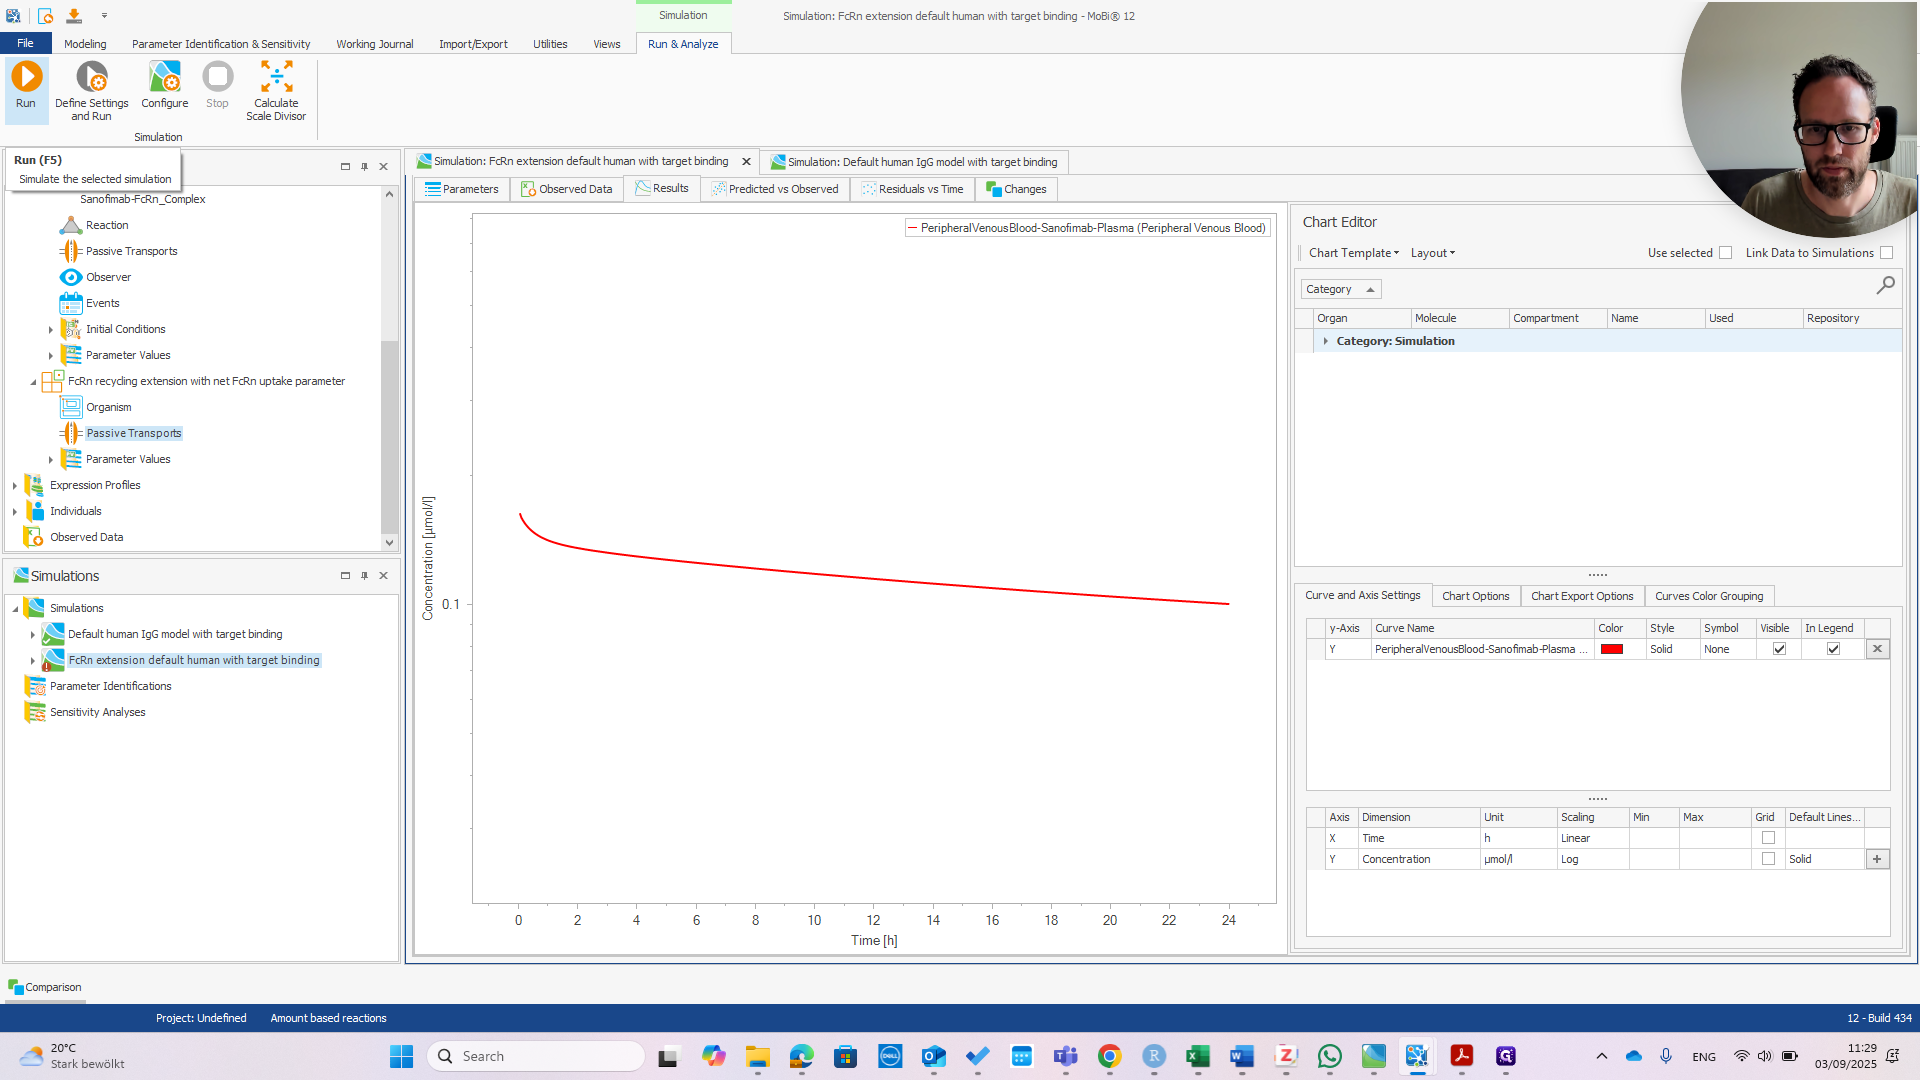
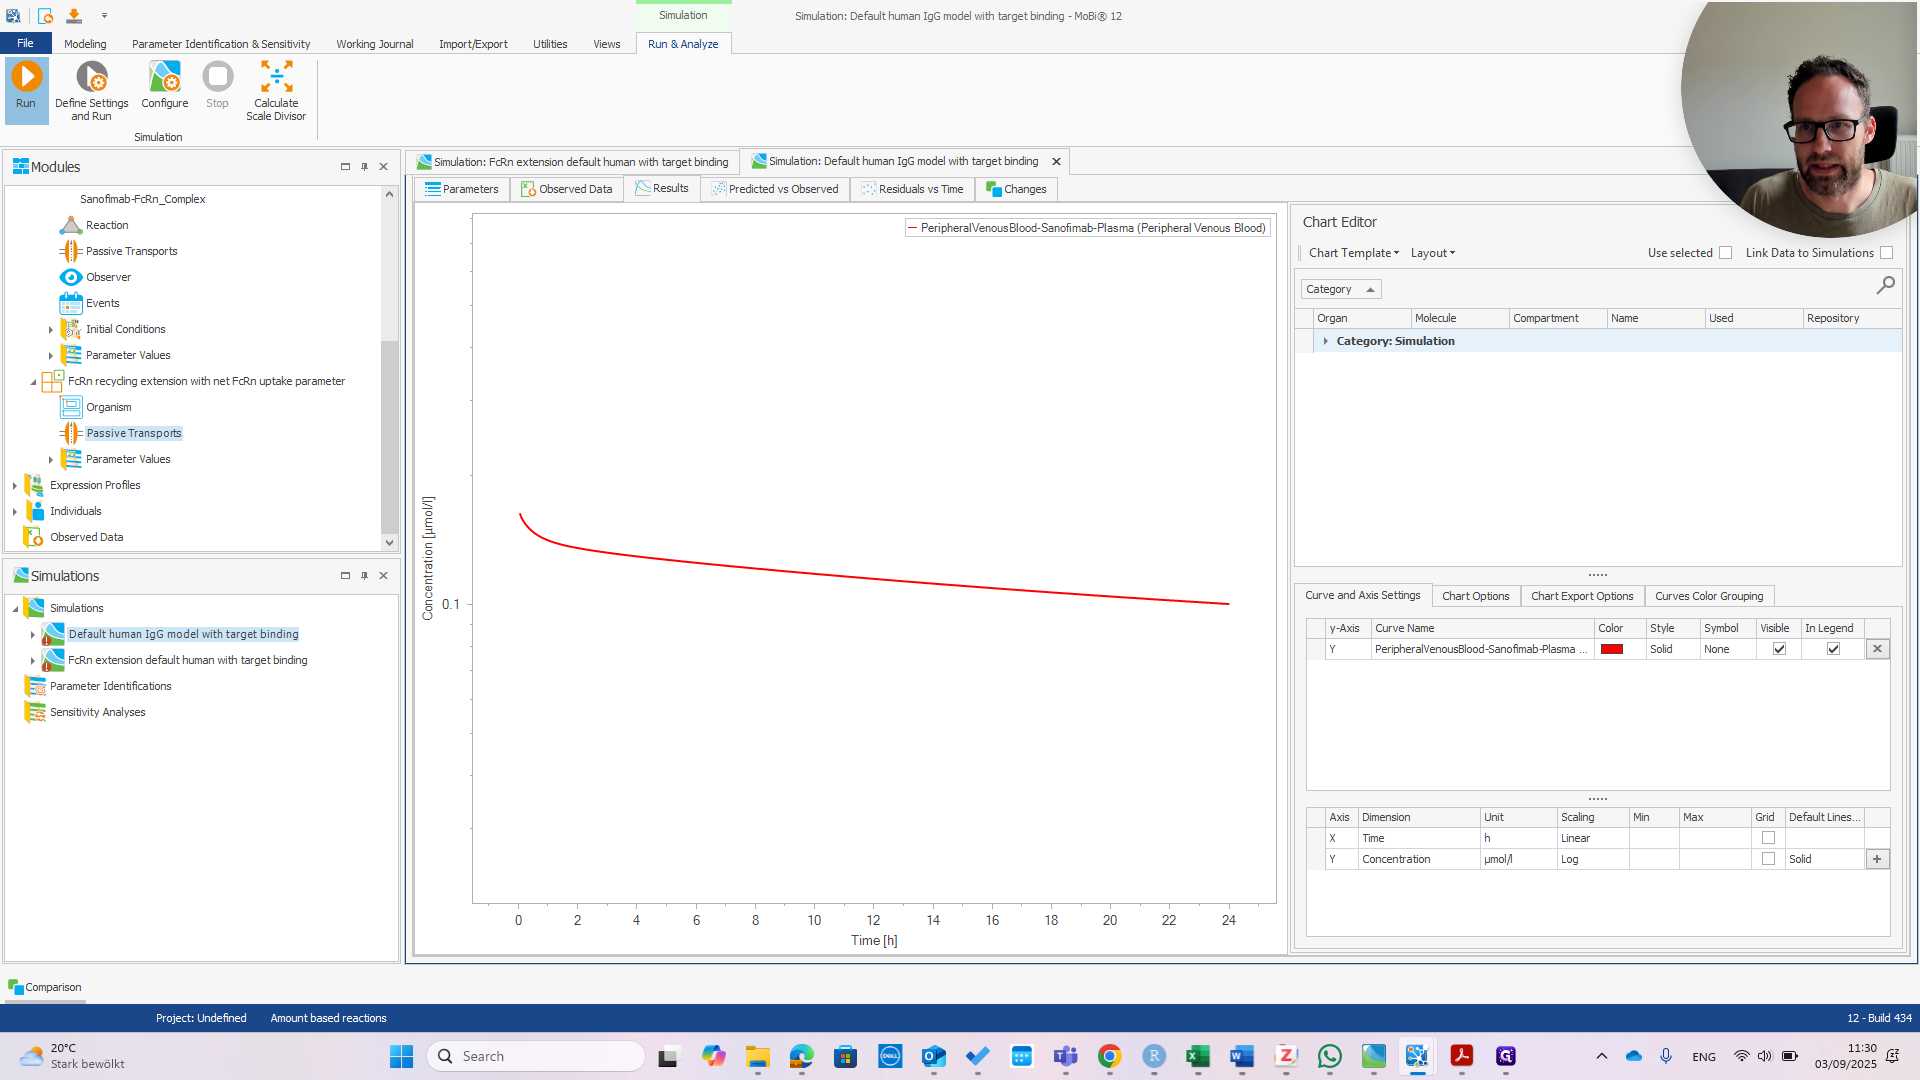
First, check the peripheral venous blood concentration to see if everything appears normal.
At this point, it should look exactly the same as the default human model.


We haven't run that yet, but we can do it right now.
You can see they are exactly the same.


That's good news because the model was designed for a wild-type IGG. It should behave the same with or without the extension. Now we can check if the extension works. I recommend referring to the publication to understand why.

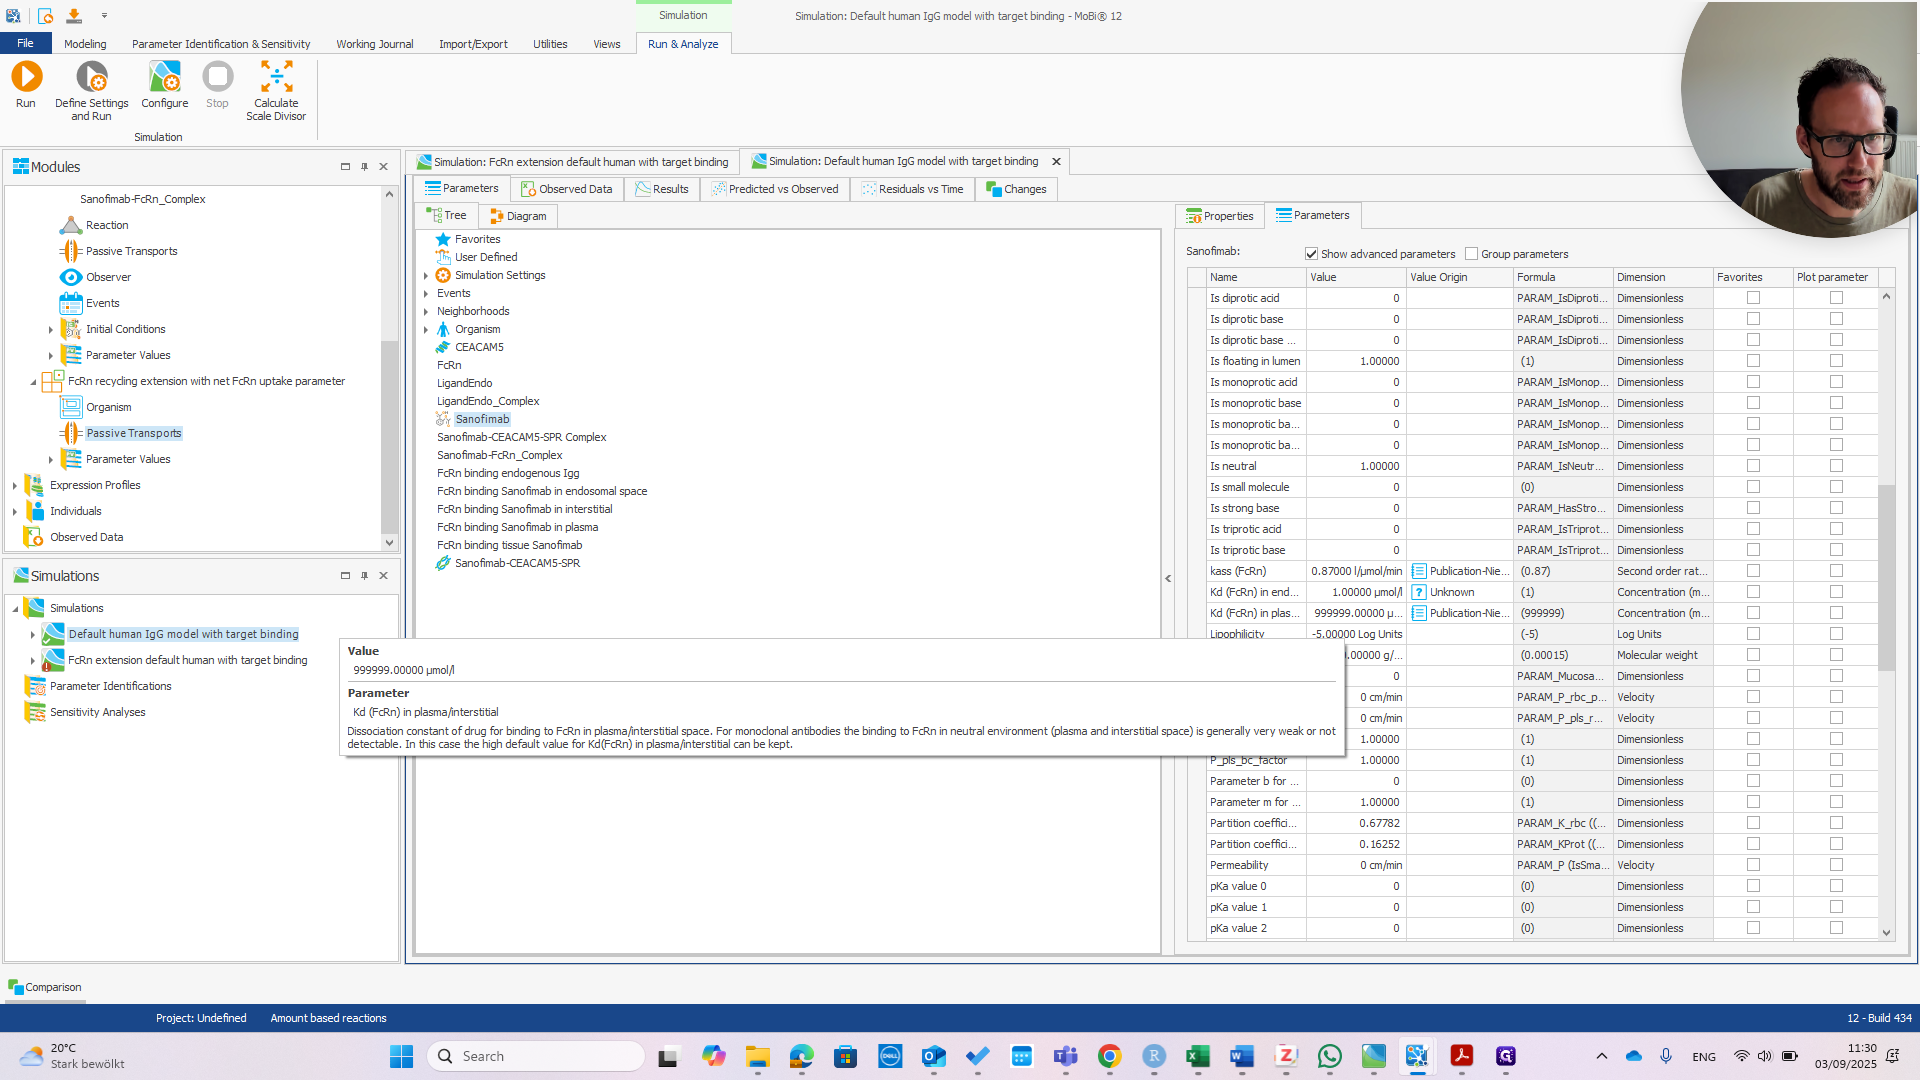
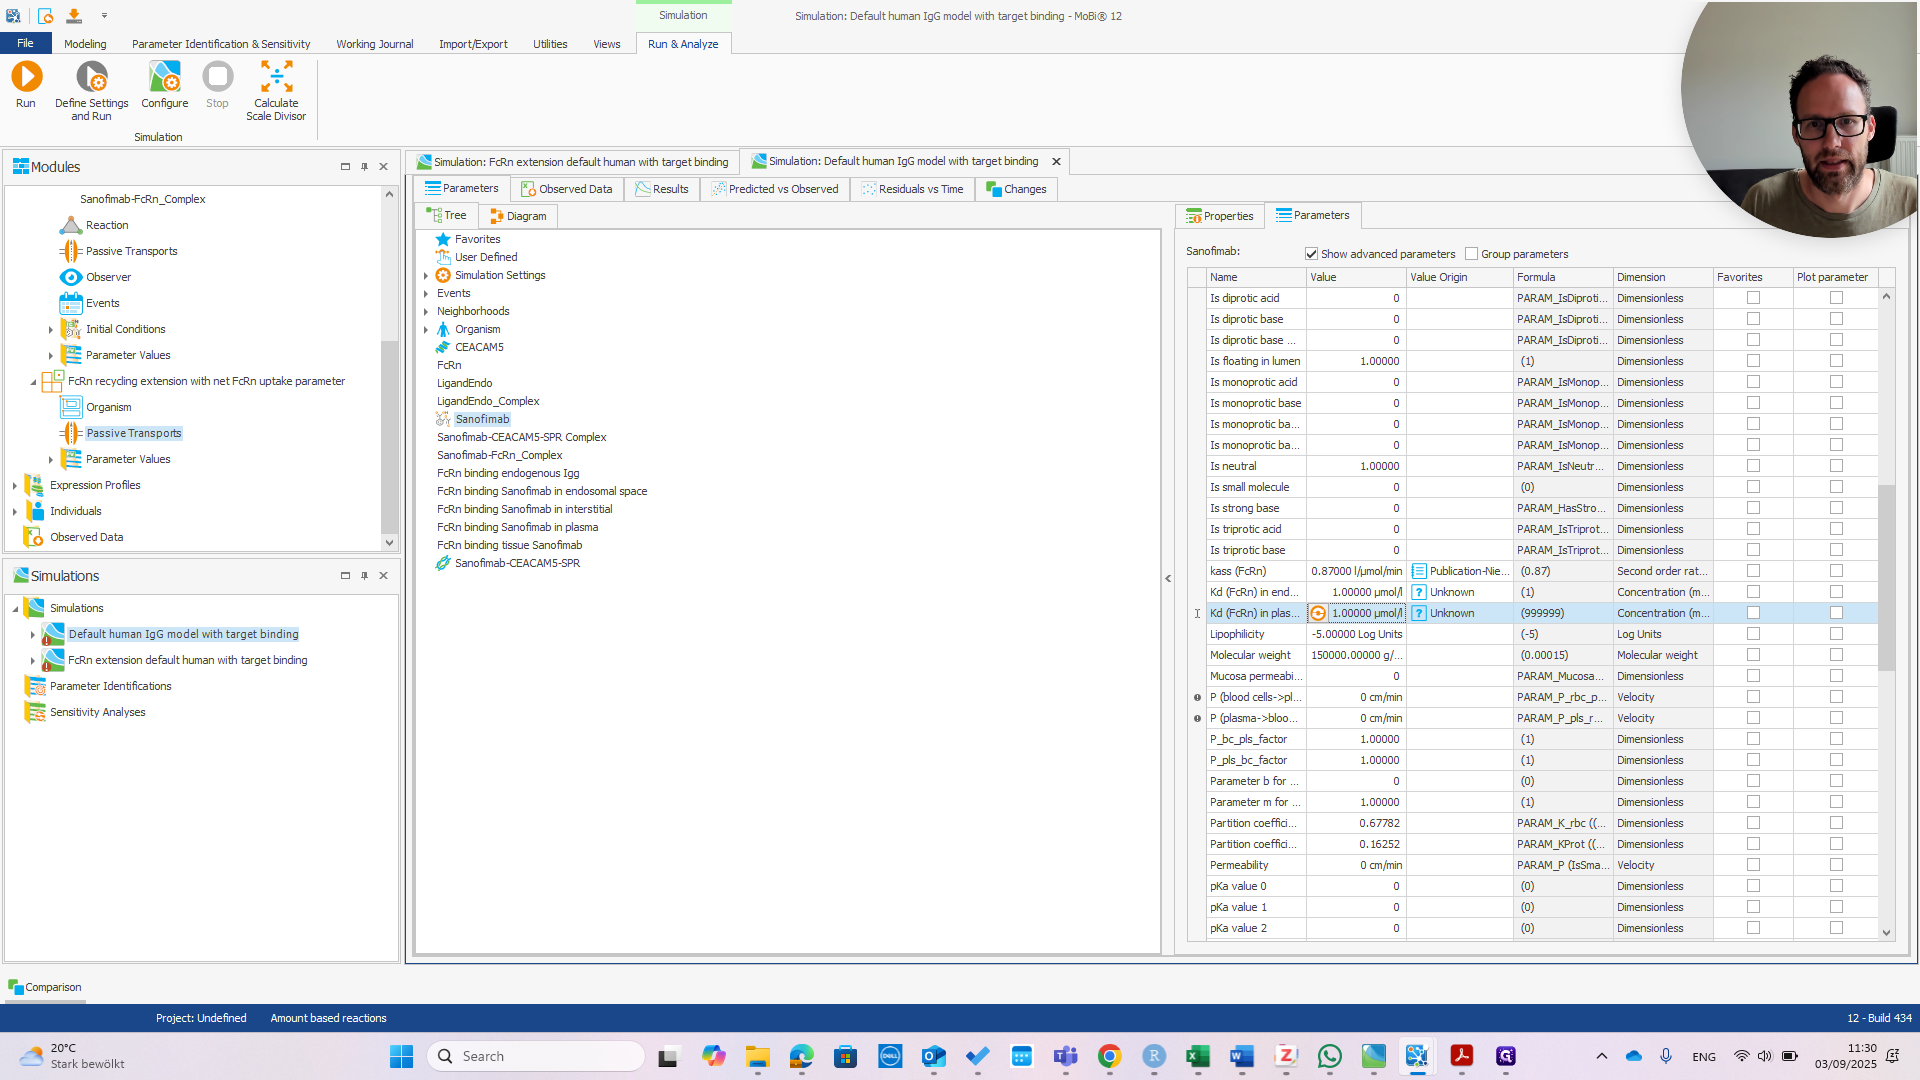
We can immediately see if this works by changing the affinity in Plasma.

If we change that to one micromolar as well, we should see the PK change.

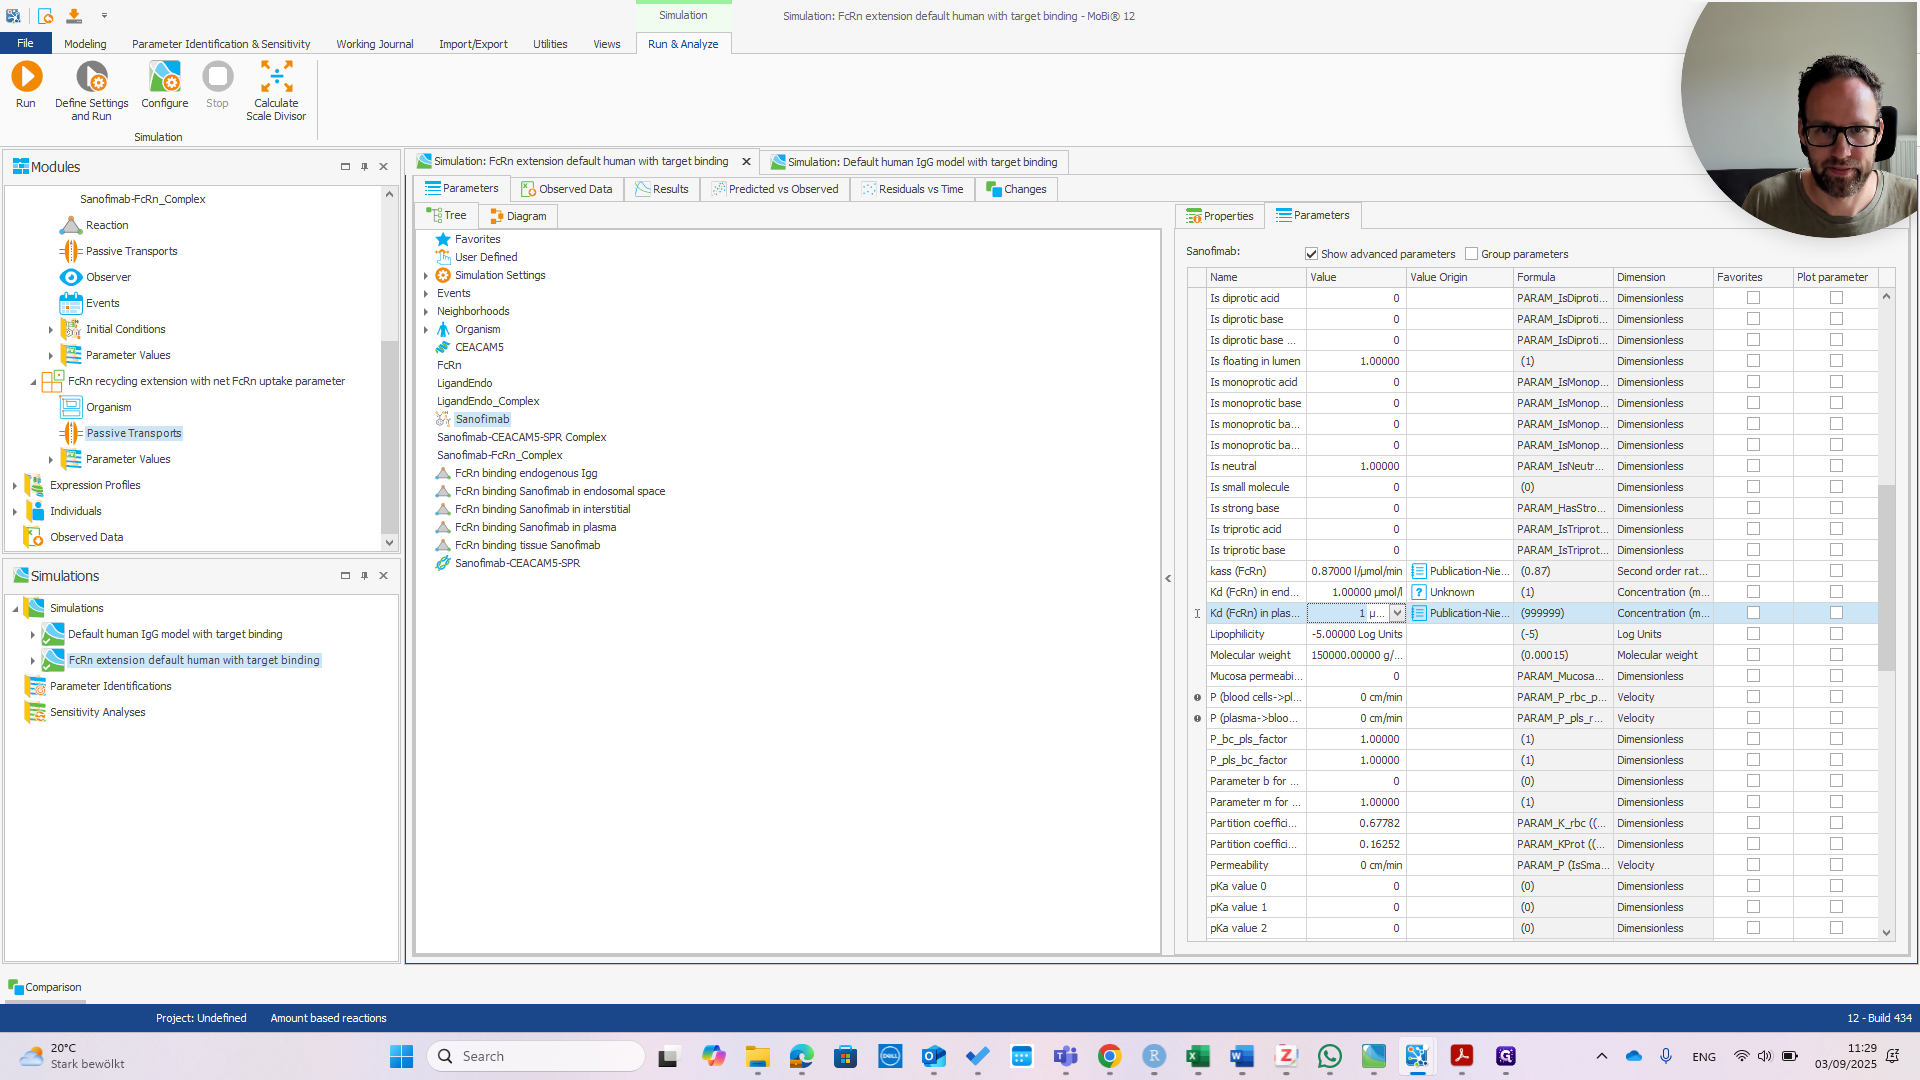
You can see we now have much faster clearance. In the default model, this change would be much smaller or even unnoticeable.


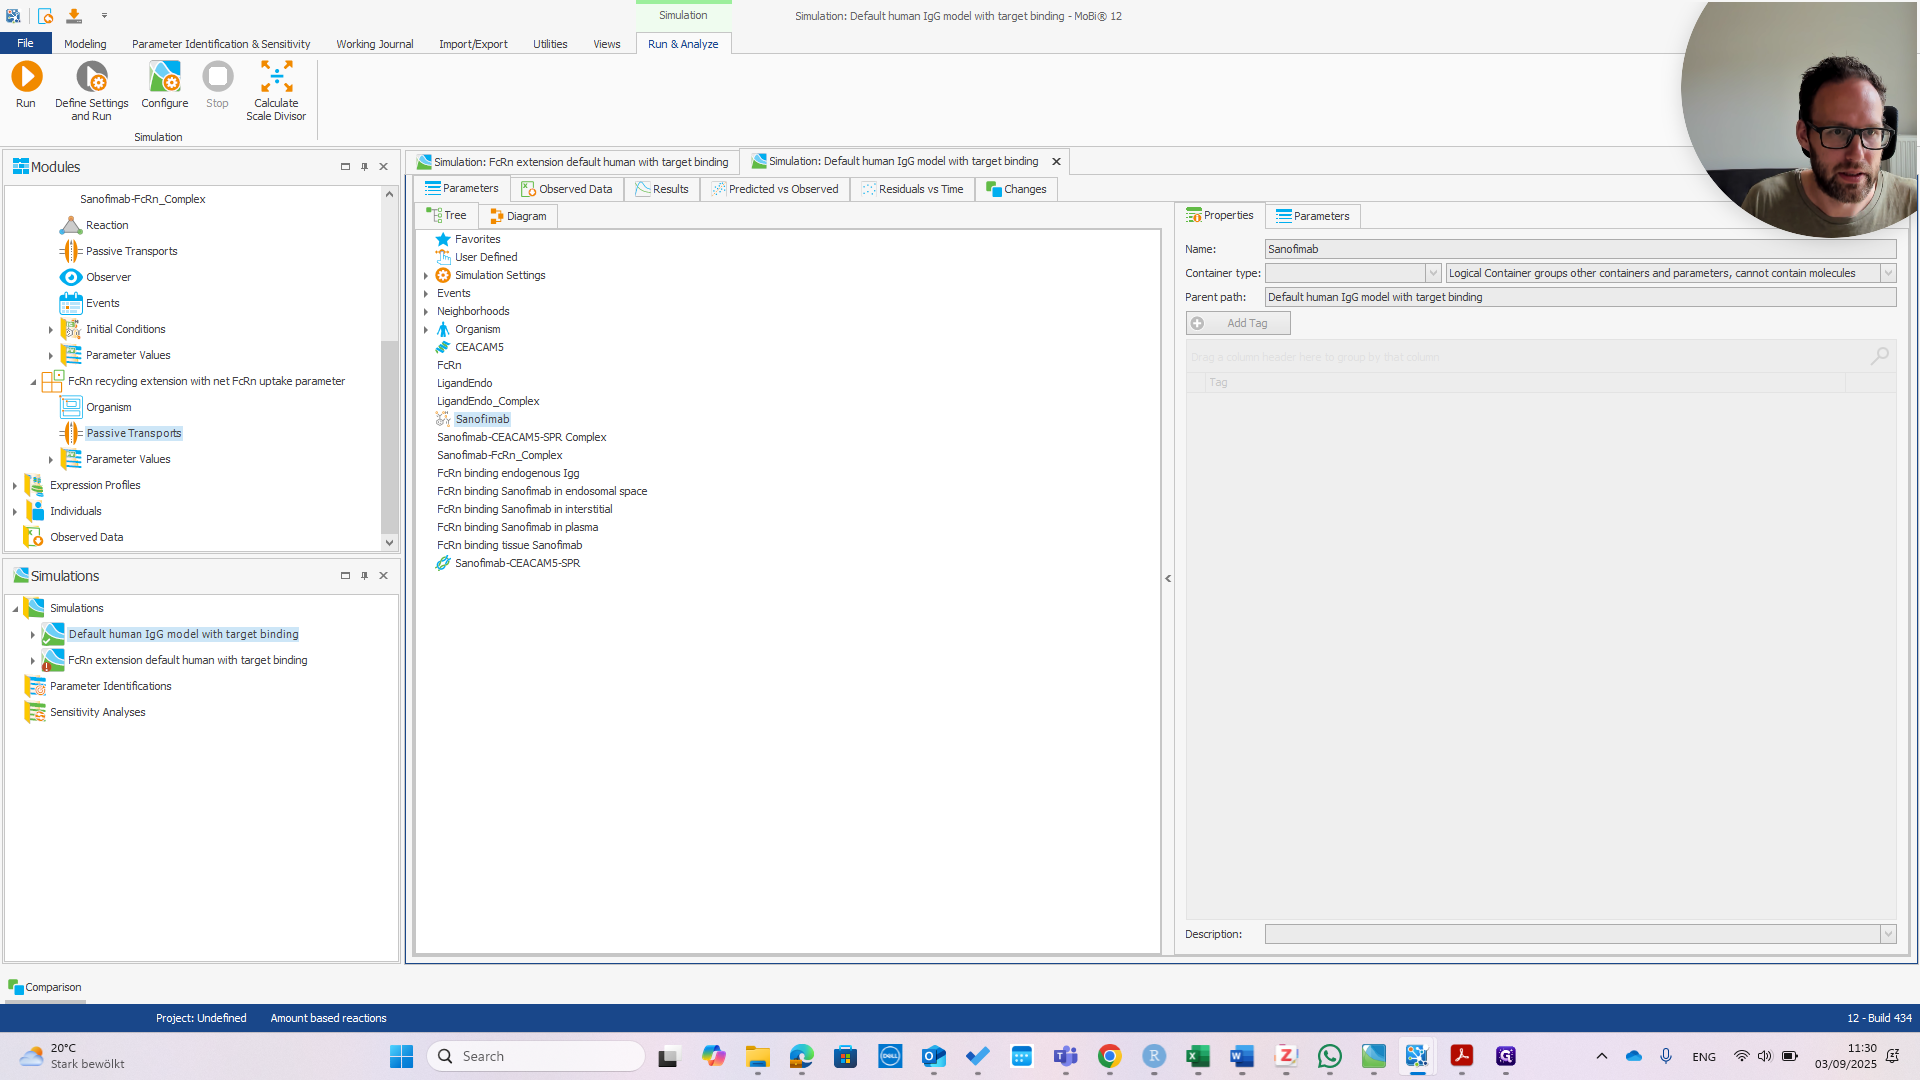

If we change this to one micromolar in the default model and run the simulation, we see a different impact on the PK.
You can see there is almost no effect in the default model, meaning that we have successfully changed the behavior of our model.
This shows that our molecule is sensitive, and we can now use this model for any purpose. I hope that was clear. I will leave it here. There are many other options to discuss, but we can address those outside of this instruction document.